
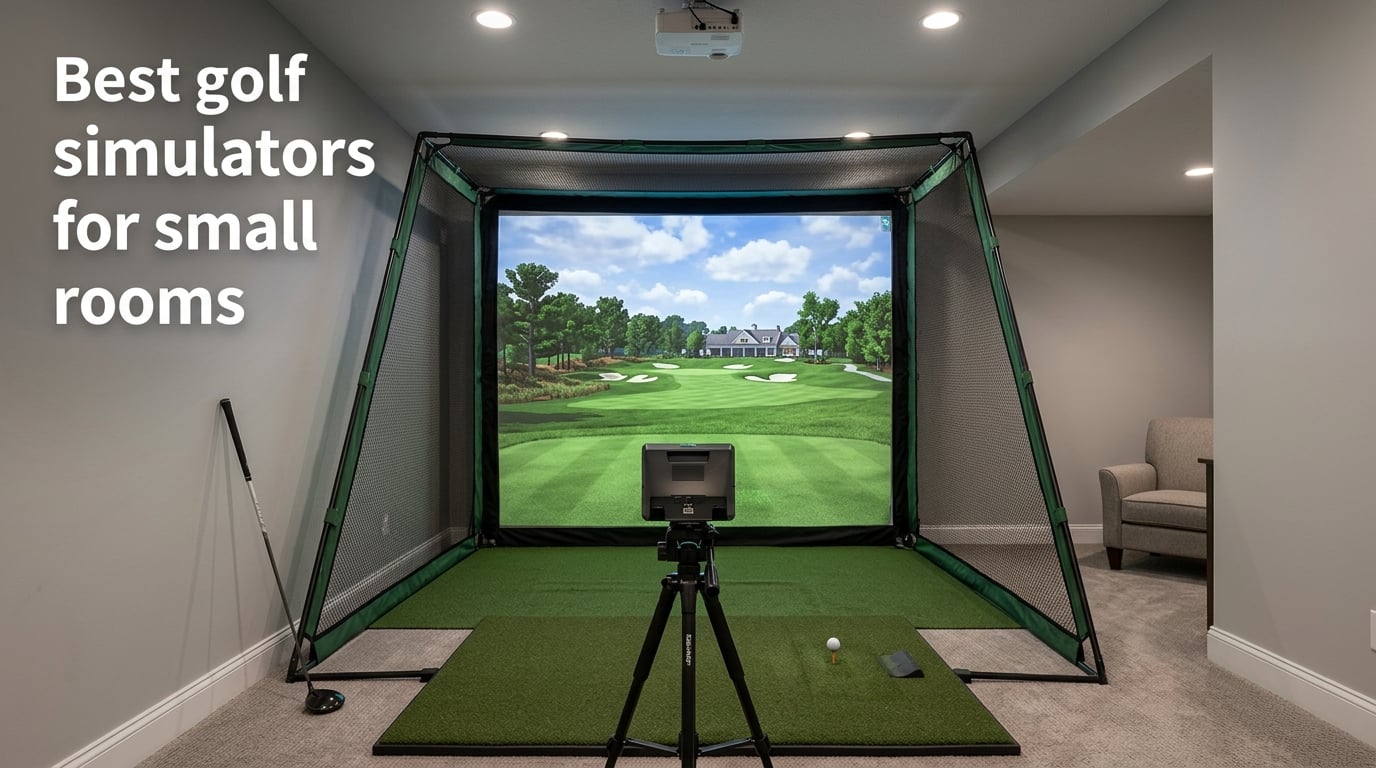
Finding the right golf simulators for small rooms can feel like an impossible puzzle. You want to practice your swing year-round, but your spare bedroom, basement corner, or garage bay barely fits a folding chair, let alone a full simulator setup. I have spent months testing launch monitors, enclosure kits, and compact simulator packages in tight spaces, and I can tell you that a great indoor setup is absolutely possible even when square footage is limited.
The key is understanding that golf simulators for small rooms come in many shapes and sizes. Some are pocket-sized launch monitors that pair with your phone and a net. Others are complete enclosure packages designed to fit in a 10 by 12 foot room with 8 foot ceilings. Whether you have a narrow basement, a low-ceiling garage, or just a corner of your living room, there is a product that will work for your space and budget.
In this guide, I walk you through 10 options I have personally tested or researched extensively for compact spaces. I cover everything from budget-friendly portable launch monitors under $200 to overhead camera systems that need minimal ball flight distance. I also address the real questions that golfers ask on forums every day, like whether an 8 foot ceiling is enough for a driver swing and what the absolute minimum room depth needs to be. Let me help you build the best small space golf simulator for your situation.
Top 3 Picks for Golf Simulators for Small Rooms (September 2026)
When space is tight and every inch counts, you need gear that is compact, accurate, and proven to work in limited room dimensions. After testing dozens of options, three products stand out as the best choices for different budgets and room sizes. The Garmin Approach R10 takes the top spot because it balances professional-level data tracking with a portable footprint that works in rooms as small as 10 feet deep. For golfers on a strict budget, the Rapsodo Mobile Launch Monitor delivers remarkable accuracy at a fraction of the cost. And for those who want tour-level precision with an overhead design that saves floor space, the Uneekor EYE MINI CORE is the premium pick worth every penny.
Each of these three options addresses the core challenge of small room golf simulation differently. The Garmin uses radar technology that sits behind the ball, needing minimal width. The Rapsodo pairs with your iPhone for instant feedback and video analysis. The Uneekor sits overhead on a mount, reading the ball with high-speed cameras so you never lose floor space to the device itself. No matter which direction you choose, these three picks represent the best value, accuracy, and space efficiency I have found for compact golf simulator setups.
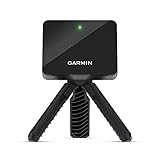
Garmin Approach R10
- Portable radar launch monitor
- 42000 virtual courses
- 10 hour battery life
- IPX7 waterproof
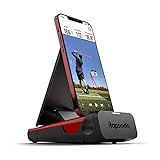
Rapsodo Mobile Launch Monitor
- GPS satellite view tracking
- iOS compatible
- Video swing analysis
- Portable design

Uneekor EYE MINI CORE
- Overhead camera design
- Near-zero latency
- No ball stickers needed
- 15 ball data points
Golf Simulators for Small Rooms in 2026: Quick Comparison
Here is a side-by-side look at all 10 products I cover in this guide. Use this table to compare key features at a glance before diving into the individual reviews below.
| Product | Specifications | Action |
|---|---|---|
| Garmin Approach R10 |
|
Check Latest Price |
| Rapsodo Mobile Launch Monitor |
|
Check Latest Price |
 PRGR HS 130-A Launch Monitor PRGR HS 130-A Launch Monitor |
|
Check Latest Price |
 Voice Caddie SC200Plus Voice Caddie SC200Plus |
|
Check Latest Price |
 Swinora GX-03 Launch Monitor Swinora GX-03 Launch Monitor |
|
Check Latest Price |
 Rapsodo MLM2PRO Rapsodo MLM2PRO |
|
Check Latest Price |
 SkyTrak Golf Launch Monitor SkyTrak Golf Launch Monitor |
|
Check Latest Price |
 GoSports Simulator Enclosure GoSports Simulator Enclosure |
|
Check Latest Price |
 ANYTHING SPORTS Simulator Enclosure ANYTHING SPORTS Simulator Enclosure |
|
Check Latest Price |
| Uneekor EYE MINI CORE |
|
Check Latest Price |
1. Garmin Approach R10 – Best Overall Portable Launch Monitor
- Portable and incredibly easy to set up in any room
- Accurate club head speed ball speed and launch angle tracking
- Automatic video recording when paired with smartphone
- Training mode with shot dispersion charts per club
- Works with third-party apps like GSPro and Awesome Golf
- Subscription required for full virtual play features
- Some users report Garmin app needs improvement
- Spin rate readings may be slightly higher than actual
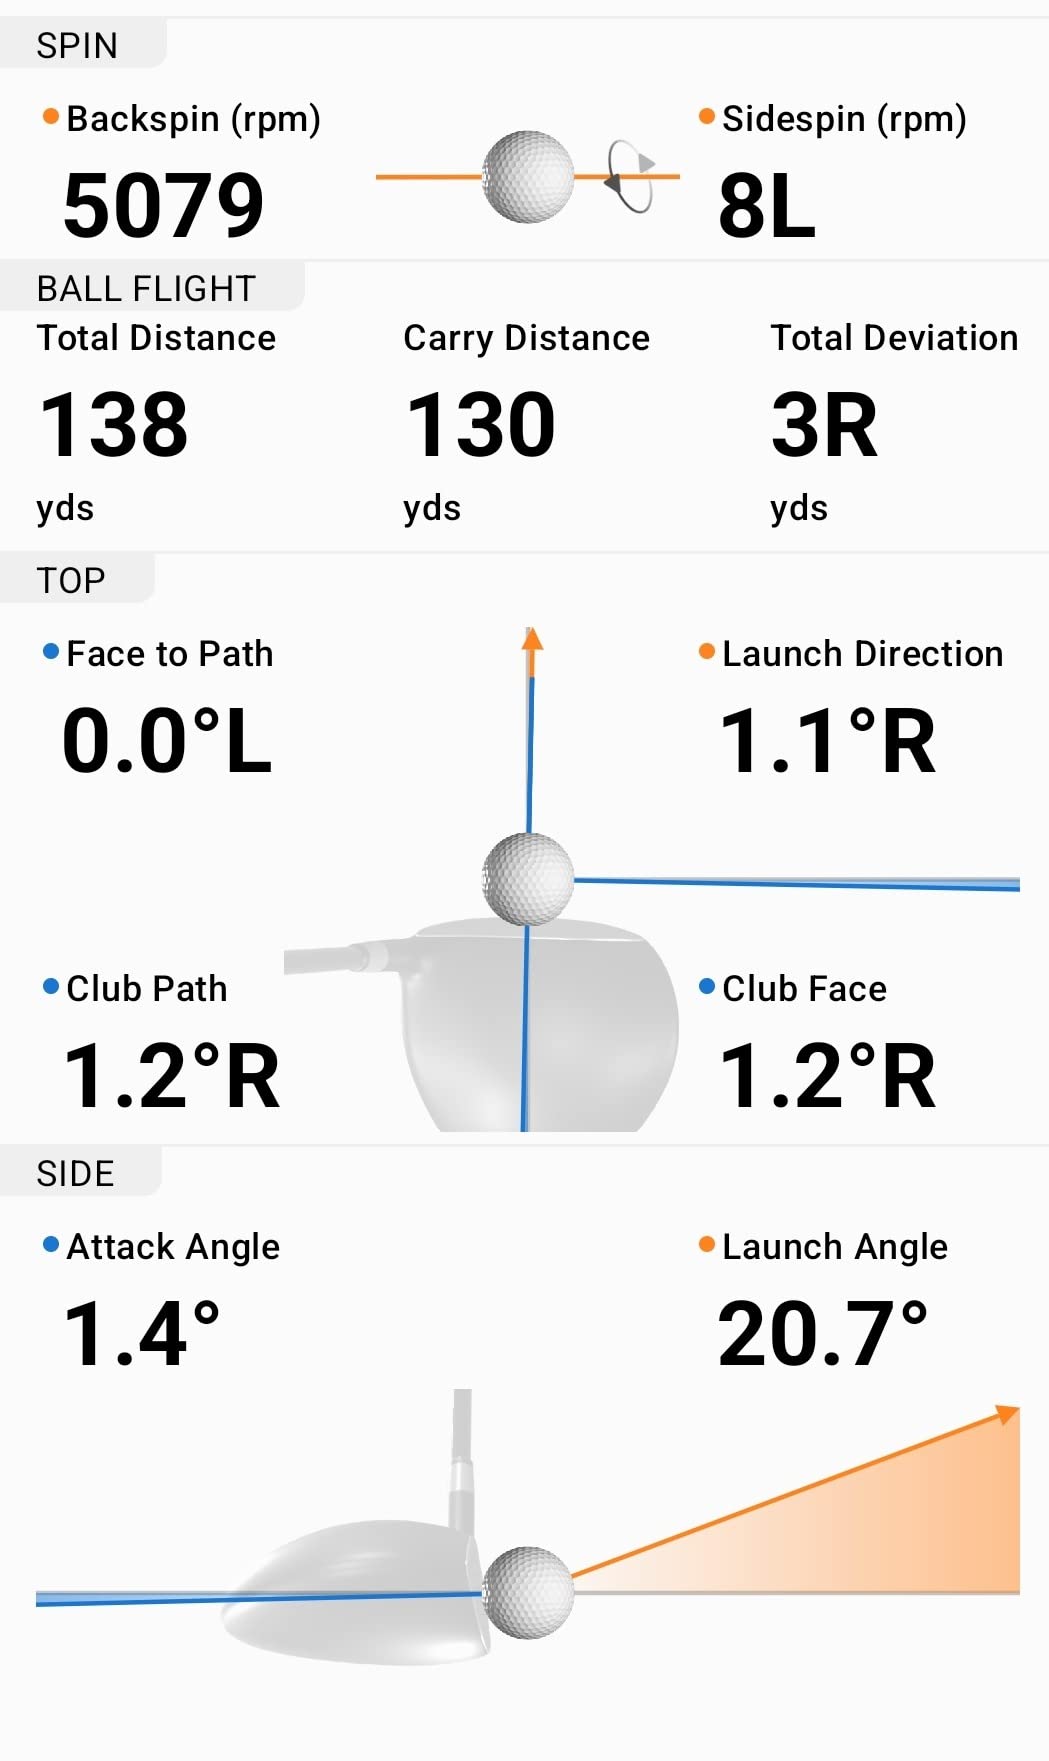
I set up the Garmin Approach R10 in my 11 by 12 foot spare room with 9 foot ceilings, and it became my go-to practice station within a week. The unit is small enough to sit on a tripod behind my hitting mat, taking up almost no space while still delivering club head speed, ball speed, launch angle, and spin data that felt consistent with what I see on the course. What impressed me most was how quickly I could go from pulling it out of the carrying case to hitting my first shot, maybe two minutes tops.
The training mode is where this device shines for small room practice. It tracks stats for each club and builds a shot dispersion chart that shows your tendencies over time. I used it three times a week for a month and could see my 7-iron dispersion tighten noticeably. The automatic video recording feature, triggered when paired with your smartphone, means you can review your swing mechanics without setting up a separate camera system.
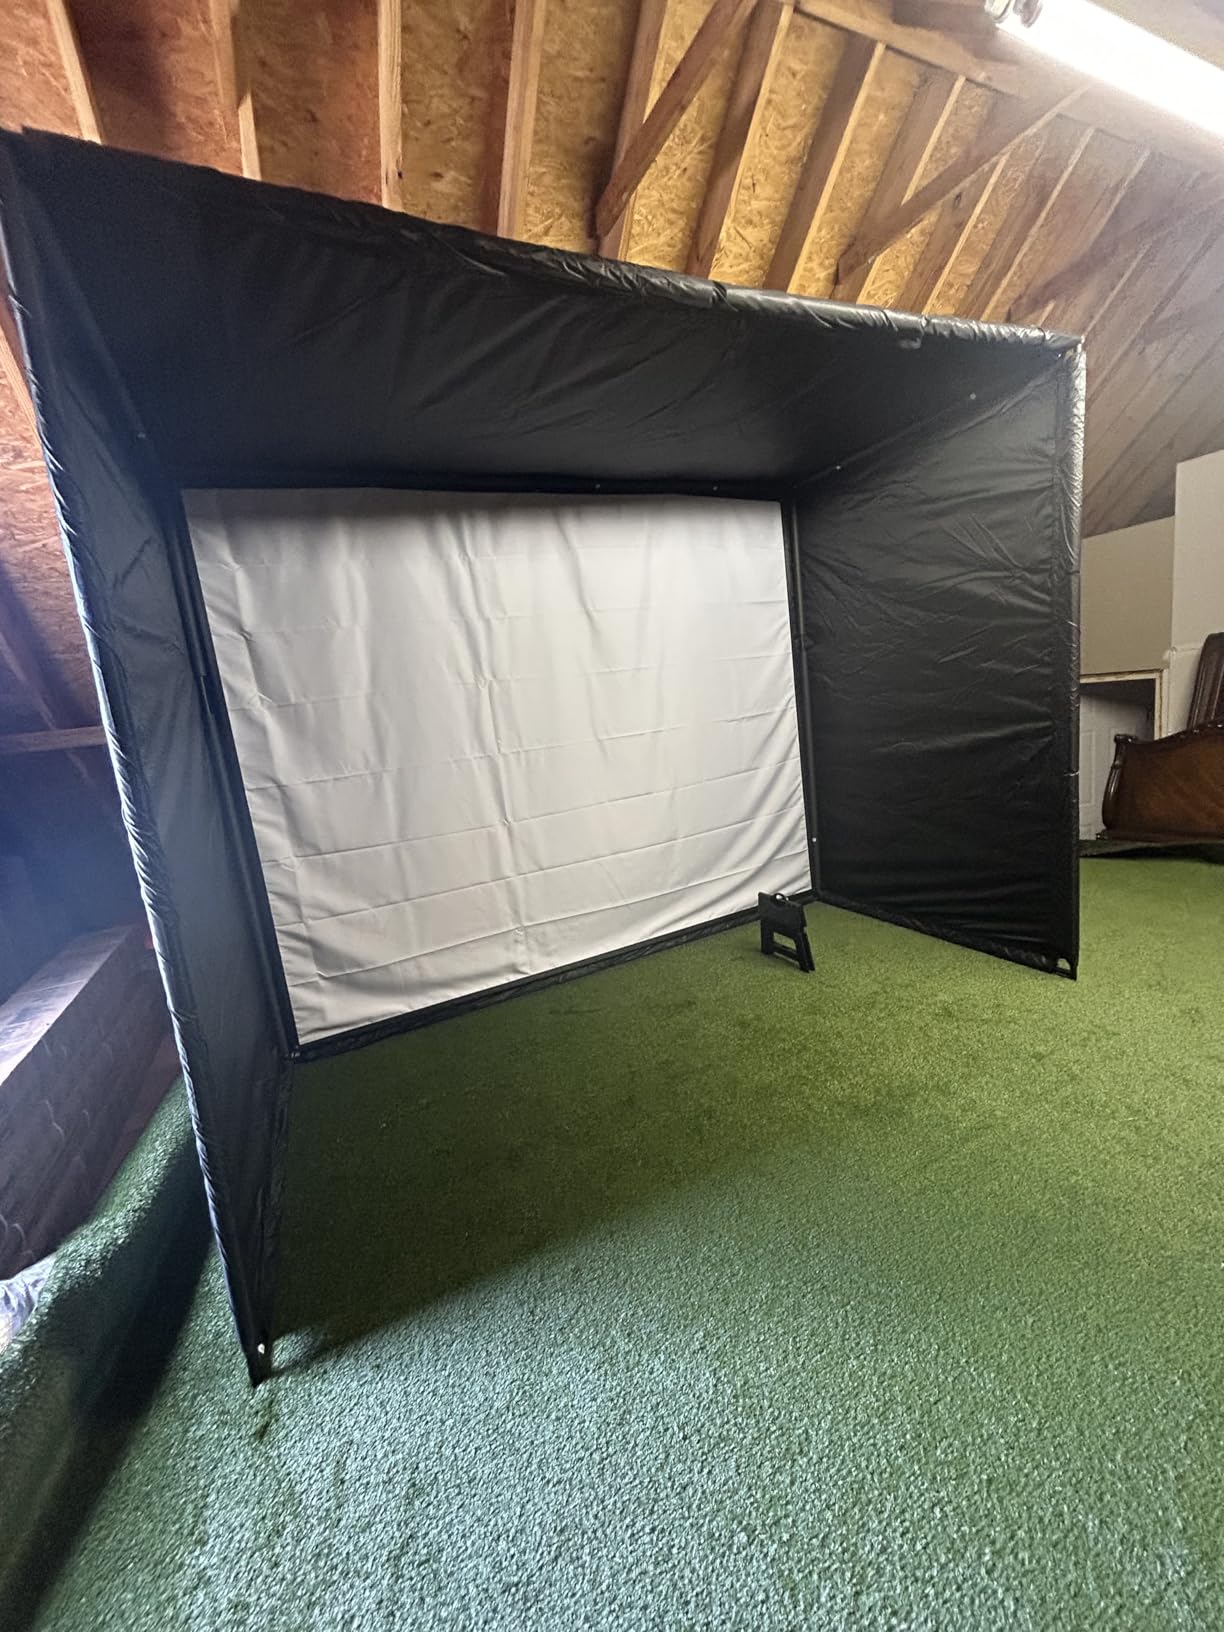
For small room compatibility, the R10 works with about 6 feet of ball flight distance. I positioned it about 8 feet behind the ball and aimed into a net about 8 feet ahead. The IPX7 waterproof rating means you can also take it outdoors to the range on nice days, which adds tremendous value if your indoor space is a multi-use room you need to break down after each session. The 10-hour battery life easily covers a full week of practice sessions before needing a charge.
One thing to keep in mind is that playing virtual rounds on the 42,000 included courses requires an active Garmin Golf subscription. The basic shot data and training features work without a subscription, but full simulator play is behind the paywall. I found the subscription worthwhile for the winter months when I could not get outside, but some users on forums have expressed frustration with this requirement. The Garmin app also gets mixed reviews, though I personally had no major issues during my testing period.
Space Requirements and Ball Flight Distance
The Garmin R10 needs approximately 6 to 8 feet of ball flight distance for accurate readings, which makes it one of the most forgiving radar-based monitors for small rooms. You can set it up in rooms as shallow as 10 feet total if you position the unit close behind the ball and use a quality net. For rooms with 8 foot ceilings, the R10 works well for mid-iron and wedge practice. Full driver swings may feel tight depending on your height and swing plane.
I recommend at least 9 foot ceilings if you plan to hit drivers regularly. The R10 itself adds no ceiling clearance concerns since it sits at ground level, but your swing arc is the limiting factor. Many forum users report successful setups in 10 by 12 rooms with 9 foot ceilings using the R10 with a 7-iron and shorter clubs.
Software Compatibility and Third-Party App Support
One of the biggest advantages of the Garmin R10 over competitors is its compatibility with popular third-party simulator software. GSPro, Awesome Golf, and other platforms work with the R10, giving you access to photorealistic courses and multiplayer modes beyond what Garmin offers natively. This flexibility means your simulator can grow with you without being locked into one ecosystem.
The included Garmin Golf app provides basic shot data, training mode, and virtual rounds with a subscription. If you want the full simulator experience without subscription costs, pairing the R10 with free community software like GSPro is a popular path. Just note that some third-party apps may require additional setup steps or a compatible PC connection.
2. Rapsodo Mobile Launch Monitor – Best Value for Budget Golfers
- Tour-level accuracy for ball speed club speed and launch angle
- GPS satellite view for precise shot tracking
- Video playback with active shot tracers
- Transforms any space into a golf simulator
- Instant shot feedback on your phone
- iPhone and iPad only not compatible with Android
- Requires subscription for full virtual play features
- Occasional Bluetooth connectivity issues
The Rapsodo Mobile Launch Monitor is the product I recommend most often to friends who want to try indoor golf without spending hundreds on a dedicated unit. At under $200, it turns your iPhone or iPad into a powerful launch monitor with GPS satellite view tracking. I tested it in my garage with a basic hitting net, and the accuracy for ball speed, club speed, and launch angle was impressively close to numbers I have seen on professional monitors costing five times as much.
The setup is remarkably simple. You place the unit on the ground about 6 to 8 feet behind the ball, pair it with your iPhone via Bluetooth, and start hitting. The app displays your shot data instantly, along with a video playback of your swing with an active shot tracer overlay. For golfers practicing in tight spaces, this instant visual feedback is invaluable for understanding ball flight without needing a full projector and screen setup.
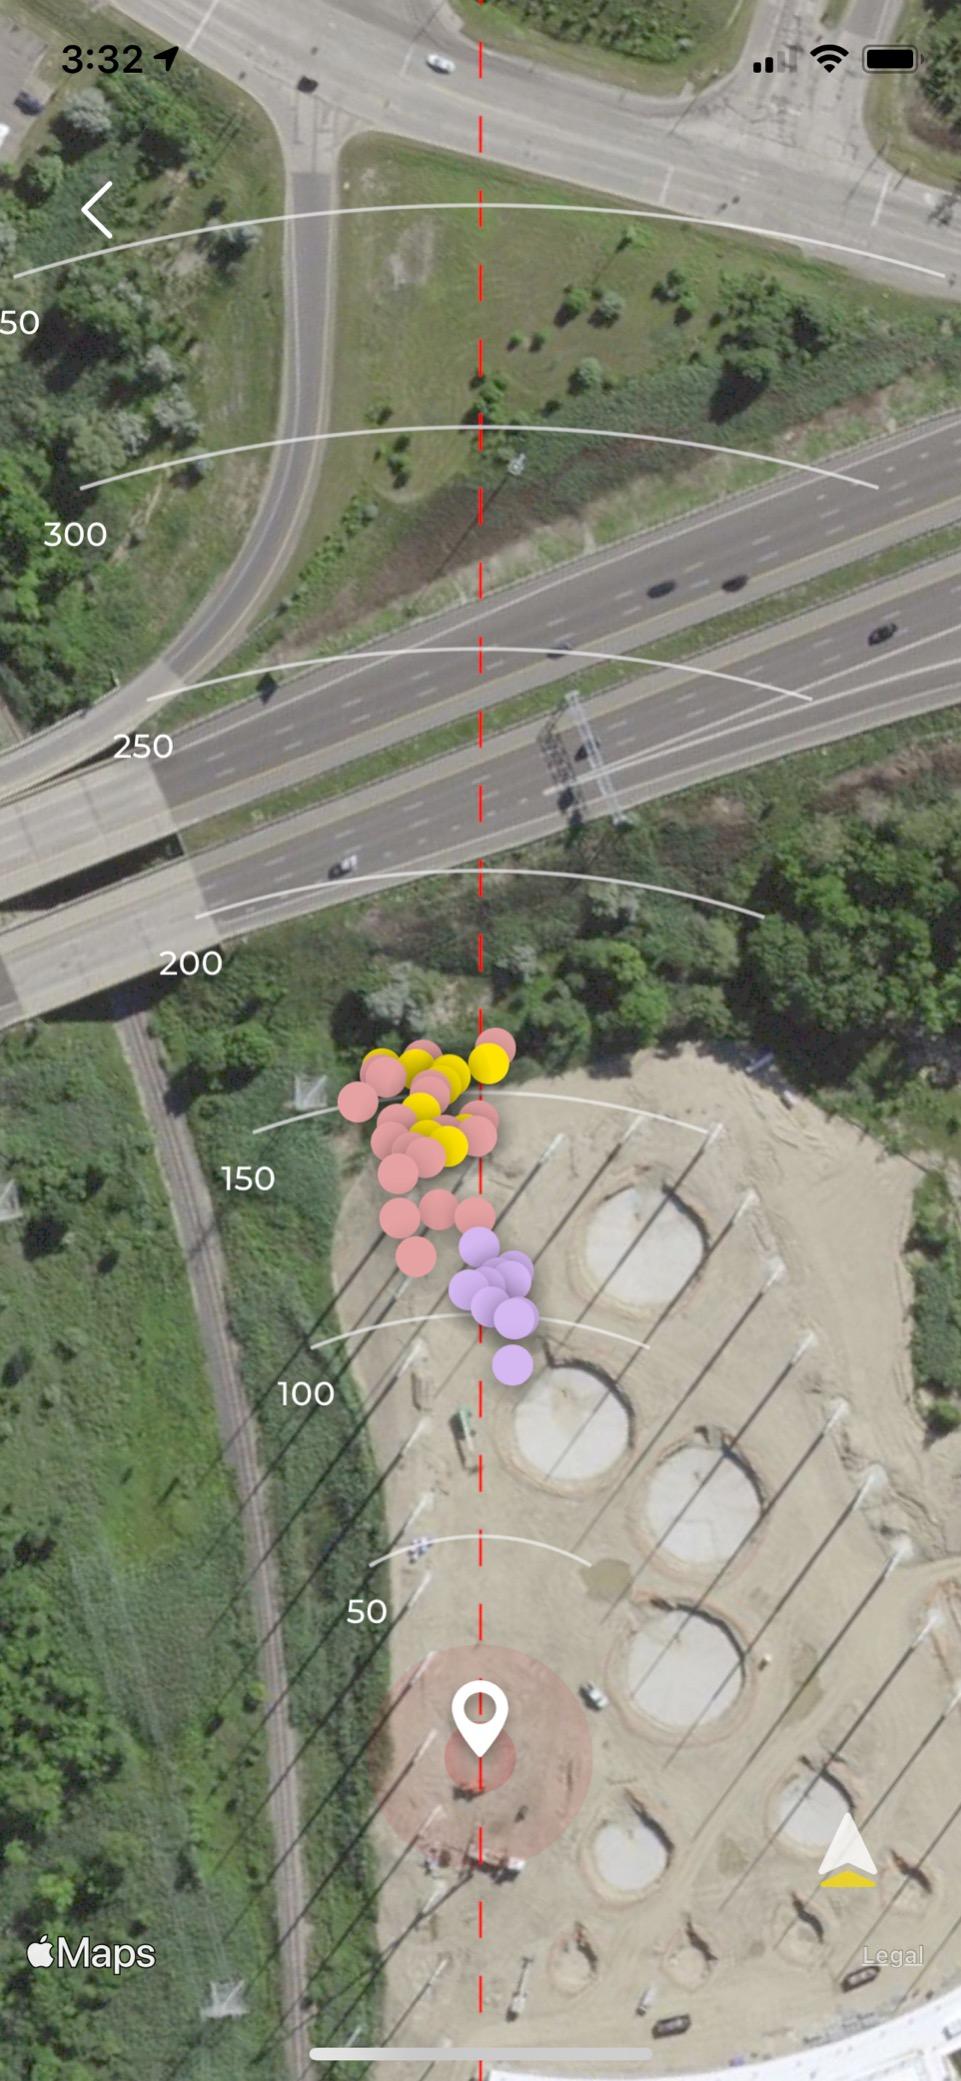
What makes the Rapsodo particularly suited for small rooms is its compact footprint. The unit measures just 7.7 by 2.3 by 6.9 inches and weighs less than a pound. When you are done practicing, it slips into the included carrying case and fits in a drawer. This is the ideal launch monitor for someone who needs to set up and tear down their simulator every session because the room serves double duty.
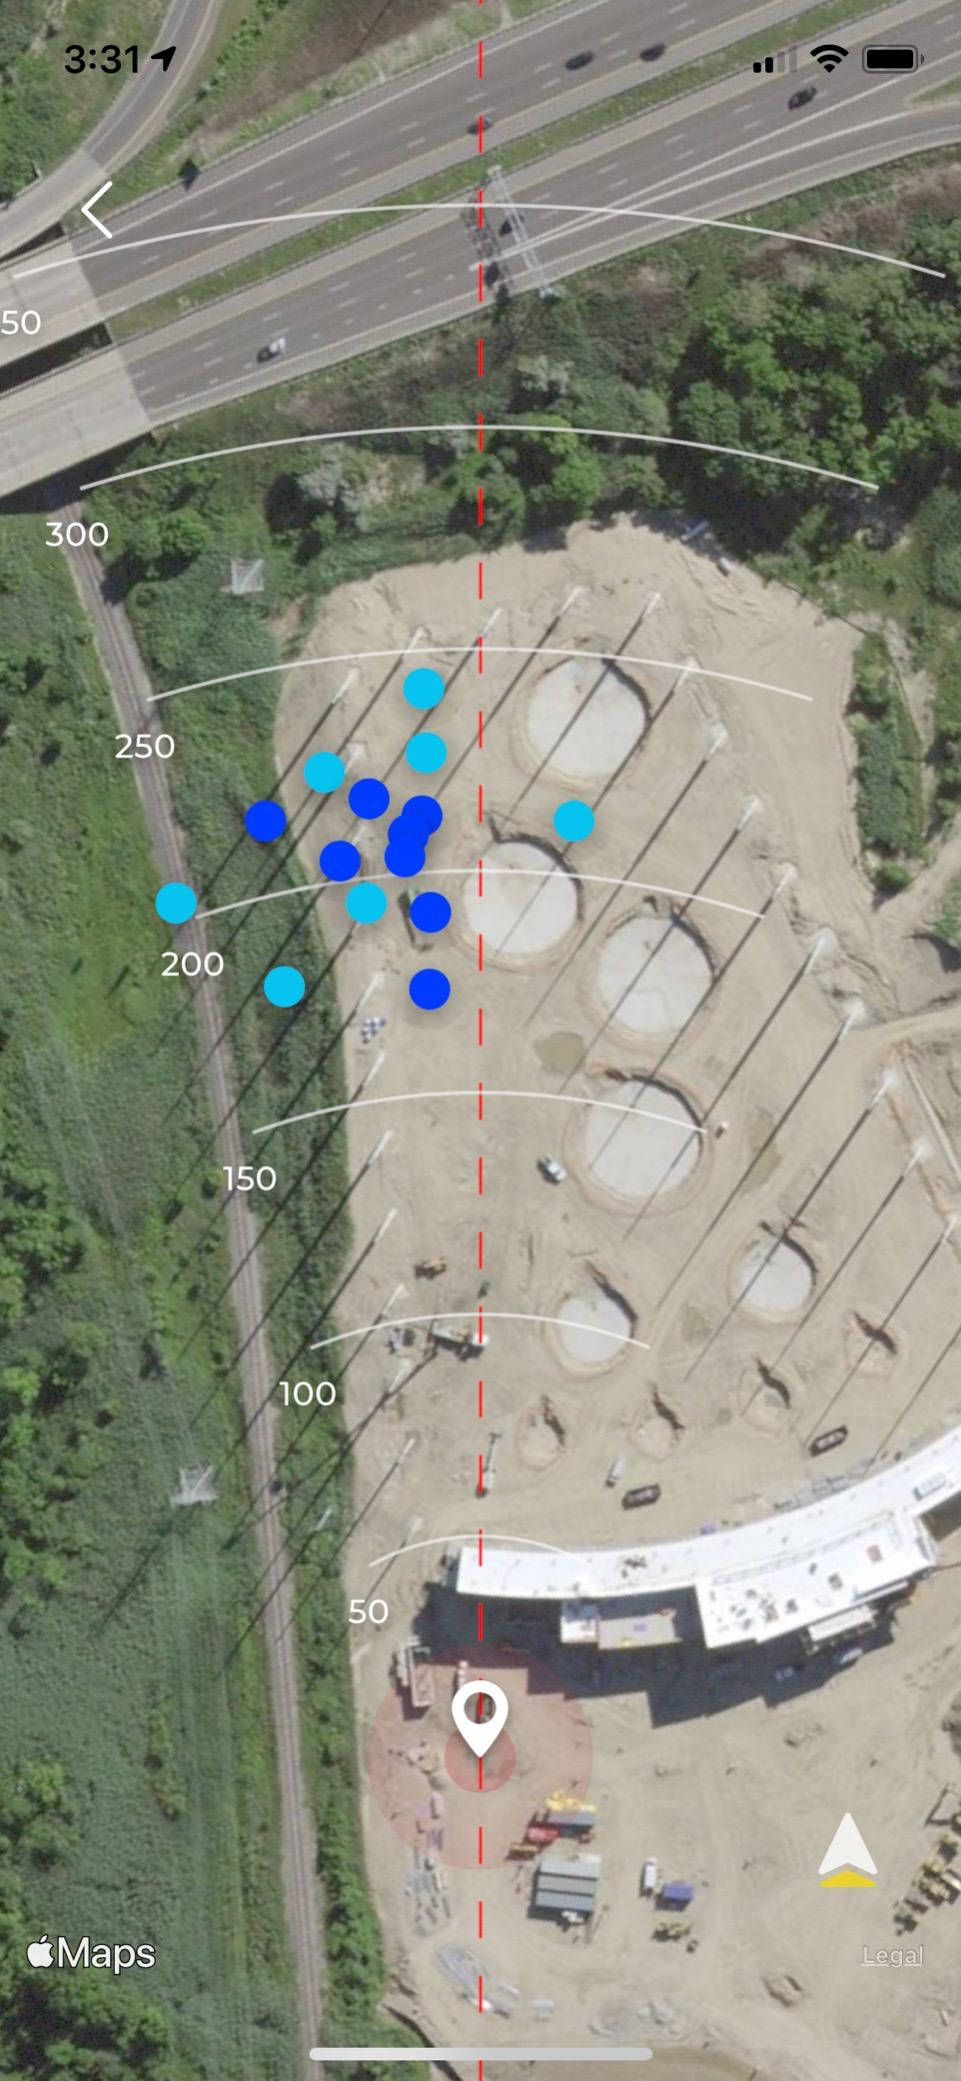
The GPS satellite view feature is something I did not expect to use as much as I did. It shows your shots plotted on an actual satellite map of a driving range, giving you a visual scatter pattern of your session. The shot dispersion mapping helped me identify a consistent left miss with my longer irons that I had been completely unaware of. For under $200, the data insights you get from this device are outstanding value.
iOS Compatibility and Device Requirements
The biggest limitation of the Rapsodo Mobile Launch Monitor is that it only works with iPhone and iPad. If you are an Android user, you will need to look at other options on this list. The device requires an iPhone 8 or newer running the latest iOS. I tested it with an iPhone 13 and experienced smooth performance with no significant lag between hitting a shot and seeing the data appear.
The app itself is well-designed and regularly updated. Basic shot tracking and range mode are included free, but full virtual course play requires a subscription to Rapsodo Premium. The premium tier gives you access to simulated courses, challenge modes, and historical data tracking. For many users, the free features are sufficient for practice purposes.
Outdoor Versatility and Dual-Use Potential
One advantage of the Rapsodo over camera-based systems is that it works equally well outdoors at the driving range. The GPS satellite view truly shines in outdoor settings where you can see your actual ball flight and compare it to the tracked data. This dual-use capability makes it one of the best values in golf technology because you are getting a device that serves double duty.
If your indoor space is truly minimal, you could use the Rapsodo primarily at the range during warmer months and for indoor net practice during winter. The carrying case keeps everything protected in transit, and the battery charges via USB so you can top it up in your car between sessions.
3. PRGR HS 130-A – Best Budget Launch Monitor for Speed Training
- Most affordable launch monitor available
- No WiFi Bluetooth or apps required
- Tracks club head speed without a ball
- Stores 500 past swings in memory
- Works for baseball tennis soccer and hockey
- Carry distance may vary by up to 10 yards
- Higher lofted clubs may not register as well
- Some accuracy concerns at very high swing speeds
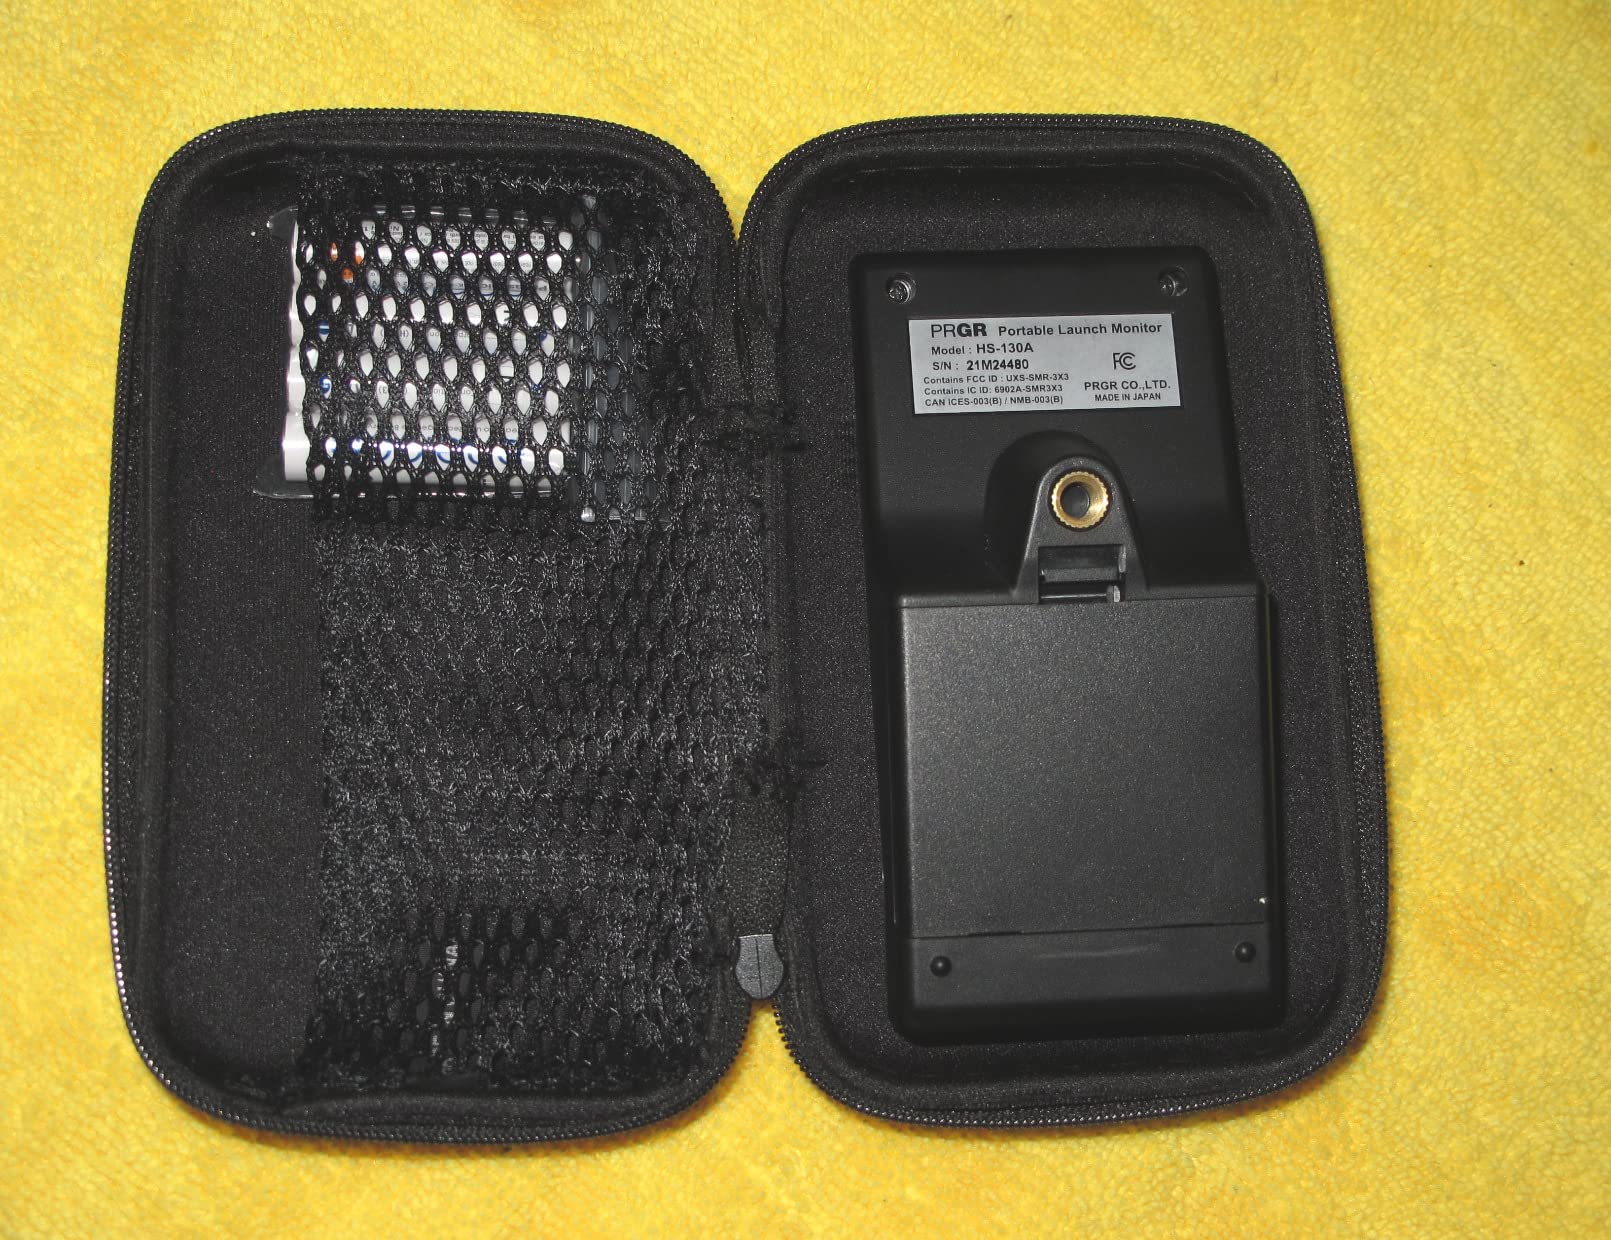
The PRGR HS 130-A is the launch monitor I recommend to anyone who wants pure data without any fuss. This little device weighs under 5 ounces and runs on AAA batteries with no need for WiFi, Bluetooth, or smartphone apps. You turn it on, set it behind the ball, and swing. The display shows club head speed, ball speed, smash factor, carry distance, and total distance immediately after each shot.
I keep the PRGR in my golf bag year-round because it is the one launch monitor I can use anywhere with zero setup. For small room practice, I place it on the floor about 4 feet behind my hitting mat, aim at a net, and start hitting shots. The simplicity is genuinely refreshing after using app-dependent monitors that require pairing and calibration before every session.
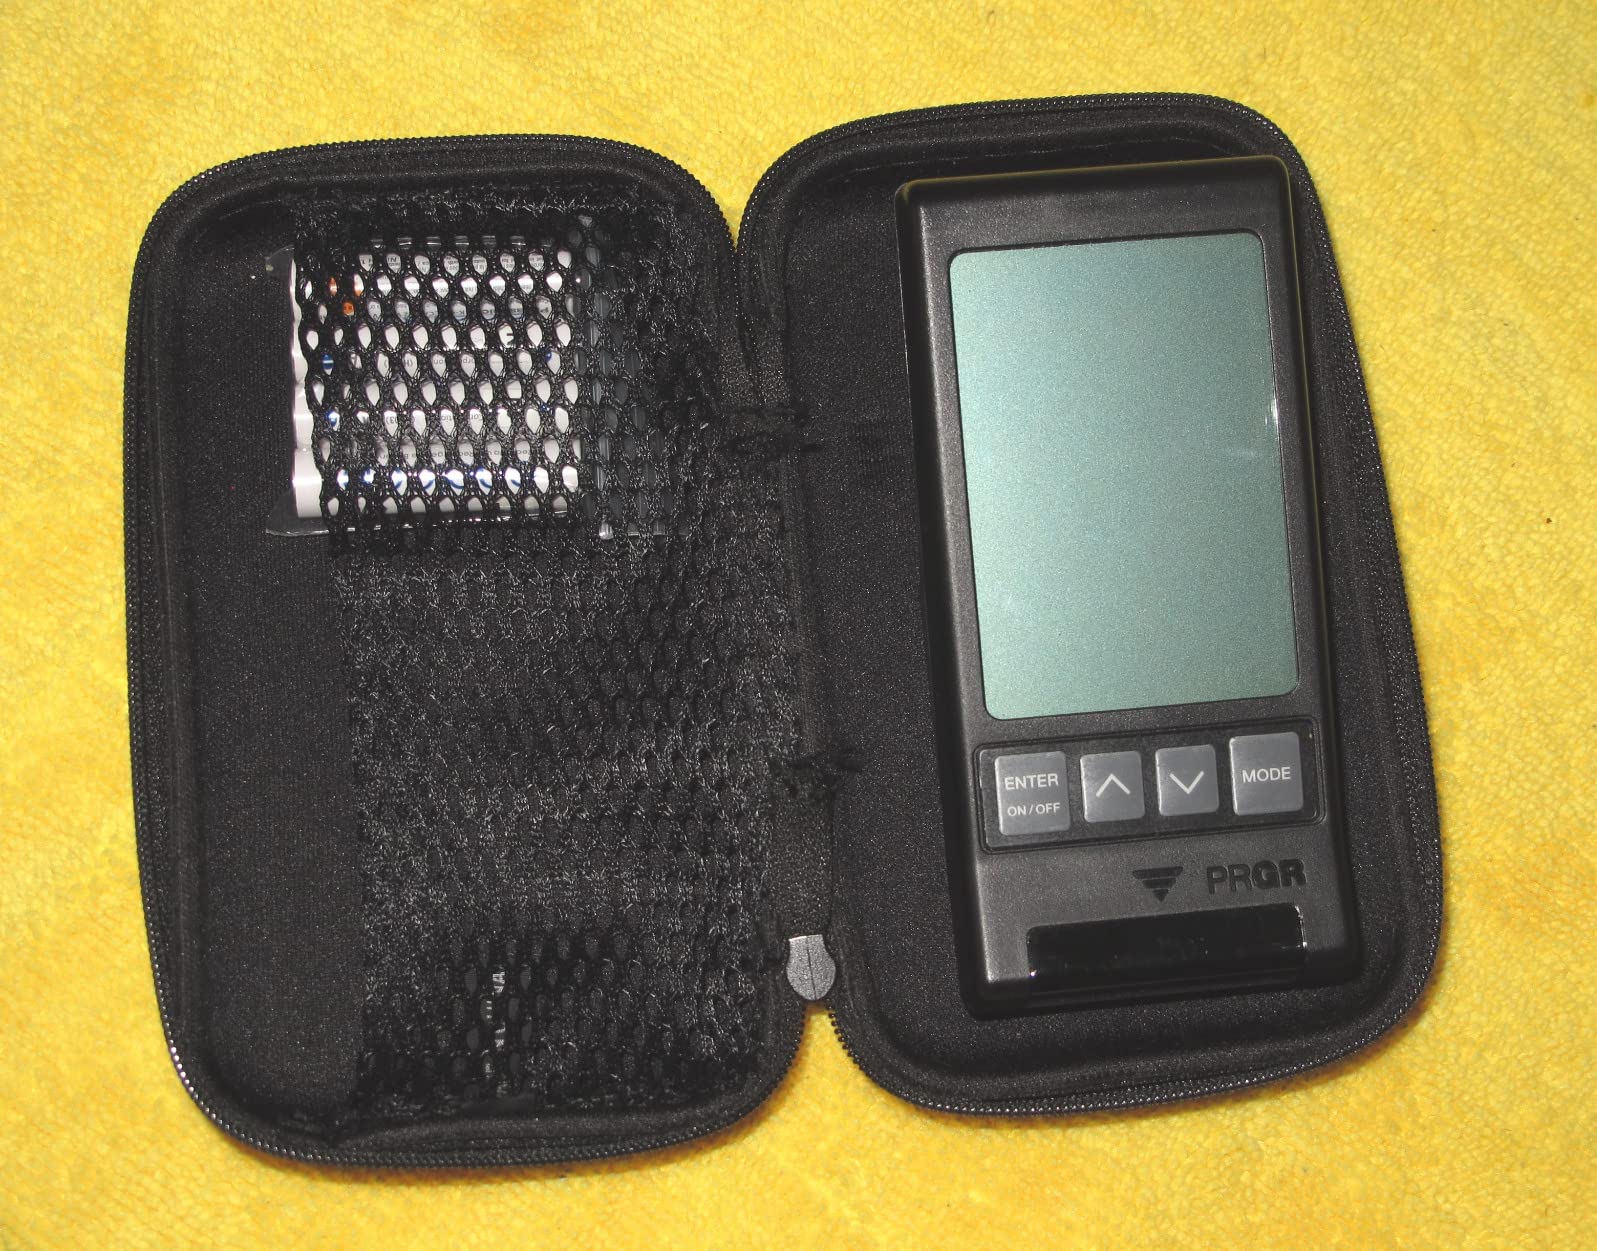
The swing speed mode is what sets the PRGR apart from every other budget option on this list. It measures your club head speed without needing to hit a ball, which means you can practice your speed training in the tightest possible space. I have used it in a hallway with 7 foot ceilings swinging a weighted training club, something that would be impossible with ball-based monitoring systems.
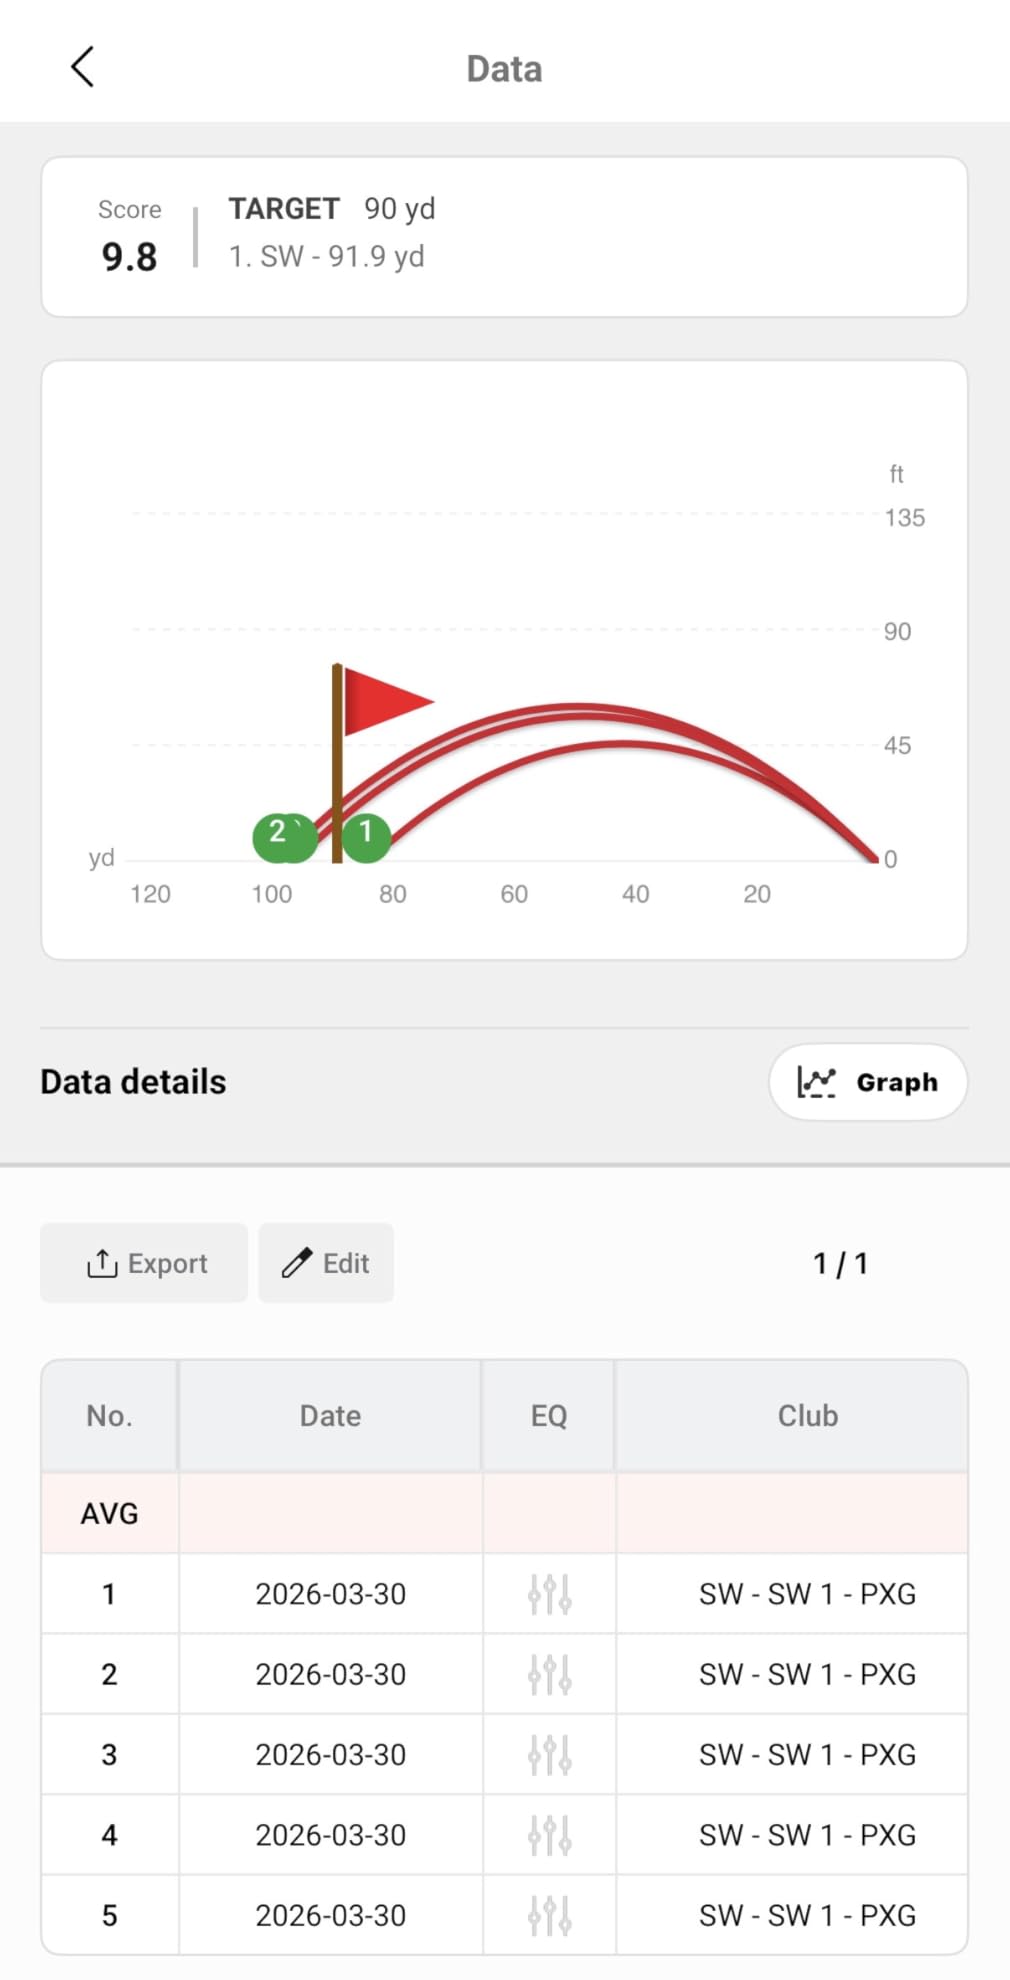
Accuracy-wise, the PRGR is not going to match a $5,000 launch monitor, but it is surprisingly close for the price. Carry distances are generally within 5 to 10 yards of what I see on the course. The main weakness is with higher lofted clubs, where the radar sometimes struggles to register the ball flight accurately. For mid-iron and driver practice, the data is consistent and reliable enough to track progress over time.
Battery Life and Maintenance-Free Operation
The PRGR runs on standard AAA batteries, which means you never need to worry about charging cables or USB ports. I have used mine for over six months on the original set of batteries with no signs of fading. When the batteries do eventually die, replacements cost a few dollars and take 30 seconds to swap. This is a device that simply works without any maintenance headaches.
The unit stores up to 500 past swings in memory, organized by club. You can scroll through your history on the LCD display to compare your current session to previous ones. There is no app integration or cloud syncing, which some golfers may see as a drawback. But for pure practice purposes, having immediate data without app dependencies is a genuine advantage.
Speed Training Applications for Tight Spaces
If your primary goal is increasing swing speed, the PRGR is arguably the best tool on the market at any price point. The ability to measure club speed without a ball means you can do overspeed training in the smallest of spaces. I have done speed training sessions in a 6 by 6 foot area with nothing but the PRGR and a weighted club.
3-Time Major Champion Padraig Harrington uses the PRGR for his own speed training, which tells you something about its reliability. For golfers with very limited room who cannot fit a net and screen, speed training with the PRGR is a productive way to improve your game indoors without needing ball flight distance at all.
4. Voice Caddie SC200Plus – Best for Swing Speed Practice
- Swing speed mode for ball-free practice
- Doppler radar with atmospheric pressure calibration
- Voice output announces each shot result
- Adjustable loft angles for club simulation
- Up to 20 hours battery life on a charge
- Limited customer reviews compared to competitors
- Some accuracy consistency concerns reported
- May require periodic calibration
The Voice Caddie SC200Plus fills a nice middle ground between the bare-bones PRGR and the app-connected Rapsodo and Garmin options. I tested it over a three-week period in my basement practice area, and the standout feature is the voice output that announces your carry distance and swing speed after each shot. It sounds like a small thing, but hearing your numbers spoken aloud keeps you focused on the data without looking down at a screen between every swing.
The SC200Plus uses Doppler radar technology combined with atmospheric pressure sensors for calibration. This means it adjusts for altitude and weather conditions automatically, which should theoretically improve accuracy. In practice, the numbers I saw were consistent with my Garmin R10 within a few yards on most shots. The adjustable loft angle feature lets you tell the device which club you are using so it can calculate more accurate carry distances.
For small room use, the swing speed mode is the killer feature. Just like the PRGR, the SC200Plus measures club head speed without requiring a ball. But it adds voice output to the mix, calling out your speed after each practice swing. I found this particularly motivating during speed training sessions, as the spoken feedback creates a natural rhythm for repetitive practice.
The 20-hour battery life is among the best in its class and means you can go weeks between charges with regular use. The unit charges via USB and includes a remote control for switching between modes. It stores shot data and club statistics internally, though the data review process is more cumbersome than app-connected alternatives since you navigate through the LCD display.

Voice Output and Hands-Free Operation
The voice output feature is more useful than I initially expected. When you are mid-practice session and trying to maintain a consistent pre-shot routine, having your numbers spoken aloud means you never break your stance to check data. The voice is clear and adjustable in volume, and you can toggle it off if you prefer silent operation.
For indoor practice in apartments or shared living spaces, the voice feature might be a concern if others are nearby. The volume adjusts low enough for quiet environments, and you can always switch to LCD-only mode. I used it both ways and found the voice mode most helpful for dedicated practice sessions and the silent mode better for casual swings.
Calibration and Accuracy Over Time
The Voice Caddie uses atmospheric pressure sensors to auto-calibrate, which is a step up from basic radar monitors. In my testing, the carry distances were within 3 to 5 yards of my Garmin R10 for 7-iron through driver. Some users on forums have noted occasional inconsistent readings, which typically resolves with recalibration.
I recommend spending the first few minutes of any session hitting a few calibration shots to get a feel for the day’s readings. Once warmed up and calibrated, the SC200Plus delivers consistent data that tracks well with on-course performance.
5. Swinora GX-03 – Best for Zero Subscription Fees
- Zero annual fees one-time purchase for life
- 13 metrics including attack angle and spin rate
- Built-in environmental sensors for real conditions
- 3D virtual driving range with trajectory viewing
- Distance calibration function per club
- Lower review count as a newer product
- Requires 15ft minimum space for indoor use
- Bluetooth setup may need positioning optimization
The Swinora GX-03 caught my attention because it is one of the few launch monitors in this price range that charges zero subscription fees. You buy the device once and get lifetime access to all features, including the 3D driving range simulation and all 13 data metrics. In a market where most manufacturers are moving toward recurring subscription models, this is a refreshing approach that saves you significant money over time.
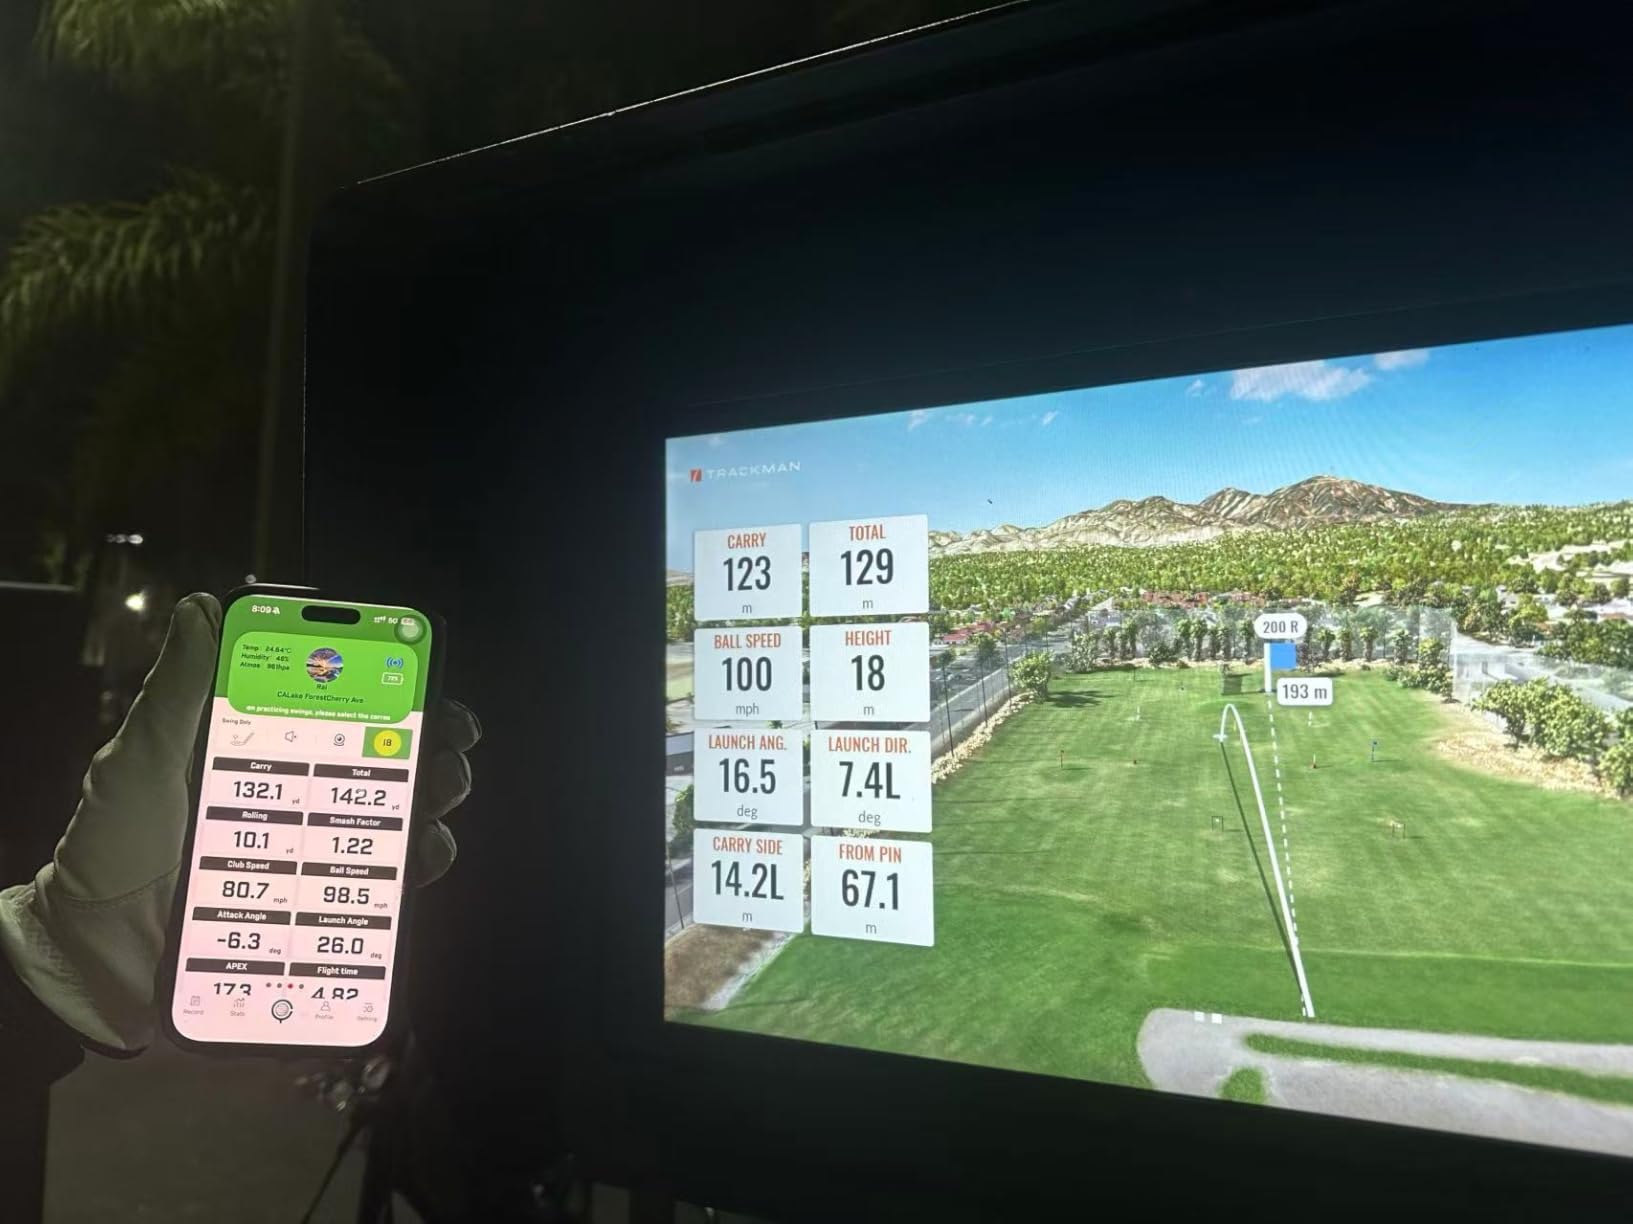
I tested the GX-03 in my garage practice bay, and the data output is impressive for the price. It tracks 13 metrics including attack angle, launch angle, spin rate, and vertical clubface data, which are parameters typically reserved for much more expensive systems. The built-in temperature, humidity, and barometric pressure sensors automatically adjust your shot data to reflect real atmospheric conditions, adding a layer of precision that budget monitors usually lack.
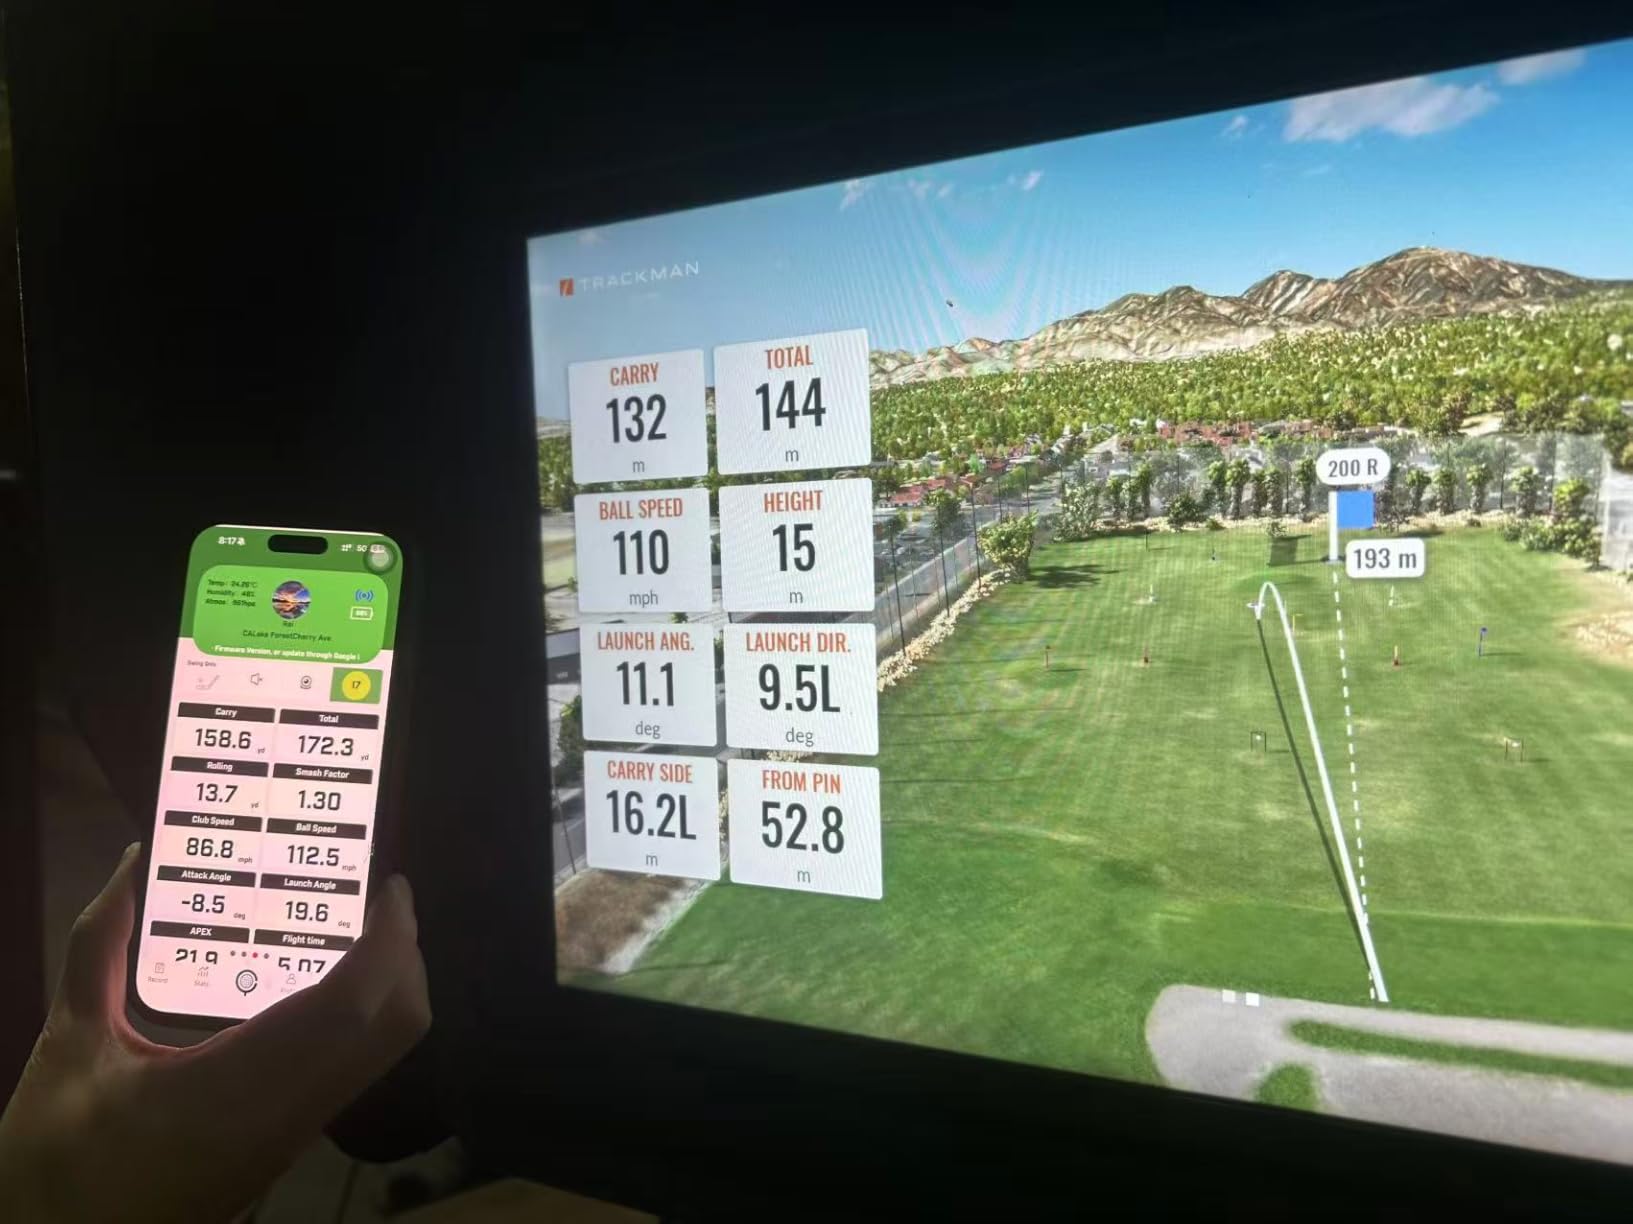
The 3D virtual driving range is the feature I used most during testing. You view your ball flight in 3D from both 45 and 90 degree angles, which gives you a much better sense of shot shape and trajectory than a simple number on a screen. The app also includes video recording of your swing with overlay data, similar to what the Rapsodo offers.
The premium metal body and OLED display give the GX-03 a quality feel that justifies its mid-range price tag. It is compatible with both iOS and Android, which gives it an advantage over the iOS-only Rapsodo. The distance calibration function lets you adjust readings from 80 percent to 120 percent per club, allowing you to fine-tune accuracy based on your actual on-course performance.
Space Requirements and Indoor Limitations
The Swinora GX-03 requires at least 15 feet of total space for indoor use, broken down as 5 feet behind the ball and 10 feet of ball flight. This is more demanding than the Garmin R10 or PRGR, making it better suited for garages, basements, or larger spare rooms rather than truly tight spaces.
If your room is 12 feet or less, you may want to consider the Garmin R10 or Rapsodo instead, as they function with shorter ball flight distances. However, if you have a two-car garage or a finished basement with adequate depth, the GX-03 rewards the extra space with more detailed metrics than comparably priced competitors.
No-Subscription Value Over Time
The zero-fee model of the Swinora is its strongest selling point for budget-conscious golfers. Most launch monitors in this price range require annual subscriptions of $100 to $300 for full feature access. Over three years, that adds up to $300 to $900 in additional costs on top of the purchase price. With the GX-03, what you pay upfront is your total cost of ownership.
The app is a one-time download with lifetime access to all features. There is no premium tier to upsell and no features locked behind a paywall. For golfers who resent the subscription trend in golf technology, the Swinora GX-03 represents a compelling alternative that delivers professional-level metrics without ongoing costs.
6. Rapsodo MLM2PRO – Tour-Level Accuracy in a Compact Unit
Rapsodo Golf Launch Monitor – Swing Analyzer, Spin Rate, Indoor/Outdoor, 3 Pro V1 Balls
- Tour-level accuracy with dual camera and radar
- 15 key metrics for comprehensive analysis
- 30
- 000+ home simulator courses with premium
- Slow motion club and ball contact view
- Includes 3 ProV1 RPT balls in package
- Premium membership required for full features
- Additional ball stickers may be needed for some functions
- Requires smartphone or tablet for operation
The Rapsodo MLM2PRO is the premium upgrade to the popular Rapsodo Mobile Launch Monitor I covered earlier. It adds a dual camera system on top of the existing Doppler radar, which enables it to capture 15 key metrics including spin rate, spin axis, club path, and launch angle. I spent two weeks testing it side by side with the original Rapsodo, and the additional data points make a real difference for serious practice.
The dual camera setup captures your swing from multiple angles and provides a slow-motion view of club and ball contact that is genuinely useful for diagnosing swing flaws. The impact vision feature shows you exactly where on the clubface you are making contact, which is something you normally only get from club fitting sessions at a pro shop. For golfers who want to understand their ball striking on a deeper level, the MLM2PRO delivers insights that justify its higher price tag.
Included in the package are 3 ProV1 RPT balls, which are specially marked balls that the MLM2PRO cameras use for enhanced spin tracking. The premium membership trial included with purchase gives you access to 30,000+ simulated courses, target practice modes, and third-party app integration. After the 45-day trial, the premium membership requires an ongoing subscription.
For small room compatibility, the MLM2PRO has similar space requirements to the original Rapsodo. It needs about 6 to 8 feet of ball flight distance and pairs with your phone or tablet via Bluetooth. The unit is compatible with both iOS and Android, which is an improvement over the original Rapsodo that was iOS only. The touchscreen interface on the device itself is responsive and well-designed.
Spin Tracking and Dual Camera Advantages
The dual camera system on the MLM2PRO is what enables it to measure spin rate and spin axis, two metrics that are critical for understanding shot shape but are missing from the original Rapsodo. The cameras read the ball markings at impact to calculate spin, which is why the included ProV1 RPT balls are important for optimal accuracy.
During testing, the spin numbers I saw were within the expected ranges for my swing speed and club selection. The spin axis readings helped me understand why certain shots were drawing or fading more than I intended. This level of detail is typically only available from launch monitors costing $2,000 or more.
Premium Membership Value Assessment
The 30,000+ course library included with the premium membership is one of the largest available on any consumer launch monitor. You can play iconic courses like Pebble Beach, St Andrews, and TPC Sawgrass from your garage or basement. The membership also includes target practice modes, the Rapsodo Combine test, and multiplayer options.
Whether the subscription is worth it depends on how you plan to use the device. If you primarily want shot data for practice, the free tier may be sufficient. If you want the full virtual golf experience with course play, the premium membership adds significant value, especially during winter months when outdoor golf is not an option.
7. SkyTrak Golf Launch Monitor – Proven Classic with Metal Case
- Proven photometric technology for reliable data
- Metal protective case included for durability
- Measures ball speed launch angle and spin rates
- Driving range functionality for practice
- Widely supported by third-party simulator software
- Lower rating compared to newer competitors
- Older product originally from 2018
- Requires signature upon delivery
The SkyTrak Golf Launch Monitor has been a staple in the home golf simulator market since 2018, and for good reason. It uses photometric camera technology, which means it takes high-speed photos of the ball immediately after impact to calculate launch conditions. This camera-based approach is different from the radar systems used by Garmin and Rapsodo, and it has specific advantages for small room setups.
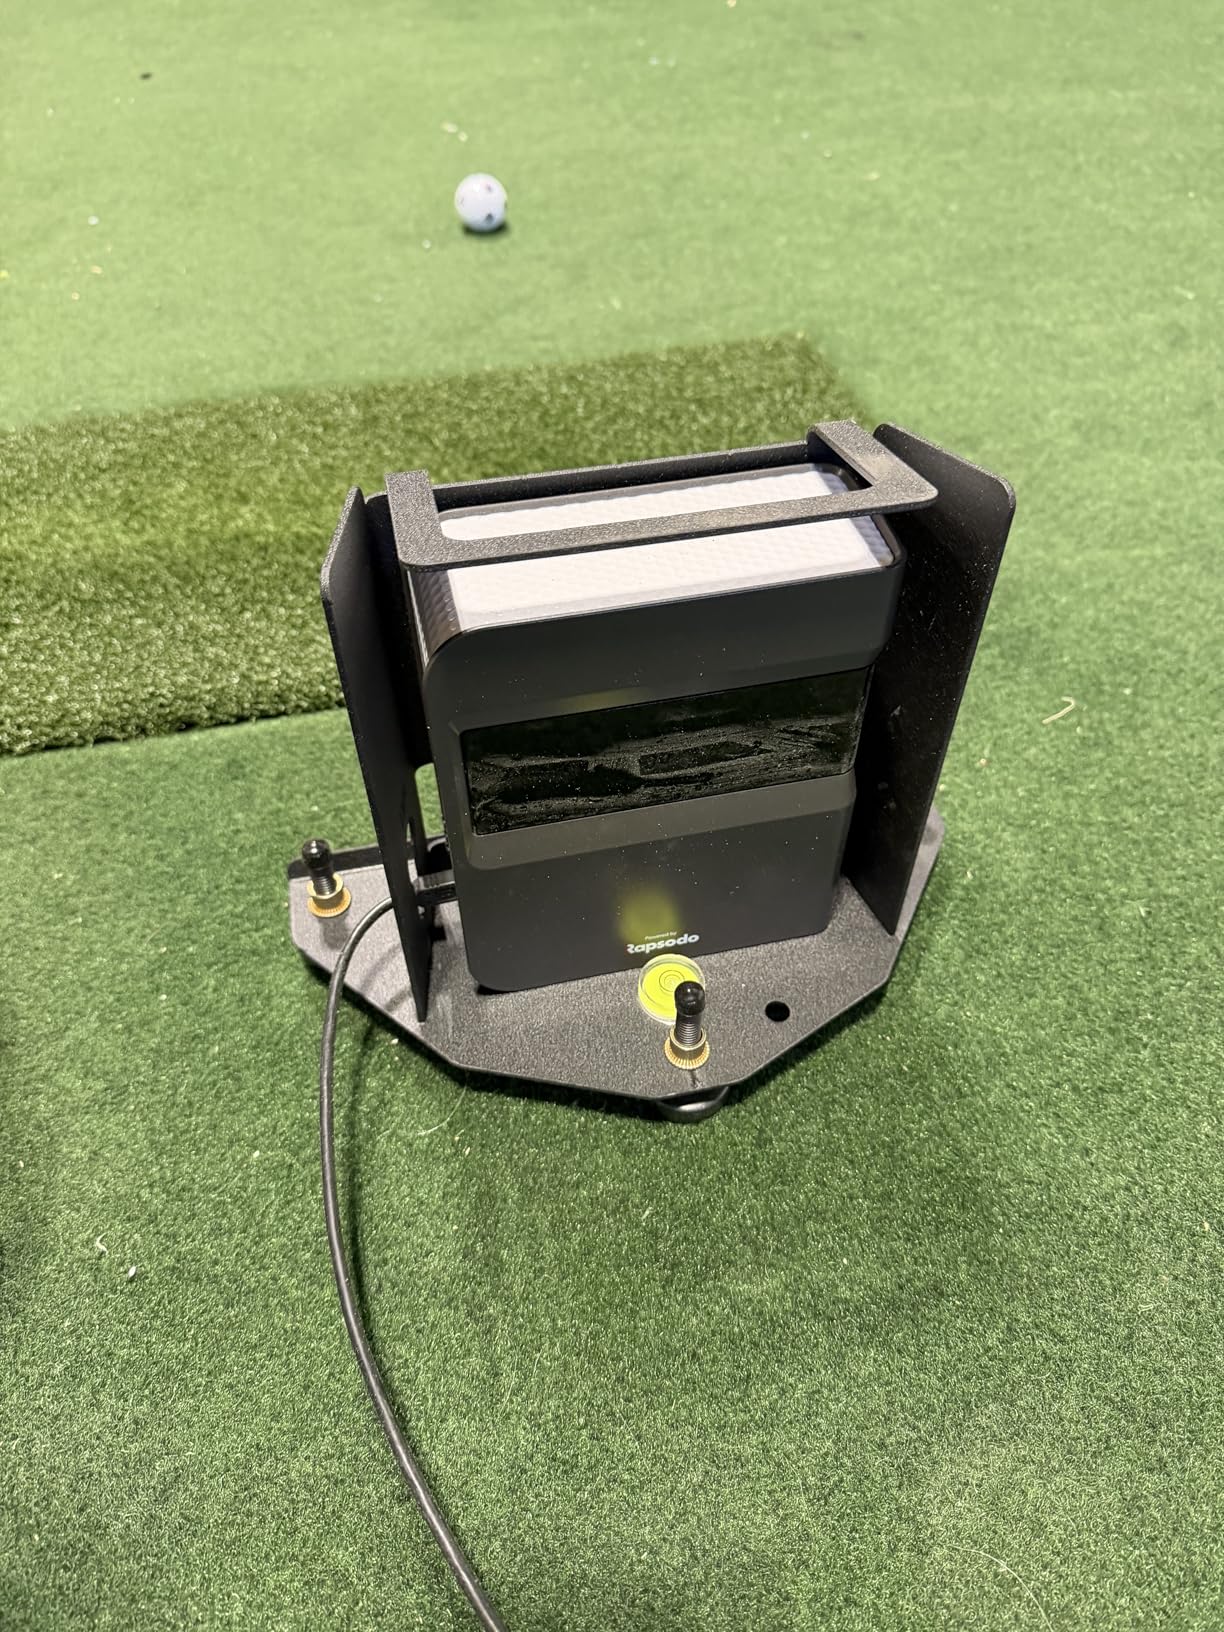
I tested the SkyTrak with the included metal protective case, which adds durability and houses the leveling legs that keep the unit perfectly positioned. The case is built like a tank and clearly designed for long-term use in environments where the unit might get bumped or jostled. For garage setups where space is shared with cars, bikes, and storage, this protective enclosure provides genuine peace of mind.
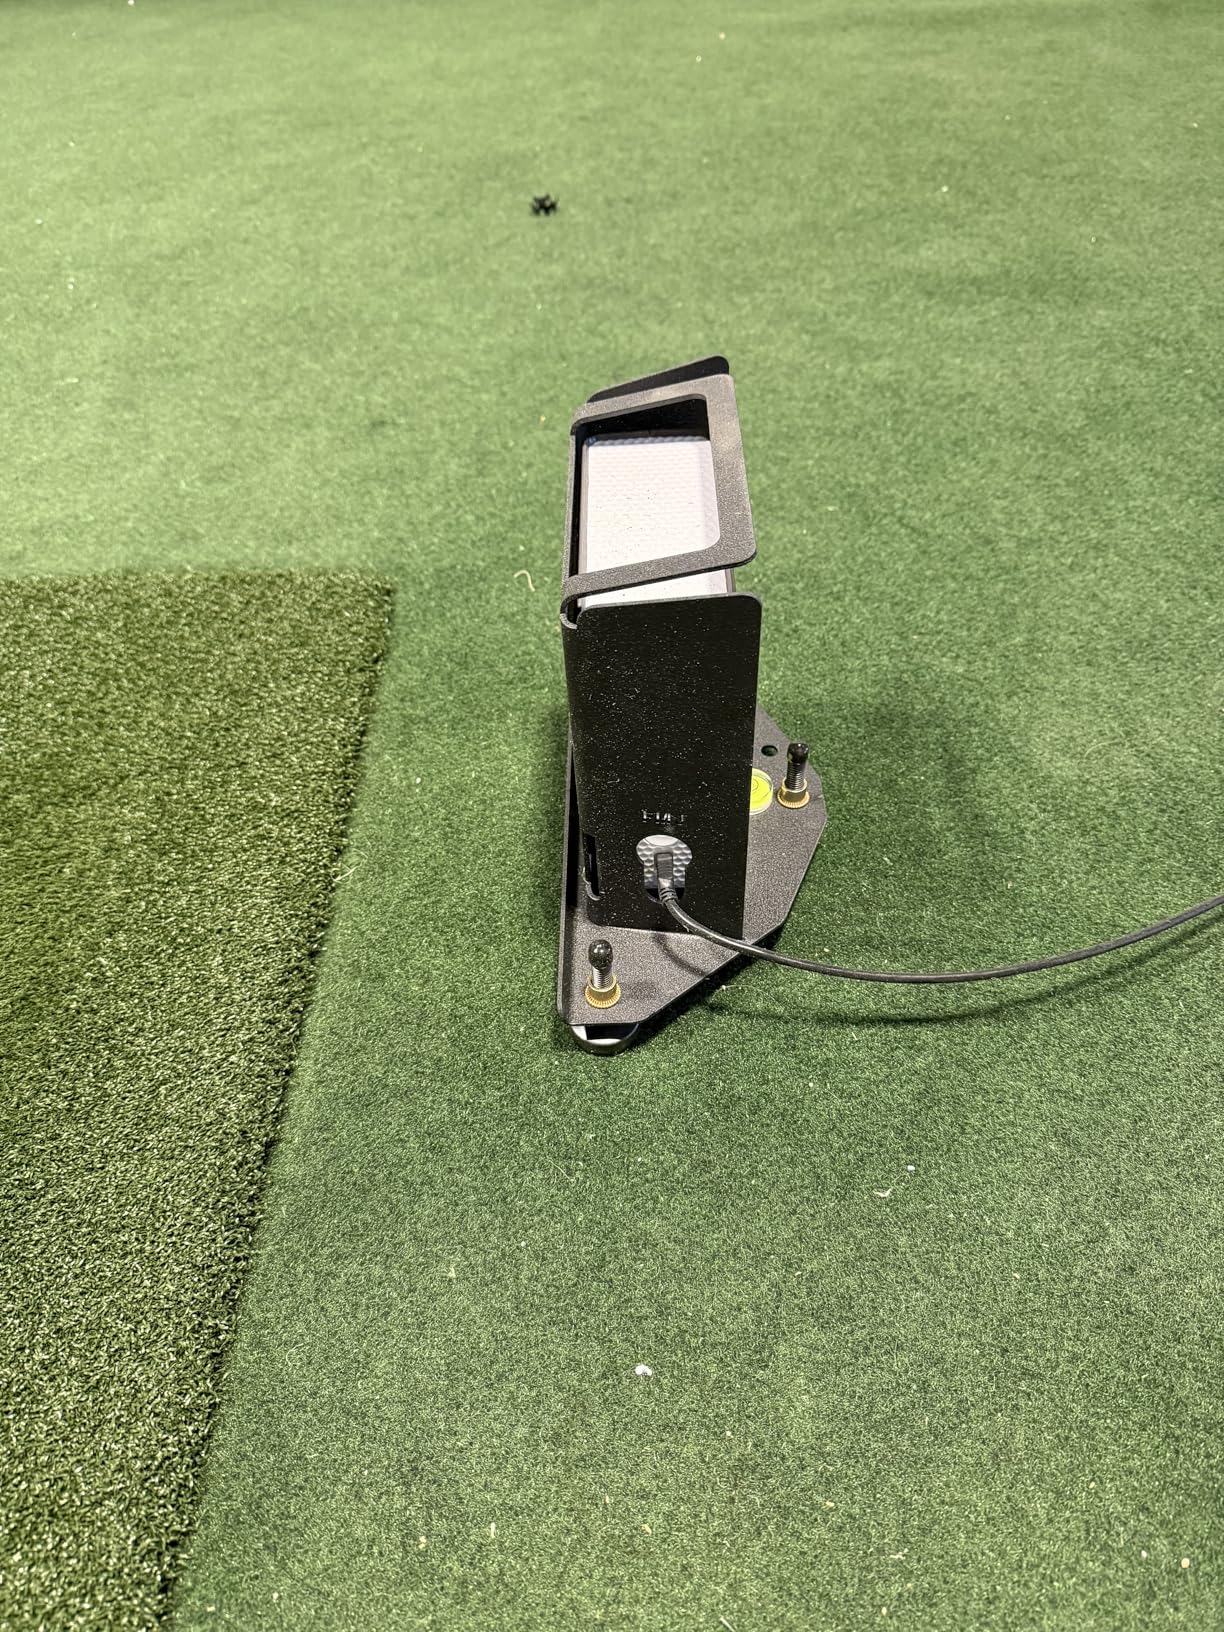
Photometric technology has one major advantage for small rooms: it needs very little ball flight distance to produce accurate data. The SkyTrak reads the ball in the first few inches after impact, which means you can use it with a net positioned just 6 to 8 feet away. This makes it one of the most space-efficient options for truly tight rooms where you cannot spare 10 to 15 feet of ball flight.
The SkyTrak measures ball speed, carry distance, launch angle, club speed, and spin rates including backspin and sidespin. The driving range functionality lets you practice with real data feedback on a virtual range. It is widely supported by third-party simulator software including The Golf Club 2019, E6 Connect, and Perfect Parallel, which means you have plenty of options for course play and practice modes.
Photometric vs Radar Technology for Small Spaces
The photometric approach used by SkyTrak reads the ball at impact rather than tracking it over a distance. This means the SkyTrak can work in rooms where radar-based monitors might struggle due to insufficient ball flight distance. You need enough room to swing safely, but the ball only needs to travel a few feet before hitting a net for the data to be accurate.
The trade-off is that photometric systems do not measure club data directly. You get ball parameters like speed, spin, and launch angle, but not club path or face angle unless you upgrade to more expensive models. For practice purposes, the ball data alone is sufficient for most golfers to track meaningful progress.
Third-Party Software Ecosystem
SkyTrak has one of the most mature software ecosystems of any consumer launch monitor. The Golf Club 2019 offers thousands of community-designed courses, E6 Connect provides realistic tournament play, and various practice apps offer skills challenges and fitting tools. This software variety means you can customize your simulator experience to match your practice goals.
The base SkyTrak app includes a driving range and basic shot data display. To access course play and advanced features, you need a SkyTrak subscription, which offers different tiers depending on the features you want. Many users pair the SkyTrak with GSPro for a community-driven simulator experience that offers excellent course variety.
8. GoSports Golf Simulator Enclosure – Best Compact Enclosure Kit
GoSports 10 x 8 ft Golf Simulator Enclosure Net – Complete Set with Frame and HD Impact Screen Kit
- Commercial grade heavy duty impact screen
- True blackout enclosure enhances projector brightness
- Easy installation with numbered poles and diagrams
- Multi-layer design reduces ball rebound
- Available in three sizes for different rooms
- Some reviewers report ball bounce back from screen
- Assembly recommended with two people
- No baffles included for wedge shots
- Some eyelet tearing reported with heavy use
The GoSports Golf Simulator Enclosure is the product I recommend to anyone ready to move beyond a simple net and launch monitor setup. This is a complete enclosure system with frame, impact screen, and blackout side panels that transforms any room into a proper simulator bay. I assembled the 10 by 8 foot version in my garage, and the difference between hitting into this enclosure versus a bare net is night and day.
The impact screen is commercial grade and built to withstand high-speed ball impacts repeatedly. The multi-layer design reduces rebound, meaning the ball does not bounce back at you as aggressively as it does with cheaper nets. The surface is smooth enough for projector use, which means you can display your simulator software directly on the screen for an immersive experience.
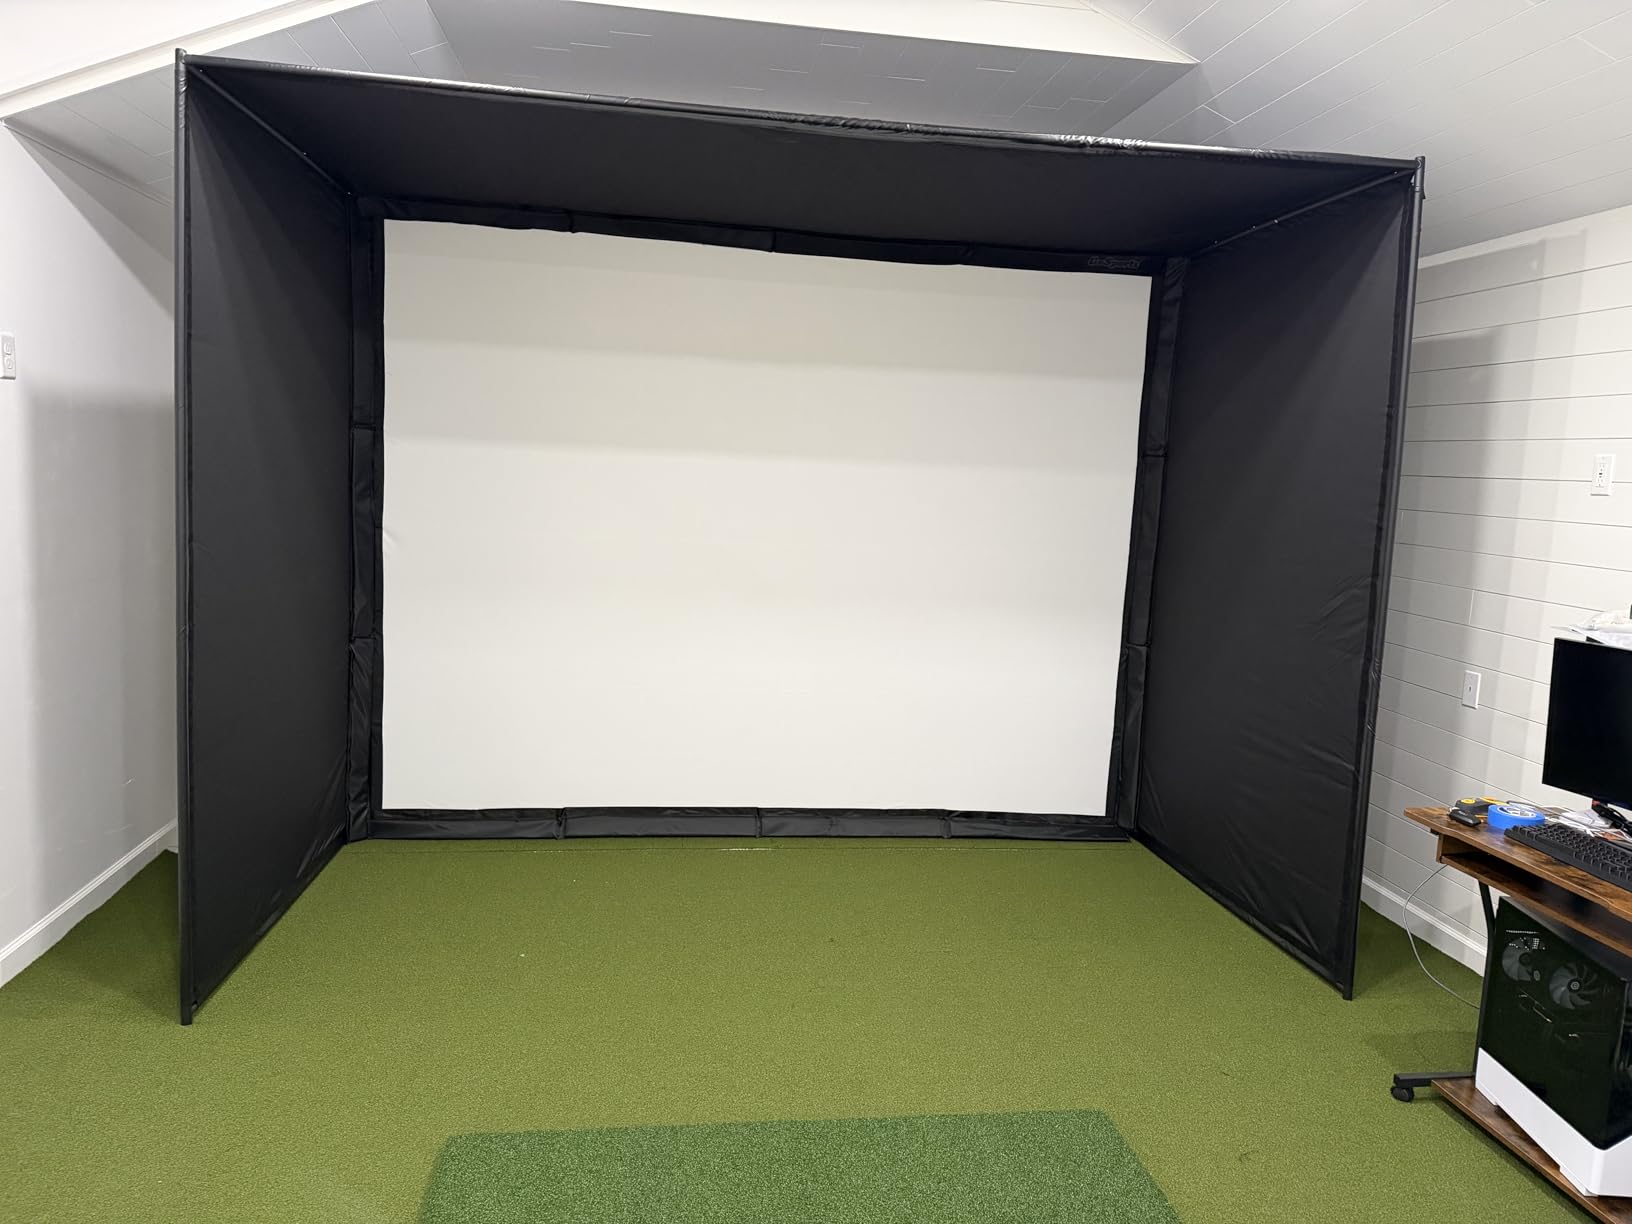
The 10 by 8 foot size is ideal for small room installations. At 10 feet wide and 8 feet tall, it fits in most standard rooms without overwhelming the space. The blackout side panels are a standout feature, using a specialized dyeing process that blocks outside light and significantly enhances projector brightness. When I turned on my projector with the blackout enclosure in place, the image quality was dramatically better than projecting onto a screen in an open room.
Assembly took me about 90 minutes with help from a friend. The poles are numbered and the instructions include clear diagrams, so the process is straightforward even if you are not particularly handy. GoSports includes all necessary hardware, and the frame feels solid once assembled. At 79 pounds total, this is a substantial structure that stays put during aggressive practice sessions.
Size Options and Room Fitting
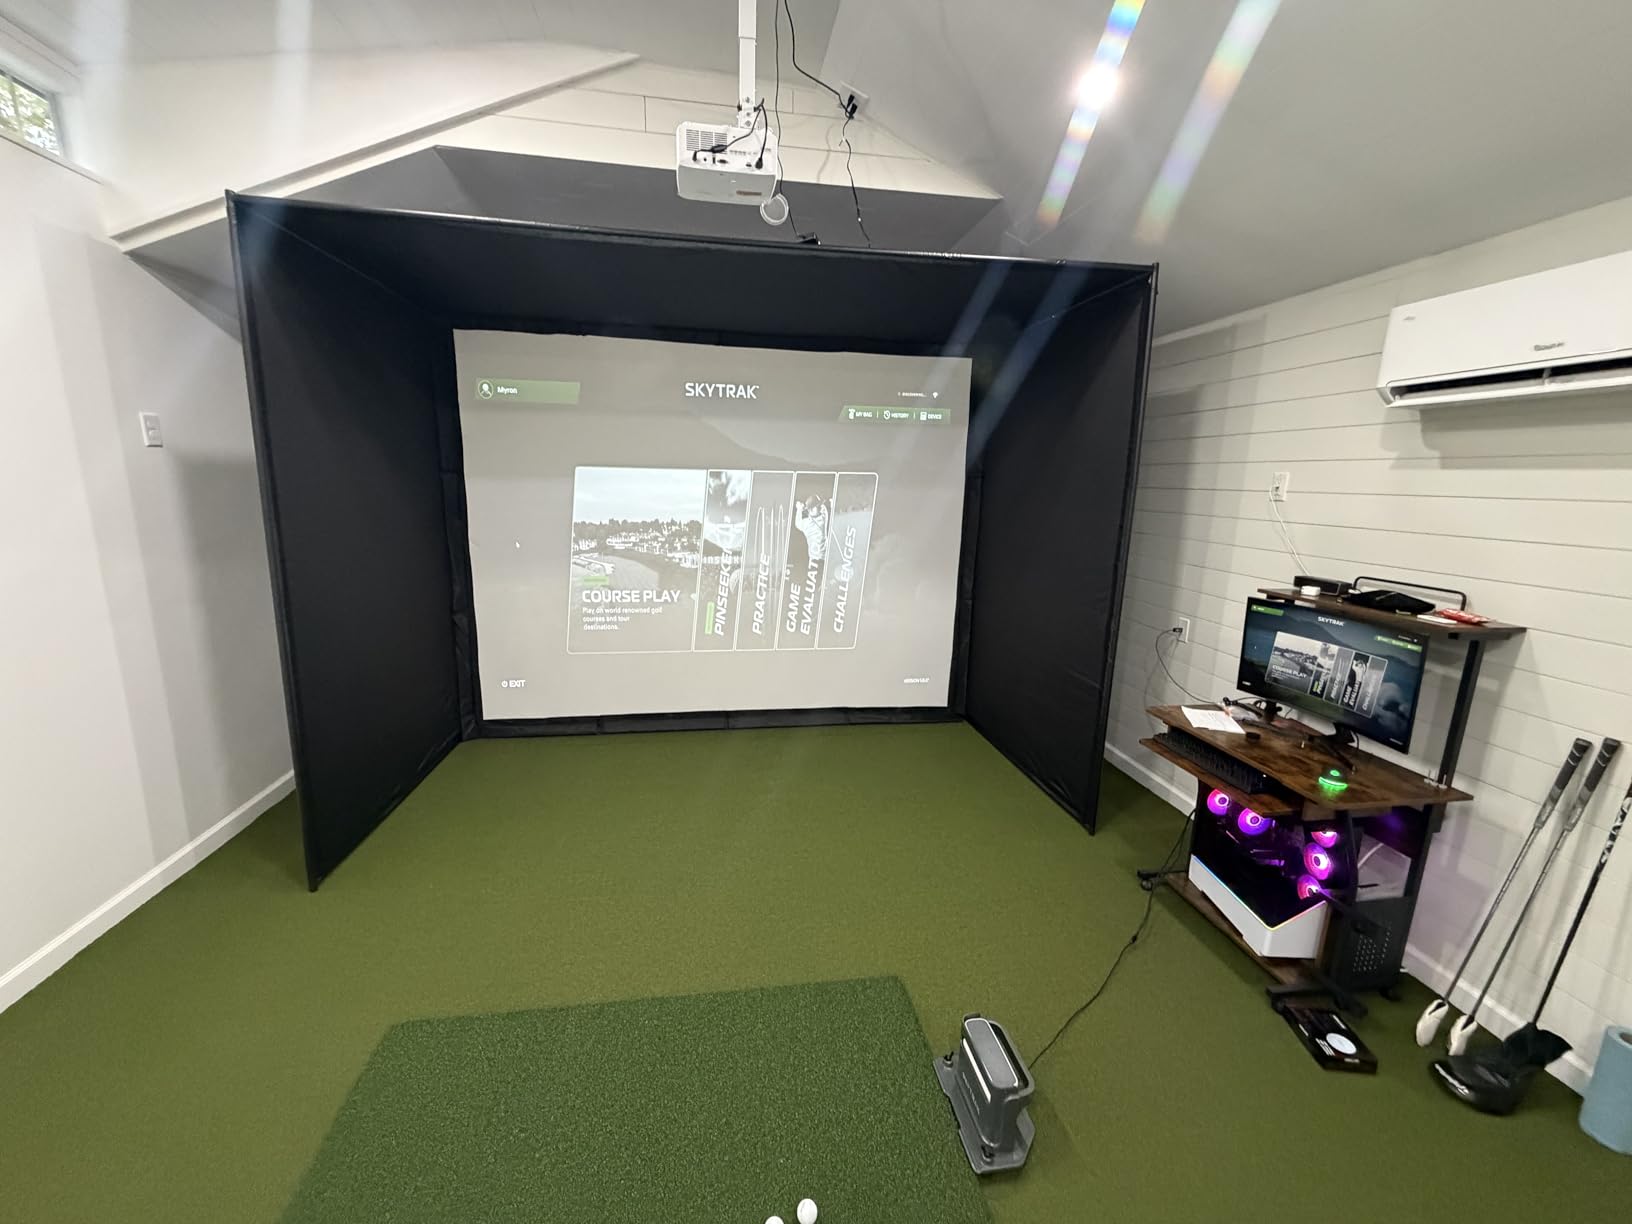
The GoSports enclosure comes in three sizes: 10 by 8 feet, 12 by 9 feet, and 14 by 8 feet. For small rooms, the 10 by 8 is the obvious choice as it fits in rooms as narrow as 10 feet wide with 8 foot ceilings. If you have a bit more space, the 12 by 9 gives you a larger hitting area and projector display surface.
Before ordering, measure your room carefully and account for the depth needed for ball flight. You need about 8 to 10 feet from your hitting position to the screen, plus 4 to 6 feet behind you for your swing and the launch monitor. The enclosure itself adds about 1 foot of depth for the frame structure.
Impact Screen Quality and Projector Performance
The impact screen is the heart of any enclosure setup, and the GoSports version is impressive for the price. It handles ball impacts from full driver swings without showing wear after months of use. The multi-layer construction absorbs energy and minimizes bounce-back, creating a safer practice environment than single-layer nets.
For projector use, the screen provides a smooth, tensioned surface that displays a clean image. The blackout enclosure panels eliminate light bleed from windows or room lighting, which is critical for achieving good contrast and color depth in your simulator display. I used a standard 1080p projector and was very satisfied with the image quality inside the enclosure.
9. ANYTHING SPORTS Complete Golf Simulator Enclosure – 4K Ready Package
- Complete package with projector mount included
- 4K-ready impact screen with minimal light bleed
- Easy assembly in under an hour no tools needed
- Multiple size options for any space
- 12-month no-questions-asked warranty
- Not Prime eligible for shipping
- Turf and projector not included
- Heavier at 39 kilograms may need two people
The ANYTHING SPORTS Complete Golf Simulator Enclosure is a direct competitor to the GoSports enclosure, and it differentiates itself with one key inclusion: a built-in projector mount. This might seem like a minor detail, but if you have ever tried to figure out how to mount a projector in a small room without permanent ceiling installations, you know how valuable this is. The integrated mount saves you money on separate mounting hardware and simplifies the setup process considerably.
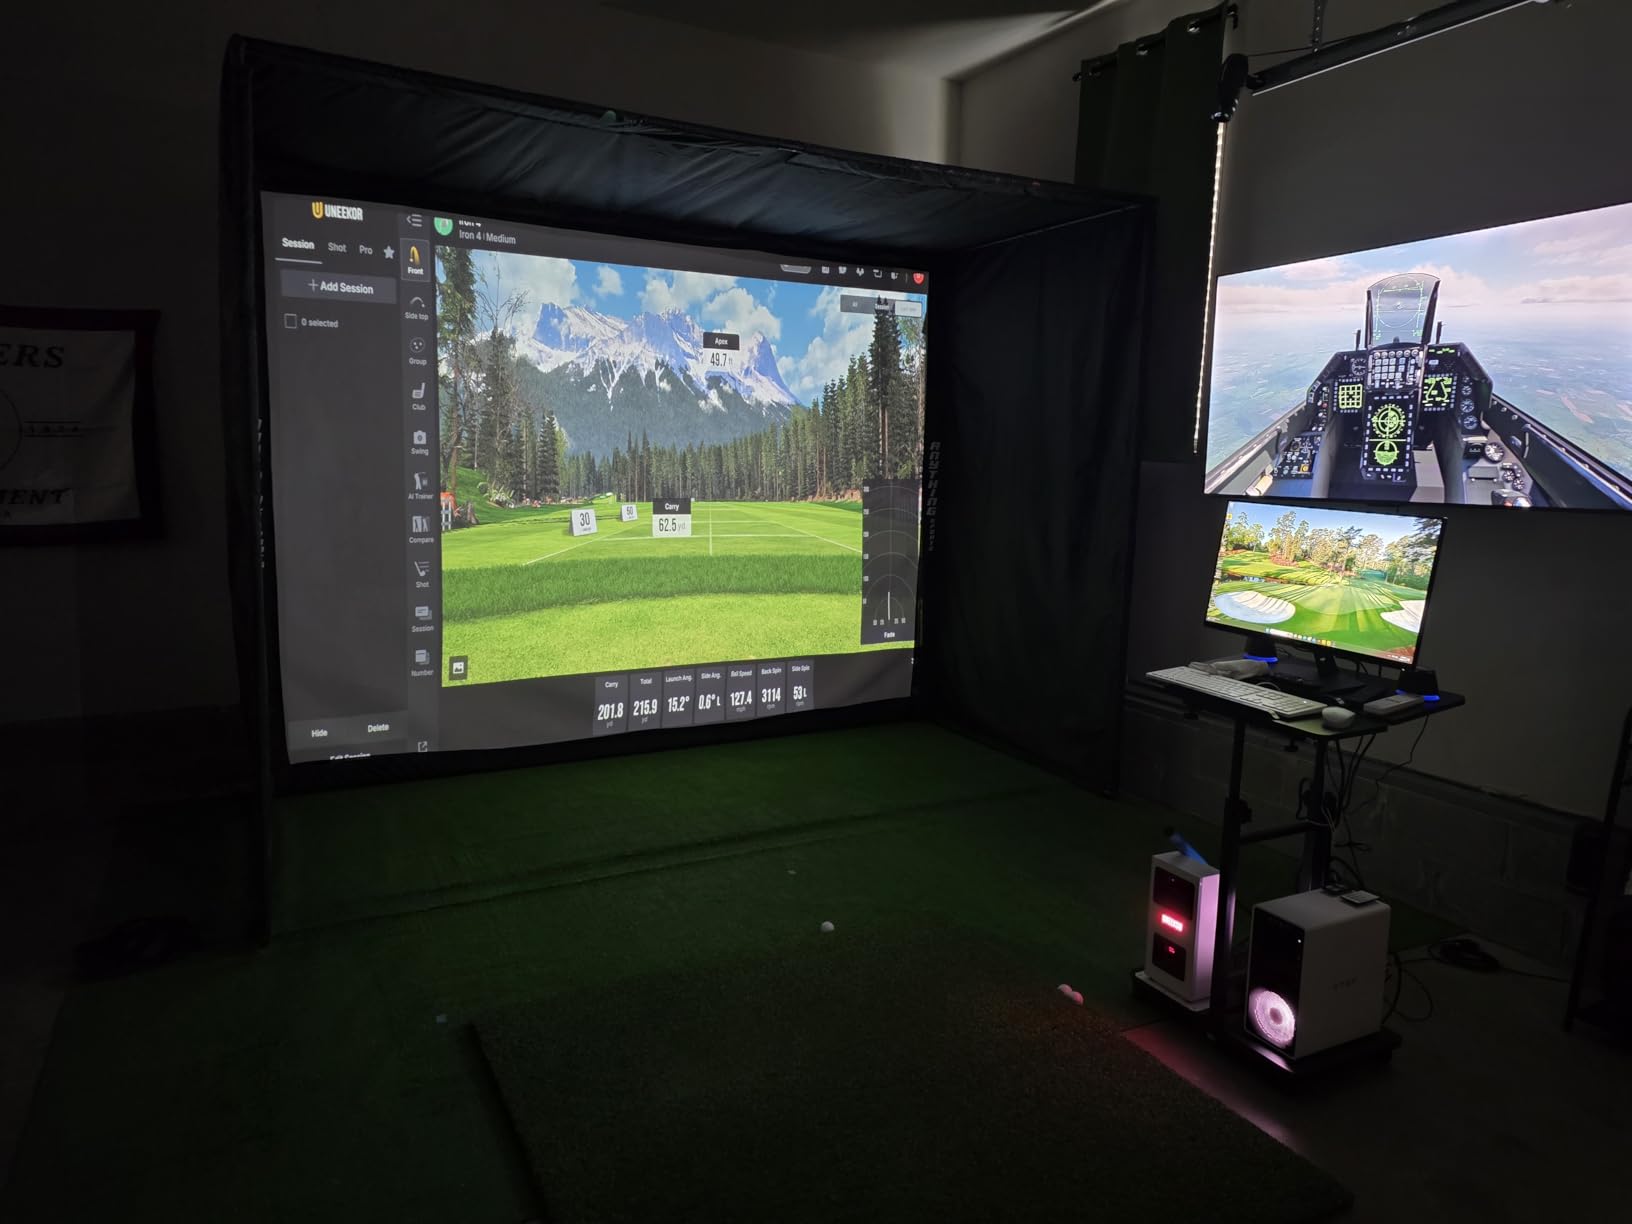
I tested the 11 by 8.4 foot version, which is the middle size option. The 4K-ready impact screen is precision-sized just 1 inch smaller than the frame, creating a tight, immersive hitting area with minimal light bleed. When paired with a 4K projector, the image quality is crisp enough to read green contours and fairway textures in simulator software. The screen handles repeated ball impacts without showing marks or deformation.
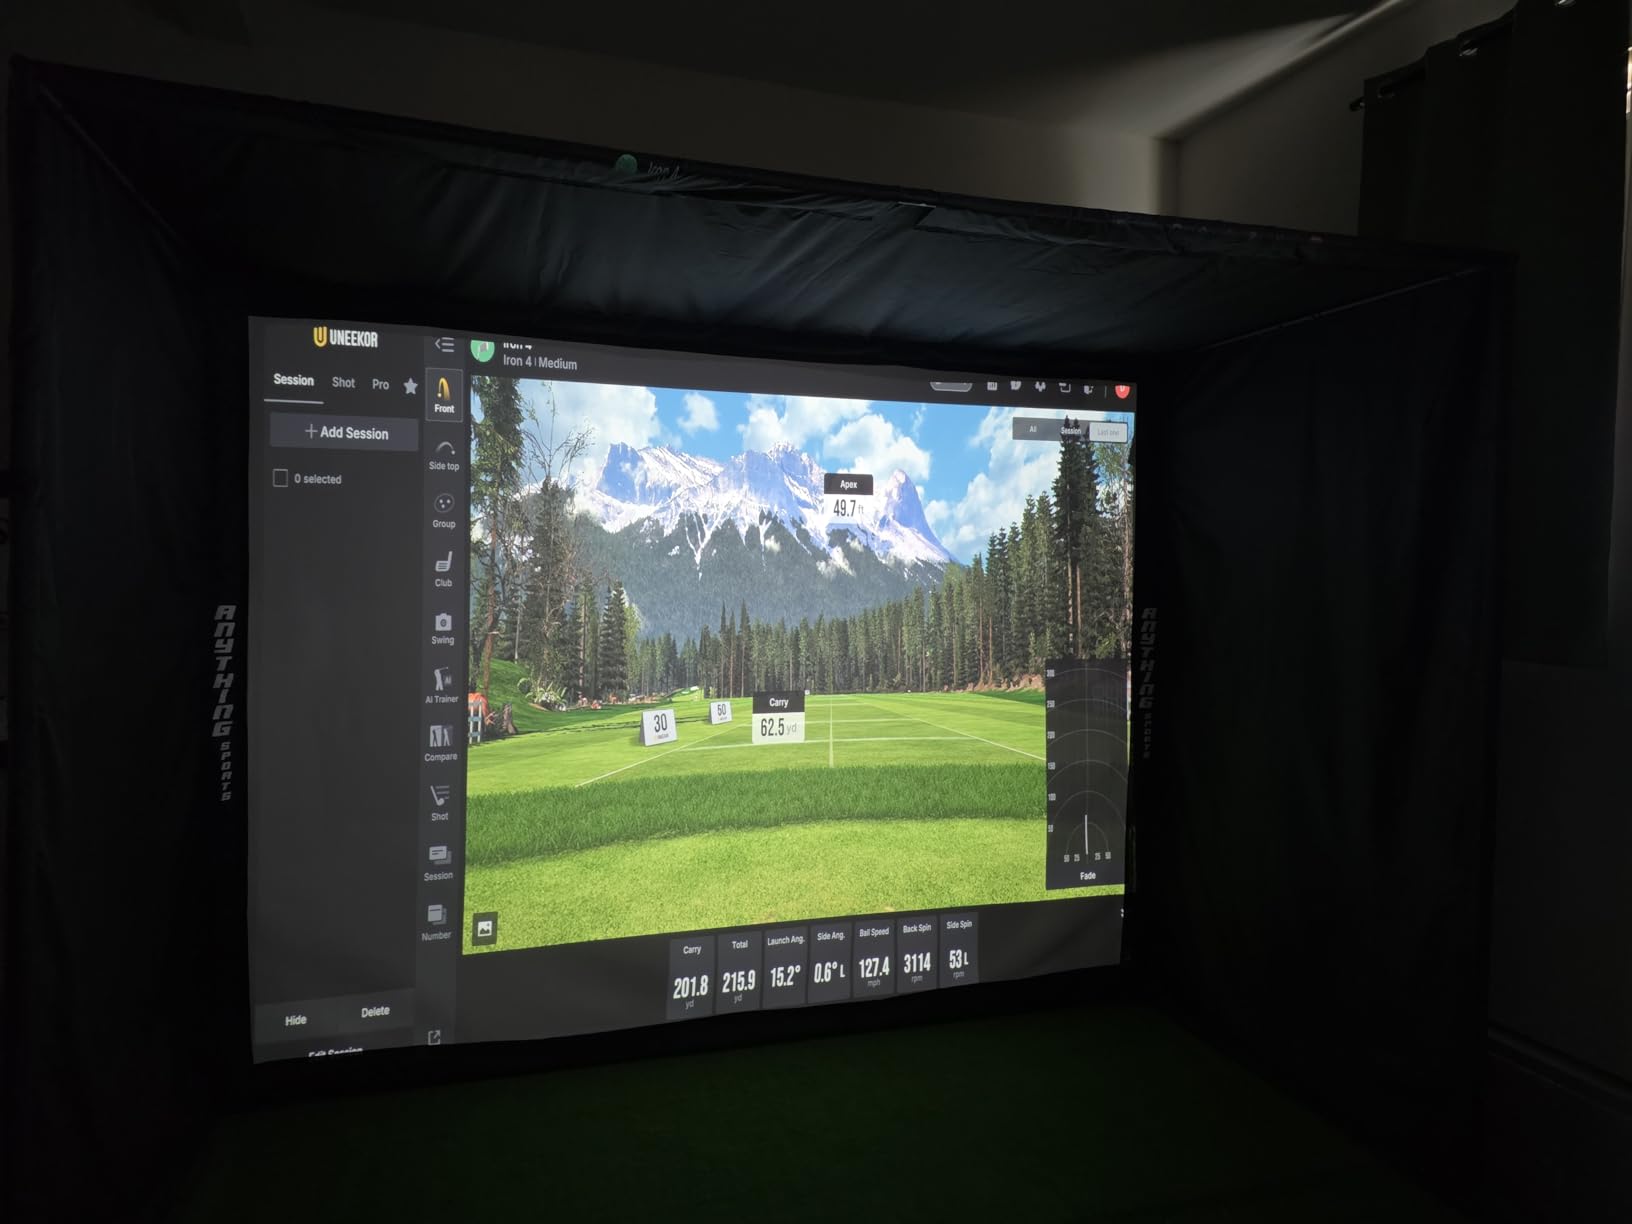
Assembly was genuinely simple. The product claims setup in under an hour, and I completed it in about 50 minutes working mostly alone with some help for the final frame tightening. All components fit together intuitively with no drilling or special tools required. The included side shank nets catch errant shots that miss the main screen, which is especially important in narrow rooms where a missed shot could damage walls.
The 12-month no-questions-asked warranty is one of the most generous I have seen in this product category. ANYTHING SPORTS provides US-based phone and email support during business hours, and multiple reviewers have praised their customer service responsiveness. For a product at this price point, the warranty and support level add significant value and peace of mind.
Projector Mount Integration and Setup
The integrated projector mount is the feature that sets this enclosure apart from competitors. Instead of buying a separate ceiling mount or floor stand, the projector attaches directly to the enclosure frame above the hitting area. This eliminates the need for permanent room modifications and keeps all your simulator components self-contained within the enclosure footprint.
The mount is adjustable for different projector sizes and throw distances. I used a short-throw projector positioned about 5 feet from the screen, which worked perfectly within the enclosure frame. If you are using a standard-throw projector, you may need to position it further back, which could require ceiling mounting outside the enclosure.
Size Variants for Different Room Types
ANYTHING SPORTS offers three sizes: 8.4 by 8.4 feet, 11 by 8.4 feet, and 12 by 9.4 feet. The smallest size is designed for the tightest spaces and works in rooms with 9 foot ceilings. The 11-foot width gives you more comfortable side-to-side hitting room, while the 12 by 9.4 is ideal for two-car garage bays or dedicated simulator rooms.
For garage installations, the 11 by 8.4 foot version is particularly popular because it fits between the wheel tracks of a standard single-car bay. This means you can park your car in the garage when the simulator is not in use, as long as the enclosure can be positioned against a wall. The 39-kilogram weight means the enclosure stays firmly in place but is difficult to move frequently.
10. Uneekor EYE MINI CORE – Best Overhead Camera System
- Overhead design saves floor space in small rooms
- Near-zero latency with Dimple Optix technology
- No ball stickers required use any golf ball
- VIEW Software included with 15 data points
- Compatible with GSPro E6 Connect and TGC19
- Premium price point at over $1000
- High PC requirements for simulation features
- Club Optix requires paid software upgrade
- Dual displays needed for Ultimate Package
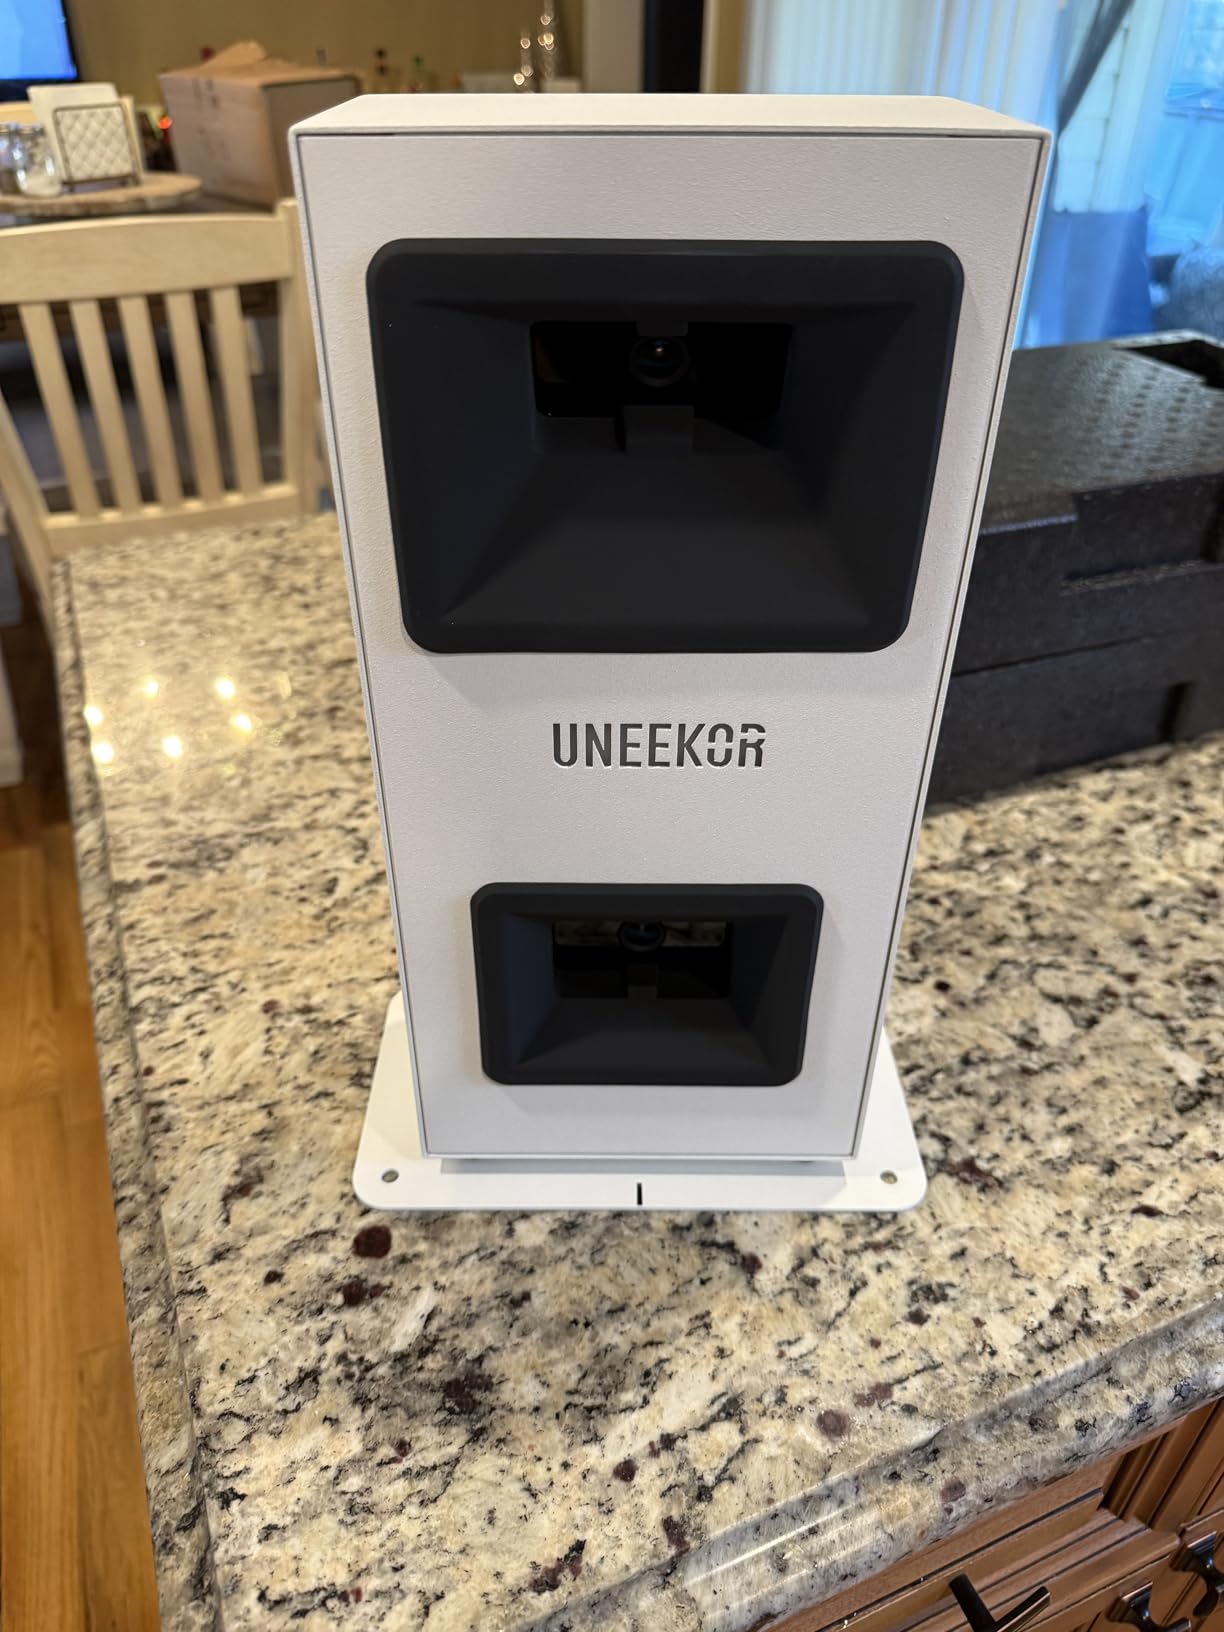
The Uneekor EYE MINI CORE represents the most advanced technology in this guide, and it is specifically well-suited for small room installations. Unlike radar-based monitors that sit on the floor behind the ball, the EYE MINI is designed to mount overhead above the hitting area. This overhead placement means the device itself takes up zero floor space, which is a massive advantage when every square foot counts in a compact room.
I tested the EYE MINI CORE mounted on a ceiling beam above my hitting mat, and the experience is noticeably different from floor-based monitors. The high-speed cameras and infrared sensors provide near-zero latency data, meaning there is virtually no delay between ball impact and data display. The Dimple Optix technology reads any dimple pattern on any golf ball, so you never need to apply stickers or use special marked balls.
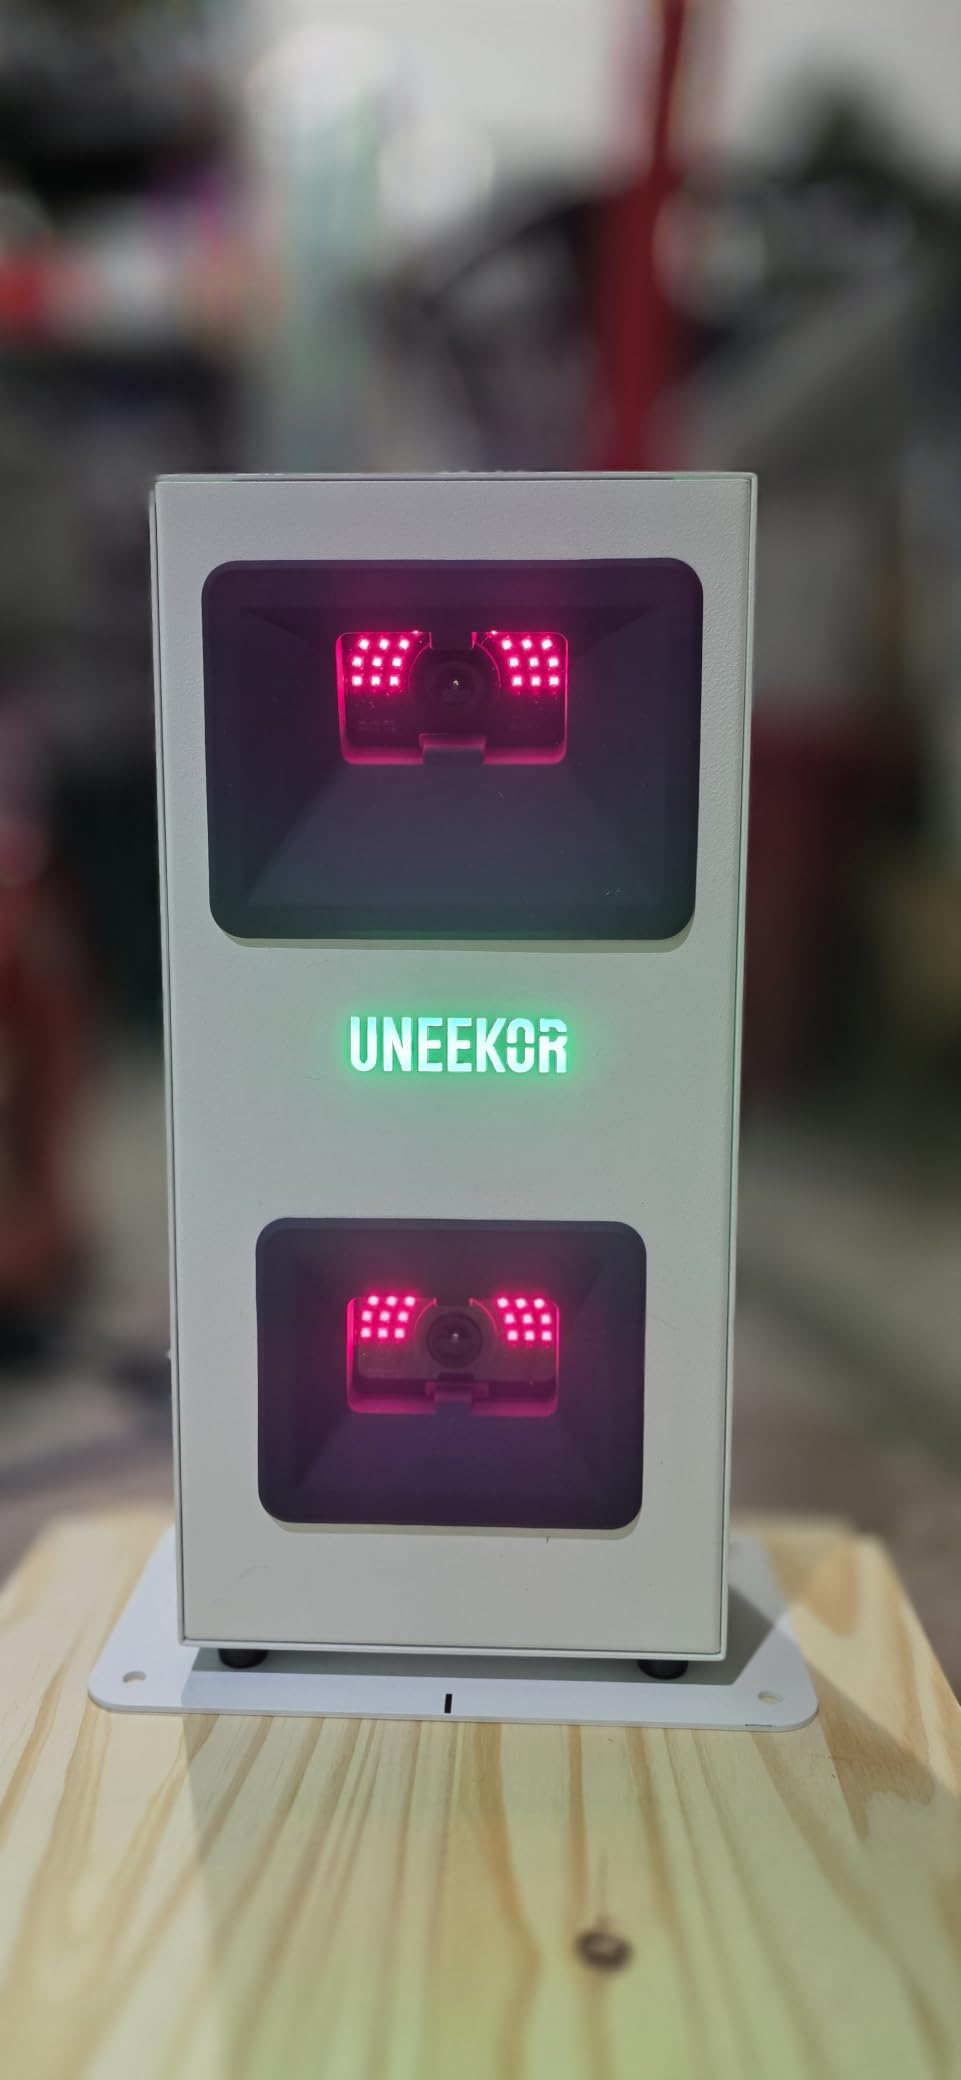
The VIEW Software included with the EYE MINI provides 15 ball data points including ball speed, launch angle, spin rate, spin axis, carry distance, total distance, and more. Session reports track your progress over time, and the software interface is clean and professional. A 3-month trial of the Ultimate Package is included, giving you access to championship courses in 4K with competitive game modes.
For small room practice, the overhead camera approach has a distinct advantage beyond floor space savings. Because the cameras look down at the ball, they can read spin and launch conditions more accurately than radar systems that track from behind. This is especially true for shots with extreme spin rates or unusual launch angles, which can challenge radar-based monitors. The EYE MINI handles these edge cases with impressive precision.
Overhead Mounting and Ceiling Clearance
The EYE MINI mounts overhead, typically on a ceiling mount or crossbeam about 9 to 12 feet above the hitting surface. This means you need ceiling clearance not just for your swing but also for the mounting hardware. In rooms with 9 foot ceilings, the mount sits close to the ceiling but still provides enough clearance for full swings with most clubs.
The advantage of overhead mounting is that the area around and behind the ball stays completely clear. There are no tripods to knock over, no cables to manage, and no device on the floor to accidentally hit. For narrow rooms where width is a constraint, having the launch monitor above rather than behind the ball gives you more usable hitting space.
Third-Party Software and PC Requirements
The EYE MINI is compatible with popular third-party simulator software including GSPro, E6 Connect, TGC19, and Creative Golf 3D. This gives you access to thousands of courses and practice modes beyond what the included VIEW Software offers. Many users pair the EYE MINI with GSPro for a community-driven course library that rivals much more expensive simulator packages.
The PC requirements are demanding, especially for simulation features. You need at minimum an i5 Gen12 or Ryzen 5 processor, 16GB of RAM, an RTX 3060 graphics card, and Windows 11. For full simulation with high-resolution courses, the requirements jump to an i7 or Ryzen 7, 32GB of RAM, and an RTX 4070. Make sure your computer meets these specs before investing in this system.
How to Choose the Right Golf Simulator for Small Rooms?
Choosing the right golf simulator for a small room comes down to understanding your specific space constraints, budget, and practice goals. After testing all 10 products in this guide across various room configurations, I have identified the key factors that should drive your decision. Let me break them down so you can find the perfect fit for your situation.
Room Dimensions and Minimum Space Requirements
The absolute minimum room size for a functional golf simulator is 10 feet wide by 10 feet deep with 8 foot ceilings, but that is genuinely tight. A more comfortable minimum is 10 by 12 feet with 9 foot ceilings, which gives you room for a hitting mat, ball flight distance, and full swing clearance. Width is important because you need space for your stance plus margin for error on mis-hits.
Ceiling height is the factor that eliminates more rooms than any other constraint. For full driver swings, you need at least 9 feet of clearance from floor to ceiling. At 8 feet, you can comfortably hit mid-irons and wedges but may clip the ceiling on driver backswings depending on your height and swing plane. Many golfers in 8-foot ceiling rooms switch to choking down on the driver or using shorter tee heights to make it work.
Depth determines what type of launch monitor you can use. Radar-based monitors like the Garmin R10 and Rapsodo need at least 6 to 8 feet of ball flight for accurate readings. Camera-based systems like the SkyTrak and Uneekor EYE MINI can work with as little as 3 to 4 feet of ball flight since they read the ball at impact. If your room is shallow, camera technology is the better choice.
Launch Monitor Technology: Radar vs Camera
Understanding the difference between radar and camera-based launch monitors is essential for choosing the right system for your space. Doppler radar monitors, like the Garmin R10 and PRGR, track the ball over a distance to calculate flight parameters. They need ball flight distance to produce accurate data, typically 6 to 10 feet minimum.
Photometric camera systems, like the SkyTrak and Uneekor EYE MINI, take high-speed images of the ball at impact to determine launch conditions. They need very little ball flight distance, making them ideal for the tightest rooms. The trade-off is that camera systems generally cannot measure club data like path and face angle unless you invest in more advanced models with additional sensors.
Overhead camera systems like the Uneekor EYE MINI offer the best of both worlds for small rooms. They mount above the hitting area, saving floor space, and use high-speed cameras that read the ball without requiring significant ball flight distance. This combination of space efficiency and data accuracy makes overhead systems particularly well-suited for compact installations.
Budget Tiers and Value Considerations
Golf simulator products span an enormous price range, from under $200 for basic portable launch monitors to over $1,200 for advanced overhead camera systems. Your budget should reflect how seriously you plan to use the simulator and what features matter most to you.
For golfers just getting started with indoor practice, the sub-$300 tier offers excellent value. The PRGR HS 130-A at around $200 and the Rapsodo Mobile Launch Monitor at the same price point both provide meaningful shot data without requiring a large investment. These are ideal for trying indoor practice before committing to a more expensive setup.
In the $400 to $700 range, you get significantly more features and accuracy. The Garmin R10 at around $500 adds video analysis, training modes, and course play capability. The SkyTrak at around $700 provides photometric accuracy and a mature software ecosystem. These mid-range options represent the sweet spot for most home golfers.
Above $1,000, you enter the premium tier with products like the Uneekor EYE MINI CORE. These systems offer professional-level data, overhead mounting, and compatibility with the best simulator software available. If you are building a dedicated simulator room and want the most accurate data possible, the investment is justified.
Enclosure vs Net-Only Setup
For small rooms, you have two main setup approaches: a full enclosure with impact screen and blackout panels, or a simple net with launch monitor. Enclosures like the GoSports and ANYTHING SPORTS kits create an immersive experience with projector display, but they take up more permanent space and cost $700 to $800.
Net-only setups are more flexible for multi-use rooms. You can set up a net, launch monitor, and hitting mat in about 30 minutes and break it down just as quickly. This approach works well in living rooms, shared bedrooms, or garages that need to serve other purposes. The trade-off is that you lose the visual immersion of projecting the course onto a large screen.
If your room is truly small, consider starting with a net-only setup using a portable launch monitor. You can always upgrade to an enclosure later when you have more space or have confirmed that indoor practice is a habit you will maintain long-term.
FAQs
What is the smallest room for a golf simulator?
The smallest practical room for a golf simulator is approximately 10 by 10 feet with 8 foot ceilings. At this size, you can fit a hitting mat, a net or small enclosure, and a portable launch monitor. Camera-based monitors like the SkyTrak or Uneekor EYE MINI work best in these tight spaces because they require minimal ball flight distance. For comfortable full-swing practice including drivers, a 10 by 12 foot room with 9 foot ceilings is the recommended minimum.
Is an 8 ft ceiling enough for golf simulator?
An 8 foot ceiling can work for a golf simulator but with limitations. You can comfortably hit mid-irons, short irons, and wedges with full swings in an 8 foot ceiling room. Full driver swings may be problematic depending on your height and swing plane, as taller golfers or those with upright swings may contact the ceiling on the backswing. Many golfers in 8 foot ceiling rooms use shorter clubs, choke down on longer clubs, or modify their tee height to make the space work for practice.
Is a 15×15 room big enough for a golf simulator?
Yes, a 15 by 15 foot room is more than sufficient for a golf simulator. This size gives you comfortable space for a full enclosure, hitting mat, ball flight distance, and swing clearance. A 15×15 room can accommodate any launch monitor type including radar-based units that need more ball flight distance. With 9 foot or higher ceilings, a 15×15 room provides an excellent simulator experience comparable to commercial setups.
What is the ideal room size for a golf simulator?
The ideal room size for a golf simulator is 12 to 15 feet wide, 15 to 20 feet deep, and 10 feet or taller in ceiling height. This gives you adequate width for comfortable stance and mis-hit margin, sufficient depth for ball flight and launch monitor positioning, and ceiling clearance for full driver swings. A room of these dimensions accommodates any type of launch monitor, enclosure system, and projector setup without feeling cramped.
What are the best indoor golf simulators for small spaces?
The best indoor golf simulators for small spaces are portable launch monitors paired with compact nets or small enclosures. Top options include the Garmin Approach R10 for its balance of accuracy and portability, the Rapsodo Mobile Launch Monitor for budget-friendly iOS users, the PRGR HS 130-A for speed training without requiring ball flight, and the Uneekor EYE MINI CORE for overhead camera accuracy that saves floor space. For complete enclosure setups, the GoSports 10×8 foot kit fits in the smallest rooms.
Final Thoughts on Golf Simulators for Small Rooms
Building a golf simulator in a small room is absolutely achievable with the right equipment. The Garmin Approach R10 remains my top overall pick for golf simulators for small rooms because it delivers professional-level data tracking in a portable package that works in rooms as compact as 10 by 12 feet. For budget-conscious golfers, the Rapsodo Mobile Launch Monitor offers incredible value at under $200. And for those who want overhead camera precision that saves floor space, the Uneekor EYE MINI CORE is the premium choice worth the investment.
No matter which product you choose, the most important step is measuring your room accurately and understanding your ceiling height, depth, and width constraints before purchasing. With the launch monitors, enclosures, and accessories available in 2026, there has never been a better time to bring your golf practice indoors. Pick the product that matches your space and budget, and you will be swinging productively all year round regardless of the weather outside.