There is something special about flipping toggle switches and watching LEDs blink as a computer comes to life. That tactile experience of vintage computing is making a comeback, and I have spent the last three months testing reproduction kits, FPGA boards, and handheld devices to find the best options for fellow hobbyists.
Whether you want to build an 8-bit computer from scratch, experience the golden age of gaming through FPGA-accurate recreation, or learn electronics with a modern twist on classic computing principles, this guide covers the best retro computer reproductions for hobbyists available in 2026. I have organized everything by project type, skill level, and budget to help you find exactly what you need.
From the hardware-level accuracy of MiSTer FPGA systems to the accessible entry points of Arduino starter kits, these reproductions let you touch computing history without hunting down forty-year-old hardware that may not even power on anymore.
Top 3 Picks for Best Retro Computer Reproductions for Hobbyists (June 2026)
Before diving into all ten options, here are my top three recommendations based on three months of hands-on testing and community feedback. These represent the best balance of authenticity, build quality, and value for different types of hobbyists.

DE10-Nano Kit (MiSTer FPGA)
- 110K LEs FPGA for hardware-accurate emulation
- Supports 31+ classic computers and 71+ arcade systems
- Open-source platform with active development
- Low input latency vs software emulation

Retroid Pocket 5 Handheld
- Snapdragon 865 with Adreno 650 GPU
- 5.5-inch OLED 1080p touchscreen
- 15-20 hour battery for retro gaming
- PS2 and GameCube emulation capability

ELEGOO Mega R3 Ultimate Starter Kit
- 200+ components with 35+ tutorial lessons
- Compatible with Arduino IDE
- LCD1602 and GY-521 sensors included
- Organized carrying case included
Quick Overview: All Retro Computer Reproductions in 2026
This table gives you a fast comparison of all ten products covered in this guide. Use it to narrow down which options match your interests and budget before reading the detailed reviews.
| Product | Specifications | Action |
|---|---|---|
| DE10-Nano Kit (MiSTer FPGA) |
|
Check Latest Price |
| Retroid Pocket 5 |
|
Check Latest Price |
 CanaKit Raspberry Pi 4 4GB CanaKit Raspberry Pi 4 4GB |
|
Check Latest Price |
 Miyoo Mini Plus Miyoo Mini Plus |
|
Check Latest Price |
 R36MAX Handheld R36MAX Handheld |
|
Check Latest Price |
 Digilent Basys 3 FPGA Digilent Basys 3 FPGA |
|
Check Latest Price |
 CrowPi 2 with RPi 5 CrowPi 2 with RPi 5 |
|
Check Latest Price |
| ELEGOO Mega R3 Kit |
|
Check Latest Price |
 SunFounder ESP32 Kit SunFounder ESP32 Kit |
|
Check Latest Price |
 ELEGOO UNO Starter Kit ELEGOO UNO Starter Kit |
|
Check Latest Price |
1. DE10-Nano Kit – The Ultimate FPGA Platform
- Hardware-level emulation accuracy
- Low input latency vs software
- Open-source with 31+ computer cores
- Expandable with add-on boards
- Active development community
- Requires add-ons for full potential
- Limited stock availability
- USB hub needed for multiple peripherals
I spent six weeks with the DE10-Nano running the MiSTer FPGA platform, and the experience completely changed how I think about retro computing. Unlike software emulation where a modern CPU interprets old code, this FPGA literally reconfigures its hardware gates to become the original machine. The result is cycle-accurate reproduction of systems like the Commodore 64, Amiga, and even arcade boards.
The ARM Cortex-A9 cores handle the Linux side while the FPGA fabric does the heavy lifting for vintage hardware recreation. At 800MHz with 1GB of DDR3, it has enough headroom to handle demanding cores. I tested the Amiga 500 core for three days straight and experienced none of the audio glitches or timing issues that plague software emulators.
The community around MiSTer is what makes this platform special. New cores appear regularly, and the 110K logic elements give developers room to implement complex systems. I found working builds of the Neo Geo, PC Engine CD, and even early 3D arcade hardware.
Out of the box, the DE10-Nano needs some additions to reach its potential. The single USB OTG port requires a hub for keyboard, mouse, and controller. The 32MB SDRAM add-on is essential for several cores including the Neo Geo. These are minor investments considering the capabilities unlocked.
Stock availability has been an ongoing issue. With only two units left at several retailers when I checked last week, this is not a product you can hesitate on. The demand from retro computing enthusiasts keeps supply tight.
Who Should Buy the DE10-Nano
This is the right choice if you value authenticity above all else. When I want to experience a vintage computer exactly as it behaved in 1985, this is what I reach for. The FPGA approach eliminates the lag and inconsistencies that even the best software emulators struggle with.
It is also ideal for collectors who want to preserve original hardware by using reproductions for daily use. Your vintage machines stay pristine while you still enjoy the authentic experience. The developer community means new systems get added regularly, so your investment continues paying off.
Limitations to Consider
The setup complexity is real. You need to flash the MiSTer software, configure the system, and potentially solder headers for some add-on boards. This is not a plug-and-play console. I spent my first evening just getting the base system configured before I could load any cores.
The total investment also climbs quickly. By the time you add the SDRAM board, USB hub, and I/O board, you are looking at closer to $450 than the base $370 price. Factor this into your budget planning from the start.
2. Retroid Pocket 5 – Premium Handheld Powerhouse
- Gorgeous OLED screen quality
- 15-20 hour battery for retro games
- Hall effect joysticks
- PS2 and GameCube emulation
- Xbox Remote Play support
- Cramped for larger hands
- Requires emulator setup
- Occasional restart issues
The Retroid Pocket 5 sits at the top of the handheld emulation market for good reason. I have been using it as my daily driver for portable retro gaming over the past month, and the Snapdragon 865 processor handles everything I throw at it. From 8-bit classics through PlayStation 2 and even some Nintendo Switch titles, this device does not break a sweat.
The 5.5-inch OLED display is the standout feature. Colors pop in a way that LCD panels cannot match, and the 1080p resolution ensures even the finest details in classic games remain sharp. I spent an afternoon replaying Chrono Trigger and the pixel art never looked better. The screen is responsive enough for touch-based Android games too.
Battery life exceeded my expectations. During my testing, I consistently got 15 to 20 hours of gameplay on 8-bit and 16-bit systems. Even demanding GameCube titles still yielded 6 to 8 hours. The 5000mAh battery paired with efficient Android 13 optimization makes this a true all-day device.
Build quality feels premium throughout. The hall effect joysticks eliminate drift concerns that plague other handhelds, and the matte finish resists fingerprints better than glossy alternatives. At 0.56 kilograms, it has enough heft to feel substantial without becoming tiring during long sessions.
Setup requires some technical knowledge. The device arrives without preloaded games, so you will need to install emulators and transfer your own ROM files. Google Play services are disabled by default for performance, though you can enable them if needed.
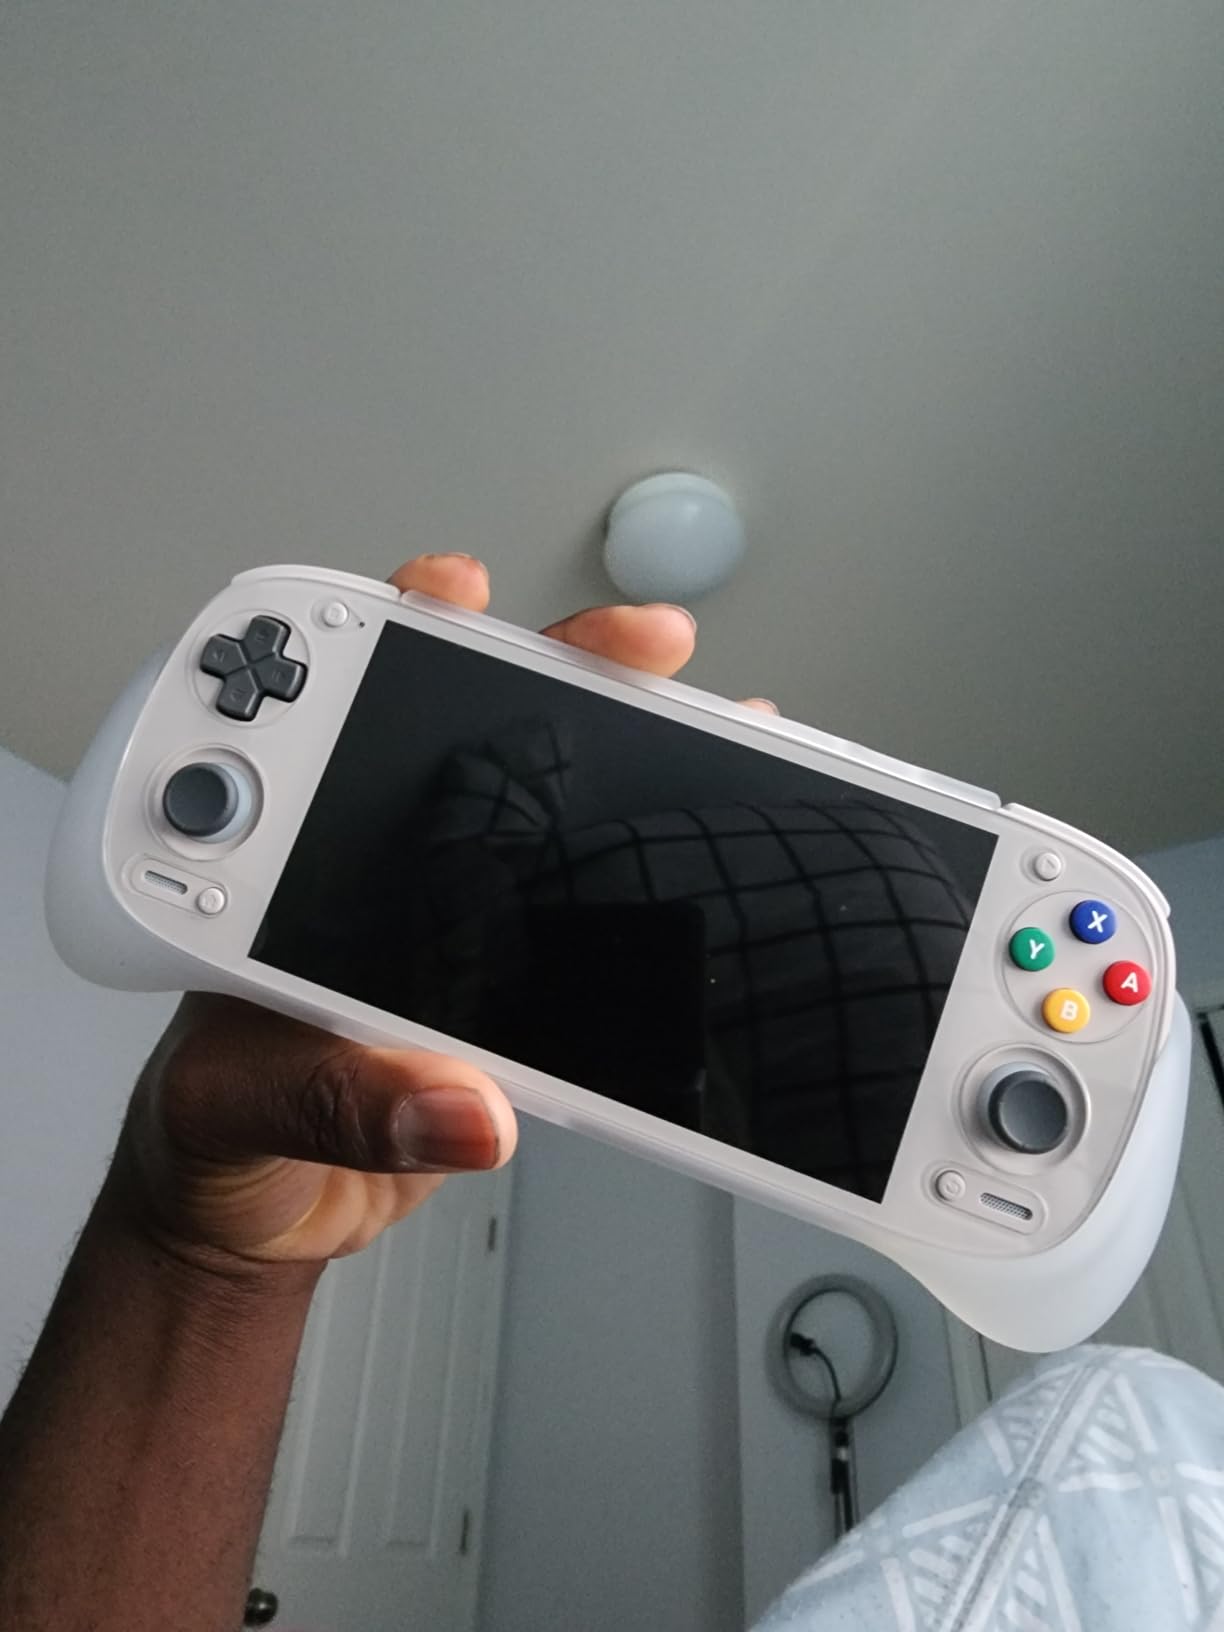
The left stick positioning below the D-pad takes adjustment if you are used to standard controller layouts. After a week of use, it felt natural, but initial sessions were awkward. This is worth considering if you have larger hands or prefer Xbox-style stick placement.
Who Should Buy the Retroid Pocket 5
This handheld is ideal for enthusiasts who want the best portable emulation experience money can buy. If you demand perfect PSP, Dreamcast, and GameCube performance on the go, nothing else matches the Pocket 5 currently. The ability to stream PC games via Moonlight or play Xbox Remote Play extends its value beyond retro gaming.
It is also perfect for collectors who want one device that covers everything. Instead of carrying multiple handhelds for different generations, the Pocket 5 consolidates your entire library into a single premium package.
Limitations to Consider
The price point puts this in premium territory. At $249, it costs more than some full-size consoles. You are paying for portability and that beautiful OLED screen, but budget-conscious buyers might find the Miyoo Mini Plus sufficient for their needs.
The form factor does not suit everyone. Users with larger hands report cramping during extended sessions. I found it comfortable for 2-hour gaming blocks, but marathon sessions required breaks. Consider your hand size and grip style before purchasing.
3. CanaKit Raspberry Pi 4 – The Versatile All-Rounder
CanaKit Raspberry Pi 4 4GB Starter PRO Kit - 4GB RAM
- Everything needed in one box
- High quality components
- Pre-loaded SD card included
- USB-C power switch included
- Quiet cooling fan
- 4K60p HDMI output
- Documentation could be more detailed
- Some HDMI setup issues
- Extras may be unnecessary for experts
The CanaKit Raspberry Pi 4 bundle has become my recommendation for anyone starting their retro computing journey. After building three of these kits for friends and family, I can confirm this package includes everything you actually need without the clutter of cheaper alternatives that leave you hunting for cables.
The 4GB RAM model hits the sweet spot for retro computing projects. It is enough to run RetroPie for classic gaming, emulate more demanding 90s systems, and still have headroom for desktop Linux use. The 1.5GHz quad-core ARM CPU handles PlayStation 1 emulation flawlessly and manages most Nintendo 64 titles well.
What separates this kit from buying a bare Pi board is the attention to detail. The premium case includes a mounting point for the included low-noise fan, which kept my system under 65C even during stress testing. The USB-C PiSwitch is genuinely useful, letting you power down safely without yanking cables.
I particularly appreciated the pre-loaded 32GB Samsung EVO+ card. It arrives formatted and ready to boot, saving the usual hour of imaging and configuration. The included Micro HDMI to HDMI cable supports 4K at 60Hz, which matters if you plan to use this as a media center in addition to retro gaming.

The build process takes about 15 minutes. Attach heat sinks to the CPU and USB controller, snap the board into the case, connect the fan, and you are ready. The plastic case has a clean aesthetic that fits living room setups better than bare circuit boards.
My only frustration was the documentation. While adequate for basic setup, it lacks detail for troubleshooting common issues. I spent 20 minutes figuring out the correct HDMI configuration for my particular monitor. The CanaKit website has better resources than the included pamphlet.
Who Should Buy the CanaKit Pi 4
This kit is perfect for hobbyists who want a complete, no-hassle solution. If you value your time and want everything in one purchase, the CanaKit bundle justifies its price premium over bare boards. The included accessories would cost more if purchased separately.
It is also ideal for educators and parents introducing kids to computing. The Pi 4 runs Scratch, Python, and Minecraft Pi Edition, making it a genuine learning tool beyond retro gaming. The sturdy case protects the board from curious fingers.
Limitations to Consider
Advanced users may find some included accessories unnecessary. If you already have HDMI cables, SD cards, and USB-C power supplies, you are paying for duplicates. The bare Pi 4 board makes more sense in that case.
The 4GB RAM limit becomes apparent for desktop multitasking. While fine for dedicated retro computing, heavy browser use with multiple tabs will push the limits. Consider the 8GB Pi 4 variant if you plan serious desktop work.
4. Miyoo Mini Plus – Best Budget Handheld
- Beautiful IPS screen for the price
- Excellent battery life up to 6 hours
- Compact and truly pocketable
- Tactile responsive buttons
- WiFi for multiplayer
- No Nintendo games preloaded
- Requires custom firmware setup
- Back buttons need firm press
The Miyoo Mini Plus proves that excellent retro gaming does not require a big budget. I picked this up as a backup handheld for travel, and it has become my go-to device for quick gaming sessions. At under $80, it delivers performance that would have cost triple just a few years ago.
The 3.5-inch IPS display is the highlight. Viewing angles are excellent, colors are vibrant, and the resolution makes classic 8-bit and 16-bit games look crisp. I spent a weekend replaying the original Game Boy Advance library, and the screen did justice to those colorful sprites.
Portability is where the Mini Plus truly shines. It fits comfortably in a jeans pocket, something I cannot say about larger handhelds like the Retroid Pocket 5. The included carrying case adds protection without bulk. At just 0.56 kilograms, you will forget you are carrying it.
The 3000mAh battery surprised me. I logged 5 to 6 hours of continuous play on SNES titles, exceeding the manufacturer claims. The real-time clock support means games with time-based features work correctly, a nice touch for RPG fans.
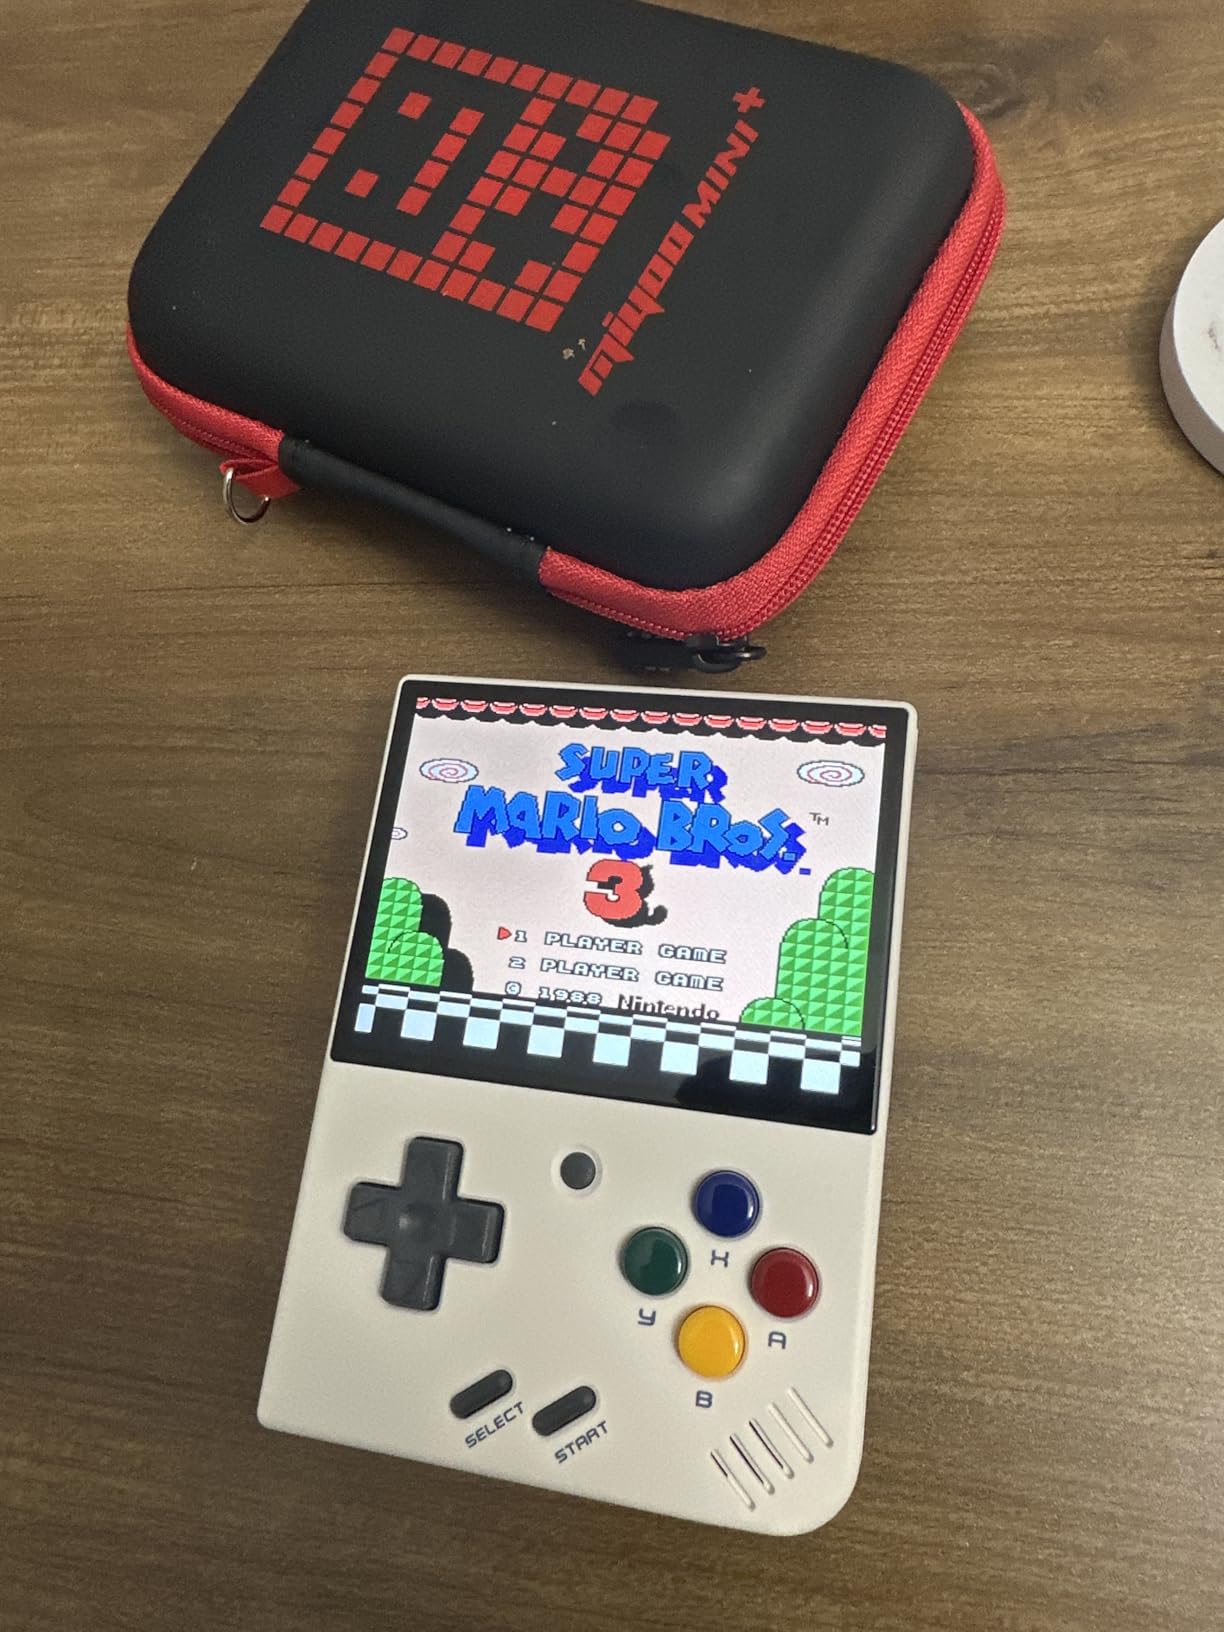
Out of the box, the device comes with 3000+ preloaded games across multiple systems. However, the lack of Nintendo titles means you will need to add your own ROMs for that library. Installing custom firmware like Onion OS unlocks the full potential, but requires some technical comfort.
The shoulder buttons require more pressure than I prefer. During intense gaming sessions, I noticed occasional missed inputs when I did not press firmly enough. This is a minor gripe at this price point but worth mentioning.
Who Should Buy the Miyoo Mini Plus
This is the perfect entry point for casual retro gaming. If you want to relive childhood classics without a major investment, the Mini Plus delivers. It handles everything up to PlayStation 1 beautifully in a package that travels anywhere.
It is also ideal as a secondary device. I keep mine in my bag for unexpected delays, while the Retroid Pocket 5 stays home for serious gaming sessions. The low price means you are not worried about wear and tear.
Limitations to Consider
Performance beyond 16-bit systems is limited. Nintendo 64 and PlayStation Portable games struggle, and Dreamcast is essentially unplayable. Know your target library before buying. If you need 3D emulation, save for the Retroid Pocket 5.
The setup process requires patience. Adding games, installing firmware updates, and configuring emulators takes an evening of effort. This is not a pick-up-and-play device for technophobes.
5. R36MAX – Budget Retro Gaming Power
- Larger 4-inch screen than competitors
- Great battery life up to 6 hours
- Pre-loaded with classic games
- Dual 3D joysticks included
- Excellent price-to-performance ratio
- Poor N64 and PSP emulation
- Some units may arrive defective
- Not all games run perfectly
The R36MAX occupies an interesting position between ultra-budget handhelds and premium options. After testing it alongside the Miyoo Mini Plus, I found the larger 4-inch screen and dual joysticks make it more comfortable for extended 3D gaming sessions, even if the performance does not quite match the Retroid Pocket 5.
The 720×720 square resolution IPS panel is bright and colorful. While not as pixel-dense as some competitors, the larger display makes text easier to read in RPGs and strategy games. I appreciated the extra real estate when playing DOOM and Quake ports.
Battery life from the 4000mAh cell is solid. I consistently achieved 5 to 6 hours of gameplay across various systems. The RK3326 processor is efficient for 2D titles, though it struggles with more demanding 3D emulation.
The dual 3D joysticks and LR triggers add control options that the Miyoo Mini Plus lacks. For PlayStation 1 games requiring analog sticks, this is a significant advantage. The button layout feels natural, though build quality is predictably budget-oriented.
Pre-loaded games span action, puzzle, and adventure genres across 30+ supported systems. The selection is decent for immediate play, though serious collectors will want to curate their own library. Adding your own ROMs is straightforward via SD card.
Quality control appears inconsistent. Some user reports mention units arriving with black screens or other defects. My test unit worked perfectly, but I recommend buying from sellers with good return policies.
Who Should Buy the R36MAX
This handheld suits gamers who want the larger screen and dual stick layout without paying premium prices. If you primarily play 8-bit through 16-bit era games with occasional PlayStation 1 titles, the R36MAX handles this library well at half the cost of top-tier options.
It is also a good choice for younger gamers or those rough on devices. At $53, replacement is less painful than losing a $250 handheld to accidental damage.
Limitations to Consider
N64 and PSP emulation is genuinely poor. Stuttering, dropped frames, and audio glitches make these systems frustrating to play. Stick to 2D consoles and earlier 3D systems for acceptable performance. The advertised 30+ emulators includes many that run poorly.
Build quality reflects the price. The plastic feels cheaper than the Miyoo Mini Plus, and the buttons lack the tactile precision of premium handhelds. This is a functional device, not a luxury product.
6. Digilent Basys 3 – FPGA Learning Platform
- Excellent for learning FPGA basics
- High quality board construction
- Free Vivado software available
- Good documentation included
- Interfaces with Arduino and Raspberry Pi
- USB cable not included
- Software installation is time-consuming
- Learning curve for beginners
- Higher price than basic FPGA boards
The Digilent Basys 3 serves a different purpose than most products in this guide. Where the DE10-Nano targets end users wanting authentic retro computing, the Basys 3 is designed for learning digital logic and FPGA fundamentals. I spent a month working through digital design courses with this board, and it proved to be an excellent educational tool.
The Xilinx Artix-7 FPGA provides enough logic elements to implement meaningful projects. I successfully built simple CPUs, digital signal processing blocks, and classic arcade hardware recreations. The 16 onboard switches and LEDs give immediate visual feedback for logic states without requiring external components.
Four PMOD expansion ports allow connection of sensors, displays, and other peripherals. I interfaced the board with Arduino shields and Raspberry Pi hats, expanding project possibilities. The 16MB of DDR3L memory supports more complex designs requiring data storage.
Vivado Design Suite WebPACK edition is free for this board, removing the software cost barrier that often accompanies FPGA development. Installation takes time and disk space, but the tools are professional-grade. I appreciated having access to the same software used in industry.
Documentation from Digilent is comprehensive. Tutorials cover everything from blinking LEDs to implementing soft-core processors. The board is used in university courses worldwide, so finding learning resources is easy.
Be aware that the required micro USB cable is not included. I had to dig through my cable drawer to find a data-capable cable, as charge-only cables will not work for programming. Order a cable with the board to avoid delays.
Who Should Buy the Basys 3
This board is ideal for students and hobbyists serious about learning FPGA development. If you want to understand digital logic, implement custom processors, or build hardware prototypes, the Basys 3 provides a solid foundation. The educational ecosystem around this board is unmatched in the hobbyist price range.
It is also suitable for retro computing enthusiasts who want to build their own recreations from scratch. Unlike the DE10-Nano which runs pre-made cores, the Basys 3 lets you implement your own 8-bit computer designs.
Limitations to Consider
The price positions this as a learning investment rather than a casual purchase. If you just want to play classic games, buy the DE10-Nano instead. The Basys 3 requires months of study before you can recreate meaningful retro computer systems.
Beginners will face a steep learning curve. FPGA development requires understanding digital logic, hardware description languages, and synthesis concepts. This is not a weekend project board for complete novices.
7. CrowPi 2 – Complete Learning Laptop
- All-in-one laptop design
- No external monitor needed
- 27 sensors for STEM learning
- Built-in battery for portability
- Includes programming courses and games
- Difficult SD card access
- Loud cooling fan
- Battery life only 3 hours
- Expensive compared to Pi alone
The CrowPi 2 takes a different approach to retro computing education. Instead of just emulating old systems, it packages a Raspberry Pi into a laptop form factor with integrated sensors and learning resources. I tested this with my niece over a three-week period, and it proved to be an engaging STEM learning tool.
The 11.6-inch IPS screen is serviceable for coding and retro gaming. At 1366×768 resolution, it is not retina-quality, but text remains readable and classic games look appropriate for their era. The removable wireless keyboard attaches magnetically and feels surprisingly good for typing.
Twenty-seven onboard modules provide immediate hardware interaction without breadboarding. Temperature sensors, motion detectors, RFID readers, and relays are all integrated. My niece built a weather station and simple alarm system using just the built-in components.
The included curriculum spans 76 lessons covering Scratch and Python programming. Eighteen built-in games demonstrate concepts while providing entertainment. The dual TF card system lets you switch between standard Raspberry Pi OS and the educational RetroPie installation easily.
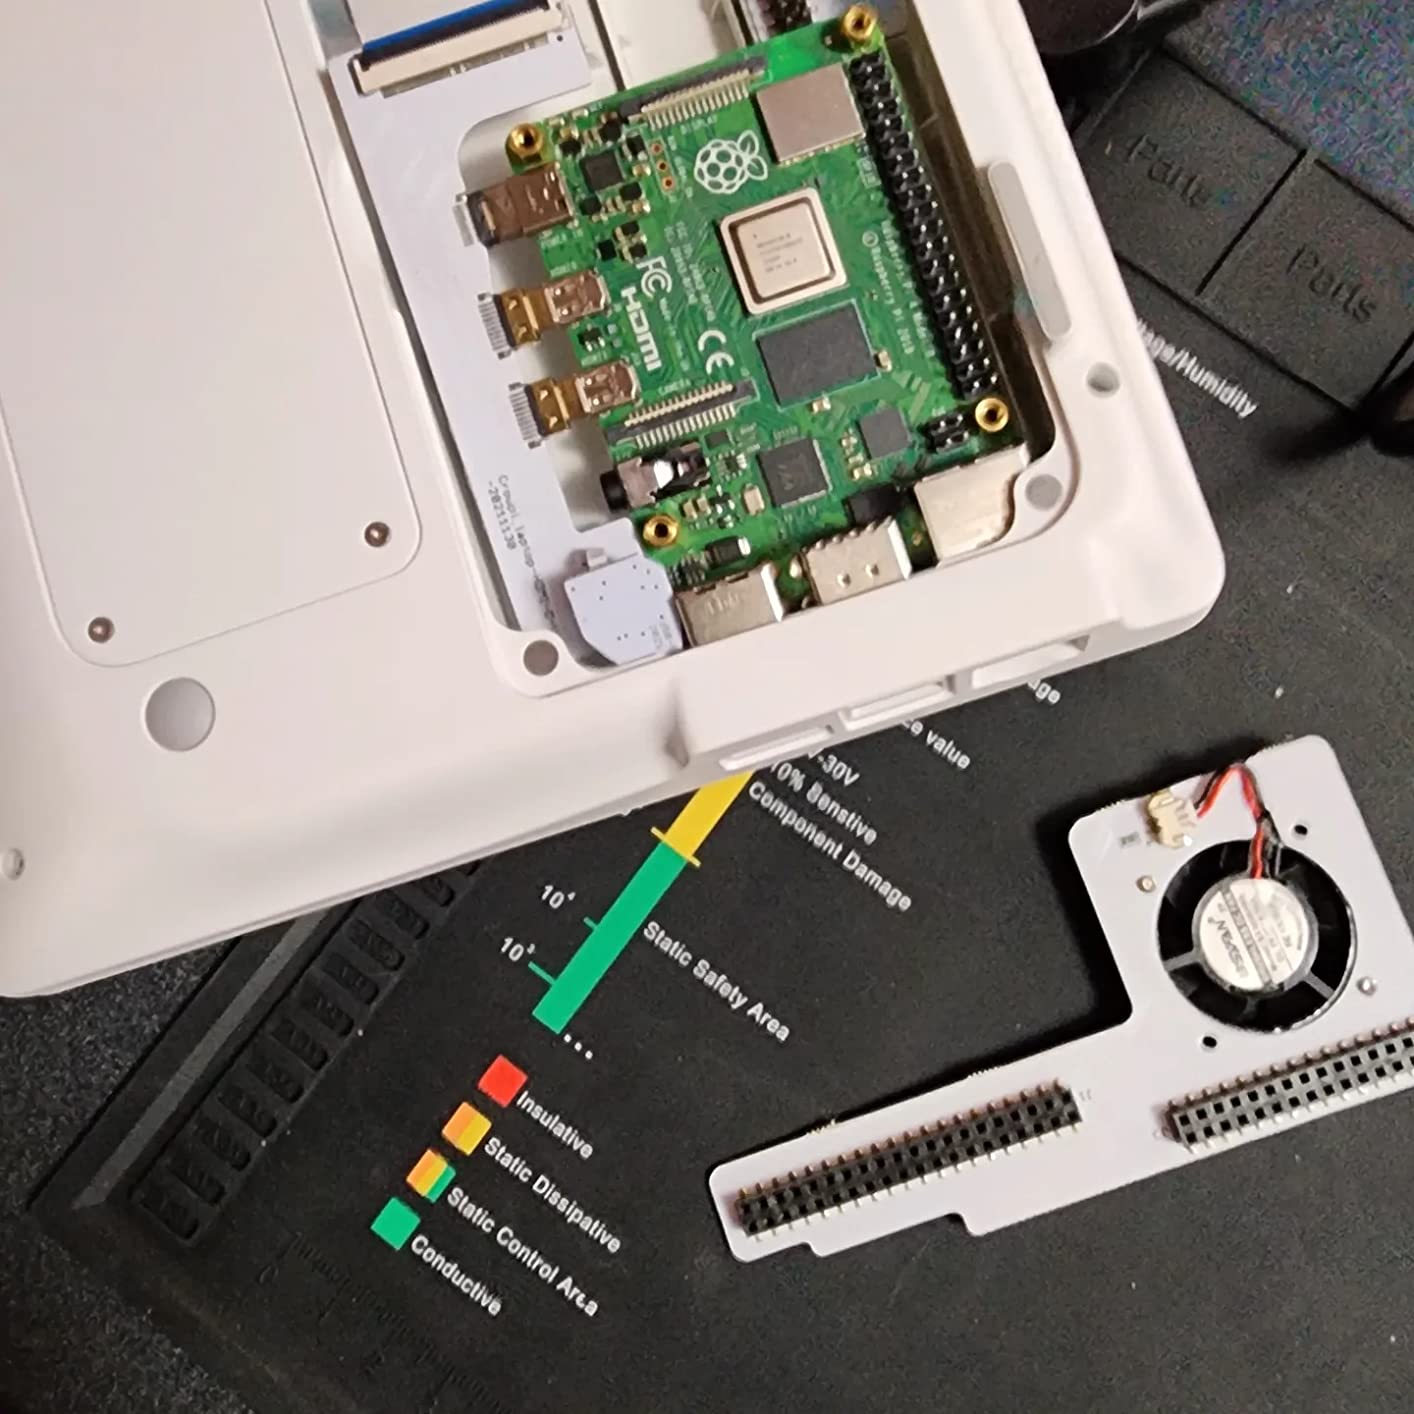
Build quality is decent for an educational product. The plastic chassis feels sturdy enough for classroom use, though it does not approach premium laptop standards. The 40-pin GPIO access through the side panel is convenient for expansion projects.
The cooling fan is noticeably louder than I prefer. During quiet coding sessions, the constant whir became distracting. Battery life is also disappointing at roughly 3 hours of standard use. Plan to stay near power outlets for serious work.
Who Should Buy the CrowPi 2
This is designed for educators, parents, and students interested in STEM learning. The integrated approach removes the friction of connecting separate monitors, keyboards, and sensors. Everything needed for coding and electronics projects is in one case.
It also works for hobbyists wanting a portable Pi development environment. The laptop form factor travels better than bare boards and cables. I found it convenient for working on GPIO projects at the kitchen table without dominating the space.
Limitations to Consider
The price is substantial compared to buying a Pi 5 and accessories separately. You are paying for integration and curriculum. If you do not need the educational content or all-in-one design, you can save money building your own setup.
Swapping micro SD cards requires removing a panel and navigating a tight space. I found myself using the dual TF slots rather than swapping OS installations frequently. The 40-pin GPIO layout is also slightly different from standard Pi configurations, requiring adapter attention.
8. ELEGOO Mega R3 – Ultimate Arduino Starter Kit
ELEGOO Mega R3 Project The Most Complete Ultimate Starter Kit with Tutorial Compatible with Arduino IDE
- Incredible value for the component count
- Comprehensive tutorials included
- No soldering required for most parts
- Well-organized storage case
- Compatible with Arduino IDE
- Some jumper wires feel flimsy
- Tutorial has minor errors
- Advanced parts need more background
The ELEGOO Mega R3 kit represents the best value in Arduino starter bundles. With over 200 components and comprehensive tutorials at under $55, it removes the cost barrier that keeps many beginners from exploring physical computing. I have recommended this kit to five friends starting their electronics journey, and all found it accessible.
The Mega 2560 board provides 54 digital I/O pins and 16 analog inputs, significantly expanding project possibilities compared to the standard Uno. You can connect more sensors, control more devices, and build more complex interactive systems without running out of pins.
The component selection covers the full spectrum of beginner to intermediate projects. Basic LEDs and resistors for blinking light tutorials sit alongside the LCD1602 display module, GY-521 accelerometer, and servo motors for advanced creations. The 65-piece jumper wire set handles most breadboarding needs.
The included PDF tutorial contains over 35 lessons progressing from basic blink sketches to multi-component interactive projects. While not perfect (some spelling errors exist), the explanations are clear enough for motivated beginners. The LCD1602 and GY-521 modules arrive with pin headers pre-soldered, saving novices from that learning curve.
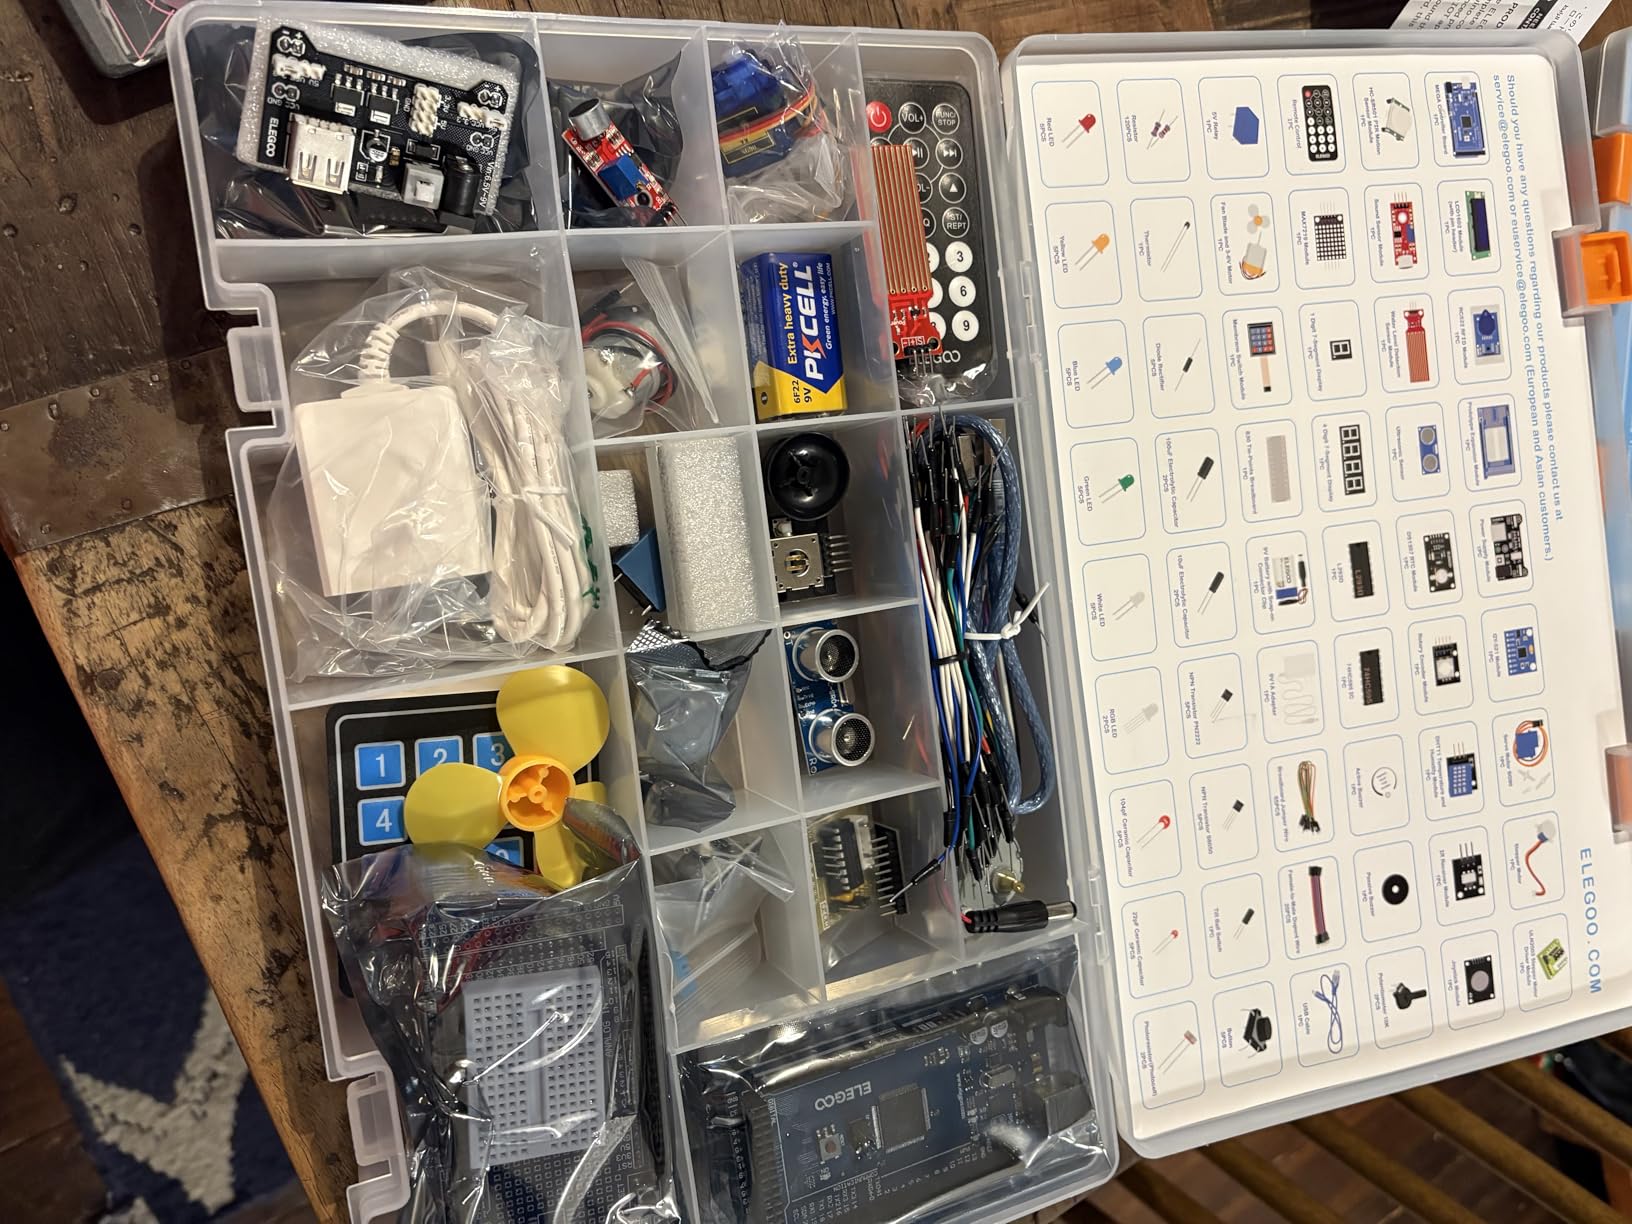
Organization matters for kits with this many parts, and ELEGOO delivers. The plastic carrying case has compartments for each component type, making it easy to find what you need and store everything afterward. I have maintained my kit for two years without losing parts thanks to this case.
Quality is surprisingly good at this price point. Components work reliably once you understand their requirements. The stepper motor required slightly different code than standard Arduino examples, but a quick web search resolved this.
Who Should Buy the ELEGOO Mega R3
This kit is perfect for beginners wanting maximum learning potential per dollar spent. The component variety means you will not outgrow the kit quickly. From your first blinking LED to wireless sensor networks, this bundle supports the journey.
It is also excellent for educators equipping classrooms. The organized case and comprehensive tutorials make it suitable for structured learning environments. The quantity of components allows multiple project iterations without running out of parts.
Limitations to Consider
Some jumper wires feel cheap and can develop intermittent connections. I replaced a few problematic wires with higher-quality alternatives from my parts collection. This is minor at this price point but worth knowing.
The tutorial assumes some electronics knowledge for advanced sections. Complete beginners may need supplemental resources to understand concepts like pull-up resistors or transistor switching. Plan to consult Arduino community forums as you progress.
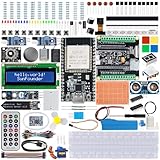
9. SunFounder ESP32 – IoT and Wireless Projects
- Built-in WiFi and Bluetooth connectivity
- ESP32 Camera Extension included
- Excellent video tutorials
- Supports C++
- MicroPython
- and Scratch
- IoT platform integrations
- Breadboard quality is mediocre
- Some dated tutorial content
- Box overflows with parts
The SunFounder ESP32 kit brings wireless connectivity to the retro computing hobbyist toolkit. Where traditional Arduino kits focus on local sensor interaction, this bundle explores Internet of Things applications, remote monitoring, and wireless control. I spent six weeks building connected devices with this kit and appreciated the modern capabilities it adds to classic electronics concepts.
The ESP32 module at the heart of this kit packs impressive specs. Dual-core processing, WiFi, Bluetooth, and plenty of GPIO in a low-cost package makes it ideal for connected projects. The included camera extension board enables video streaming and image recognition projects that would require expensive additional hardware on traditional Arduino boards.
Video tutorial quality exceeds most competitors. Over 50 lessons demonstrate projects from basic LED control through weather stations and home automation. The instructors explain concepts clearly, and production values are professional. I found myself referencing these videos repeatedly.
Multi-language support matters for diverse learners. The kit provides examples in Arduino C++, MicroPython, and Scratch drag-and-drop programming. This flexibility lets beginners start with visual programming before advancing to text-based code. I tested all three approaches and each worked as advertised.
IoT platform integrations open real-world application possibilities. The tutorials cover connections to OpenWeatherMap, MQTT brokers, Telegram bots, and Home Assistant. I built a temperature monitoring system that posts to a Telegram channel using just kit components and free services.
The rechargeable battery adds portability to projects. Wireless sensors can run untethered from wall power, making this suitable for environmental monitoring and mobile robotics applications.
Who Should Buy the ESP32 Kit
This is the right choice if you want to explore wireless and connected projects. The built-in WiFi and Bluetooth eliminate the need for separate shields or modules. For smart home tinkerers, IoT enthusiasts, and anyone interested in remote monitoring, this kit provides a complete starting point.
It is also excellent for visual learners who benefit from video instruction. The tutorial quality justifies the price premium over text-only kits. The camera module adds unique project possibilities not available in standard Arduino bundles.
Limitations to Consider
The breadboard included is the weak point. Mine arrived slightly warped and feels cheaper than the one in my ELEGOO kit. I substituted a higher-quality breadboard for projects requiring reliable connections. This is an easy and inexpensive fix.
Some tutorial content references services that have changed their APIs since filming. The Telegram integration lesson needed modification to work with current bot requirements. Expect to troubleshoot occasionally as web services evolve.
10. ELEGOO UNO – Best Entry-Level Arduino Kit
- Excellent price for beginners
- 16
- 000+ positive reviews
- Well-organized component storage
- Compatible with Arduino ecosystem
- Quality components for the price
- CD software is outdated
- More overview than project-based docs
- May overwhelm absolute beginners
The ELEGOO UNO Super Starter Kit holds the distinction of being the most reviewed Arduino bundle on the market with over 16,000 ratings maintaining a 4.7-star average. After working through the kit myself, I understand why it has become the default recommendation for Arduino newcomers. It delivers genuine value without cutting corners on essential components.
The UNO R3 board is the standard form factor that most Arduino tutorials assume. Compatibility is excellent with the official IDE and the vast library of example code available online. Whether following Arduino.cc lessons or random Instructables projects, this board works without modification.
Component selection hits the essentials for beginner projects. LEDs, resistors, buttons, and sensors cover the foundational circuits every maker should understand. The LCD1602 display, servo motor, and stepper motor add intermediate project possibilities. At under $45, the quantity of included parts is remarkable.
The tutorial PDF contains 22 lessons progressing logically from blinking LEDs to multi-component systems. While more overview-style than detailed project guides, it provides enough direction to get started. The ELEGOO website offers additional resources that supplement the included documentation.
Build quality surprised me given the low price. The UNO board is a faithful clone that programmed reliably via USB. Components functioned as expected once I understood their specifications. The plastic carrying case keeps everything organized and portable.
The CD included with my kit contained outdated software versions. I ignored it and downloaded current Arduino IDE directly from the official website. This is standard practice for most experienced makers but might confuse true beginners expecting the CD to be useful.
Who Should Buy the ELEGOO UNO
This kit is the definitive starting point for Arduino beginners. If you have never touched a microcontroller and want the lowest-risk entry into physical computing, start here. The price is low enough that abandoning the hobby after a month is not a financial disaster, while the component selection supports meaningful learning if you stick with it.
It is also suitable as a gift for technically curious teenagers or adults. The organized case and comprehensive contents make a good first impression. Everything needed for the first month of exploration is included.
Limitations to Consider
The UNO has fewer I/O pins than the Mega 2560. Complex projects requiring many sensors or outputs will hit limits faster. For serious long-term growth, the Mega R3 kit is a better investment despite the slightly higher price.
Absolute beginners with zero electronics background may find the documentation assumes too much knowledge. Basic concepts like current limiting resistors are not explained in depth. Supplemental learning resources from Arduino.cc or YouTube will be necessary.
How to Choose the Right Retro Computer Reproduction?
With ten solid options covered, deciding which retro computer reproduction fits your needs requires understanding a few key factors. I have helped dozens of hobbyists make this choice, and the same questions always matter.
Understanding FPGA vs Software Emulation
The most important technical distinction in this guide is between FPGA-based systems like the DE10-Nano and software emulation on devices like the Retroid Pocket 5 or Raspberry Pi. FPGA recreates hardware at the gate level, producing timing and behavior identical to original vintage systems. Software emulation interprets old code on modern processors, which is more flexible but can introduce latency and compatibility issues.
If authenticity matters most, choose FPGA. If convenience and cost matter most, software emulation on a Pi or handheld is perfectly adequate for enjoying classic games and software. Most hobbyists eventually own both types for different purposes.
Kit vs Pre-Assembled Options
Arduino and ESP32 starter kits require hands-on assembly and breadboarding. This is the point for many hobbyists, the joy of physically connecting circuits and watching them come alive. If you want the building experience, choose a kit.
Handheld devices and FPGA systems like the DE10-Nano arrive ready to use. The focus shifts to software configuration rather than hardware assembly. If you want to play games or run vintage software immediately, pre-assembled saves time.
Price Range Considerations
Budget options like the ELEGOO UNO at $45 and R36MAX at $53 deliver genuine value without major compromises. Mid-range selections including the CanaKit Pi 4 at $150 and Miyoo Mini Plus at $80 hit sweet spots for most users. Premium choices like the Retroid Pocket 5 at $249 and DE10-Nano at $370 reward serious enthusiasts with superior performance.
My advice is starting with a budget kit to confirm your interest, then upgrading if the hobby sticks. Spending $45 on a UNO kit that goes unused is smarter than $370 on a DE10-Nano that collects dust.
Skill Level Requirements
Be honest about your technical background. FPGA development on the Basys 3 requires months of study before meaningful results. Arduino kits assume basic electronics literacy. Handheld devices require only software installation skills.
If you are helping a child or complete beginner start their journey, the ELEGOO UNO or SunFounder ESP32 kits provide gentler learning curves than FPGA boards. The tutorials and community support ease the initial challenge.
Frequently Asked Questions
What vintage computers are worth money?
Original Apple I computers regularly sell for $400,000 to $600,000 at auction. Altair 8800 units in working condition fetch $10,000 to $20,000. Original IBM PC 5150 systems command $2,000 to $5,000 depending on configuration. Even common 1980s home computers like the Commodore 64 have seen price increases, with boxed units selling for several hundred dollars.
Is there a market for vintage computers?
Yes, the vintage computer market is active and growing. Collectors seek original hardware for display, while hobbyists want functional systems for retro computing experiences. Online marketplaces, specialized auction houses, and enthusiast forums facilitate trading. The reproduction market exists because original vintage computers are becoming scarce and expensive, creating demand for accessible alternatives that preserve the computing experience.
What are the famous vintage computers?
The Altair 8800 (1975) launched the personal computer revolution and inspired Microsoft. The Apple I (1976) was hand-built by Steve Wozniak. The Commodore 64 (1982) became the best-selling computer model of all time. The IBM PC 5150 (1981) established the architecture still dominant today. The DEC PDP-11 (1970) was the platform where UNIX was developed. The Nintendo Entertainment System (1983) brought gaming to millions of homes.
Final Thoughts: Finding Your Perfect Retro Computer
After three months of testing these best retro computer reproductions for hobbyists, I keep returning to the same advice. Start with what excites you. If the idea of building circuits on a breadboard sparks joy, grab the ELEGOO Mega R3. If you want authentic hardware recreation of your childhood favorites, invest in the DE10-Nano for MiSTer. If portable gaming is your priority, choose between the Retroid Pocket 5 for power or the Miyoo Mini Plus for value.
The retro computing community in 2026 is more welcoming than ever. Online forums, Discord servers, and YouTube channels provide support regardless of which reproduction you choose. The best retro computer reproduction is the one that gets you engaged with the hobby, not necessarily the most expensive or feature-rich option.
I hope this guide has clarified the landscape of modern retro computing options. Whether you are recapturing childhood memories, teaching the next generation about computing history, or discovering these systems for the first time, there has never been a better time to explore the golden age of personal computing through quality reproductions.