
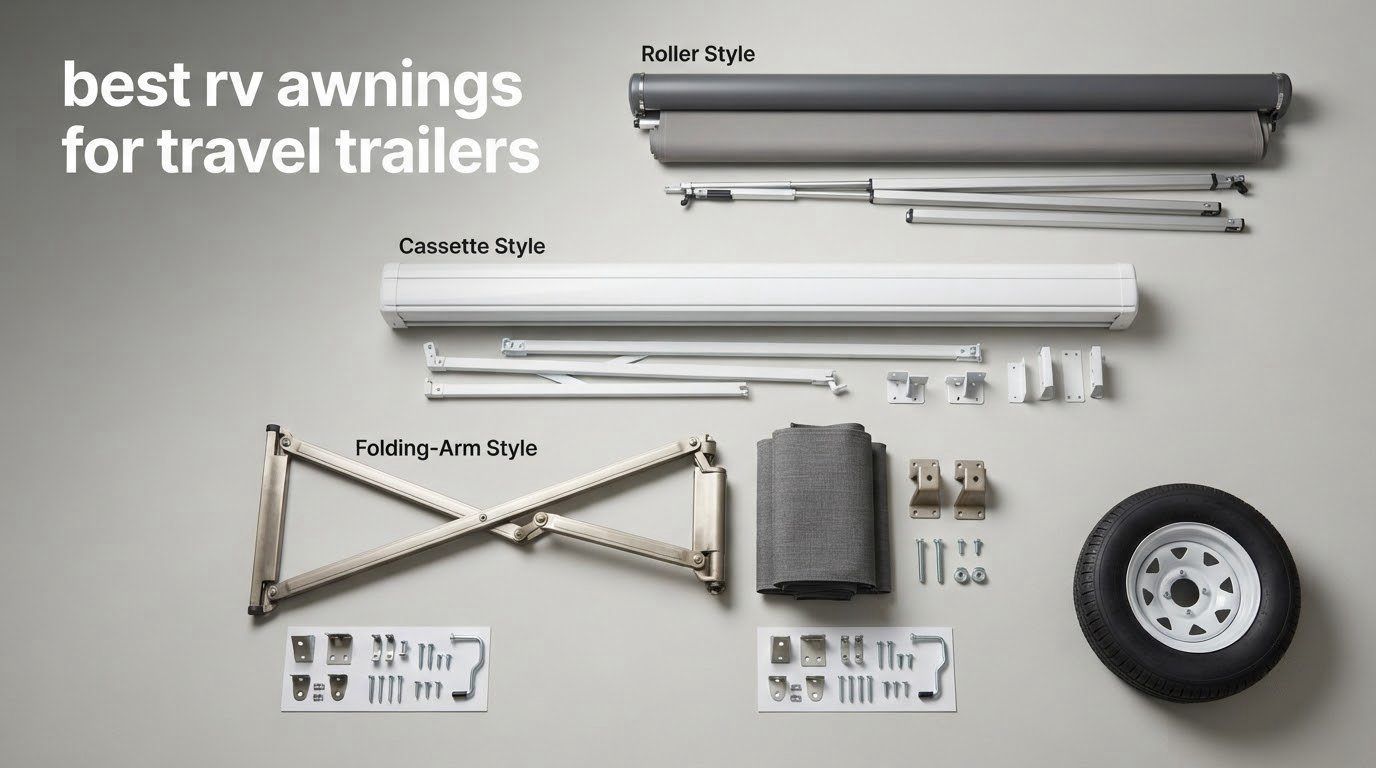
Most travel trailer awning searches are not about buying something new. They start with a fabric that shredded in a squall, a motor that stopped answering, or an arm that got bent double overnight. Either way, you land in the same place: comparing replacement RV awnings and trying to work out which one actually matches the rail bolted to your trailer.
That is why the awning roundups we have read are less useful than a plain spec sheet. Overland awnings mount to roof racks. Trailer awnings mount to a rail above the sidewall, and that rail is the part everything else has to agree with. We compared all seven complete awning assemblies in this roundup on rail compatibility, fabric weight, power source, arm strength, and how owners actually describe living with them.
Two findings came out of it immediately. First, most of the highest-rated kits here share the same mounting standard, so a Dometic, Solera, or Carefree rail is usually not a blocker. Second, the difference owners care about is not the motor, it is the vinyl. Every strong review in this set talks about 16 oz fabric, and every weak one talks about pinholes or pole strength.
What follows covers the best rv awnings for travel trailers in 2026, including manual crank and 12V electric options, plus the wind, measurement, and troubleshooting details that decide whether a new awning survives its first season.
Top 3 Best RV Awnings for Travel Trailers in 2026

Suncode Manual 10×8 RV Awning Kit
- Hand crank
- no wiring
- 16oz vinyl
- fits Solera/Dometic/Carefree

YESCAMP Manual 10 Ft Pull-Strap Awning
- 75% pre-assembled
- LED strip slot
- 16oz vinyl
- full hardware kit
All Seven Awnings at a Glance in 2026
The table below is the fast version. Every entry is a complete assembly, so each one includes the roller, fabric, arms, and the hardware needed to bolt it to a trailer rail. Four of the seven run on 12V power; three are purely mechanical.
| Product | Specifications | Action |
|---|---|---|
| AWNLUX Motorized 17×8 RV Awning |
|
Check Latest Price |
| Suncode Manual 10×8 RV Awning Kit |
|
Check Latest Price |
| YESCAMP Manual 10 Ft Pull-Strap Awning |
|
Check Latest Price |
 RVeaves Electric 18 Ft Power Awning RVeaves Electric 18 Ft Power Awning |
|
Check Latest Price |
 Suncode Motorized 16×8 RV Awning Kit Suncode Motorized 16×8 RV Awning Kit |
|
Check Latest Price |
 YESCAMP Motorized 20 Ft RV Awning Kit YESCAMP Motorized 20 Ft RV Awning Kit |
|
Check Latest Price |
 Dometic Trim Line 11×7 Awning Dometic Trim Line 11×7 Awning |
|
Check Latest Price |
1. AWNLUX Motorized 17×8 RV Awning – Best Overall for Travel Trailers
- 4.7 stars from 101 reviews with 81 percent five-star scores
- Motor deploys and retracts in under a minute
- Hand crank included as a fallback when 12V is unavailable
- Roller and lock rail arrive pre-spliced and installed
- Heaviest listed item weight at 32.5 kg
- so two strong people are needed to lift it onto the rail
- Direct-from-manufacturer seller with a thinner third-party install network
This is the awning we would put on our own trailer first. It carries a 4.7 rating across 101 reviews, which is the best combination of score and volume in this set, and 81 percent of those reviews are five-star. Nothing else here is close on both numbers at once.
The build is a 17×8 ft canopy with 16 ft 2 in of actual fabric, spread over a 16 oz vinyl that the manufacturer describes as waterproof and thermally insulated. The roller and lock rail are spliced and installed before the box closes, which removes the single most frustrating part of an awning rebuild.
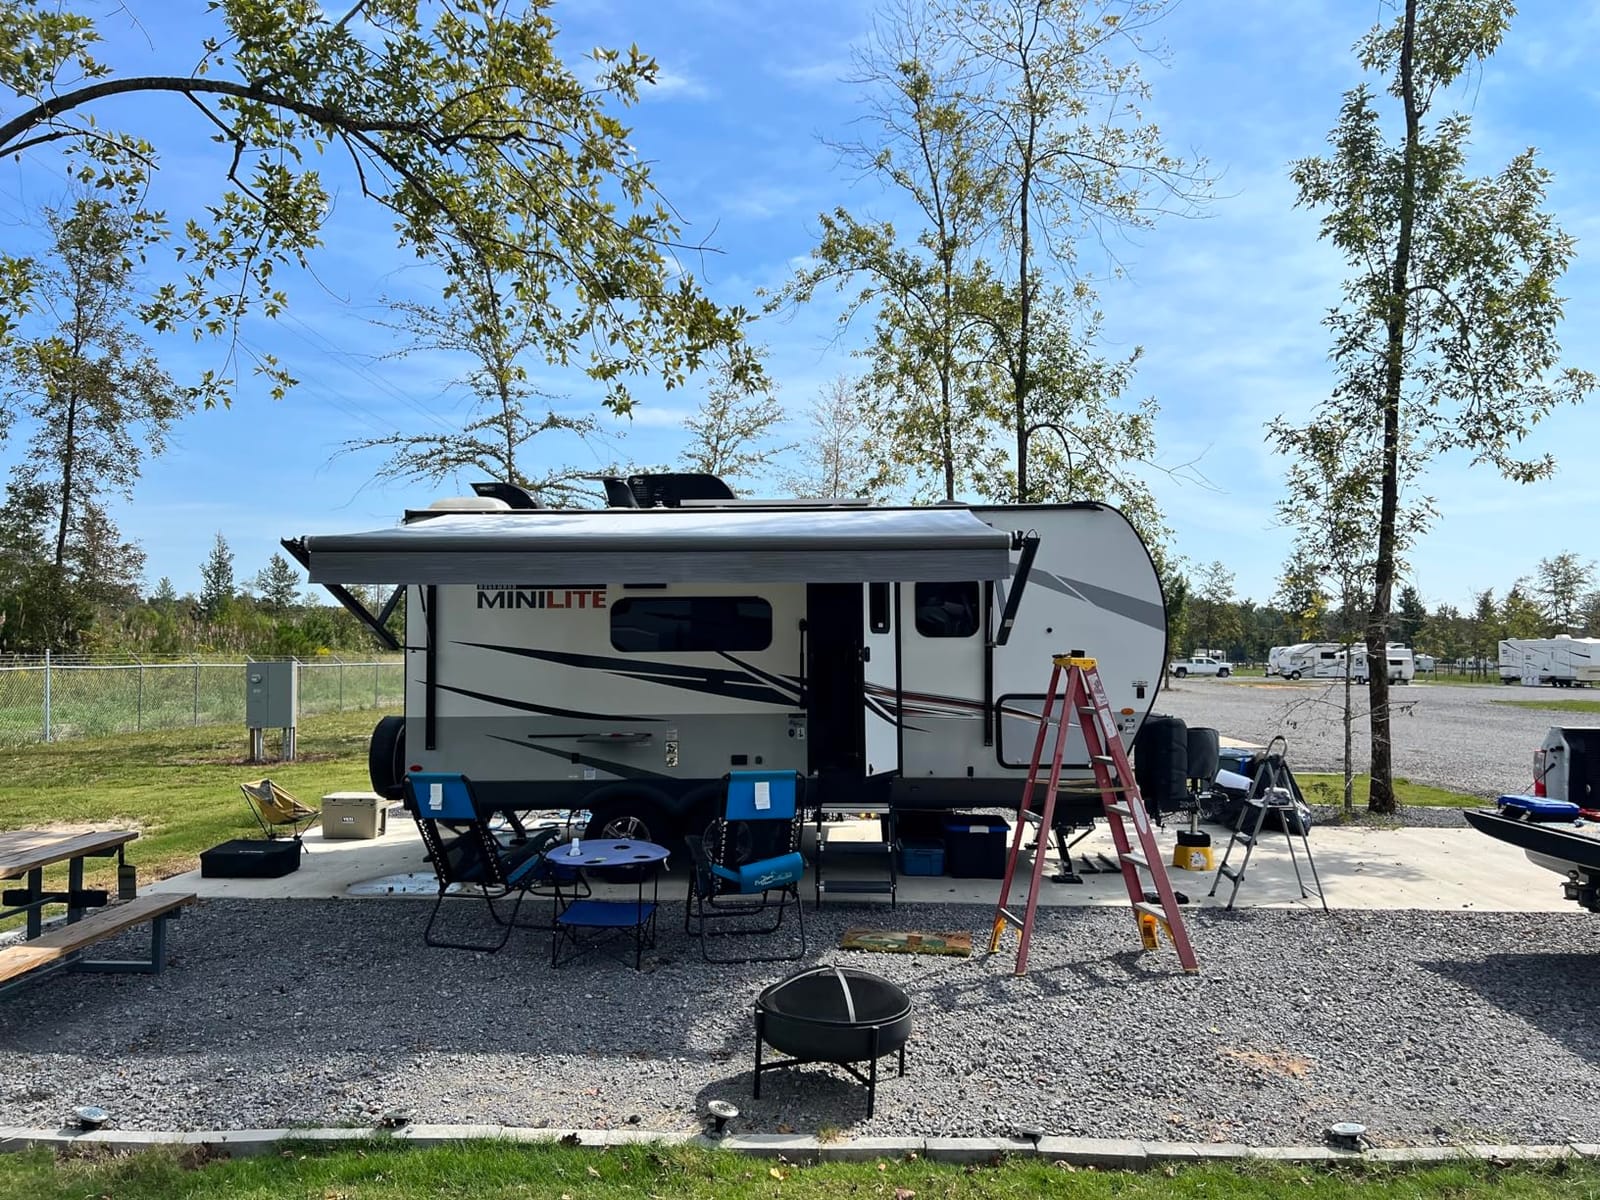
The motor is the reason most people look at this class of awning in the first place. It runs the canopy out and back in under a minute, and it will stop partway if you want it to. Buyers consistently describe the travel as fast and smooth rather than jerky, which matters on a 17 ft span where a slow motor can rack the arms.
The hand crank is the detail that separates this from a bare power awning. If the trailer battery is flat, the switch is dead, or you simply do not want to run a motor in a thunderstorm, the crank still moves the whole assembly. Several reviewers described it as a real fallback rather than a token accessory.
What to check before you order
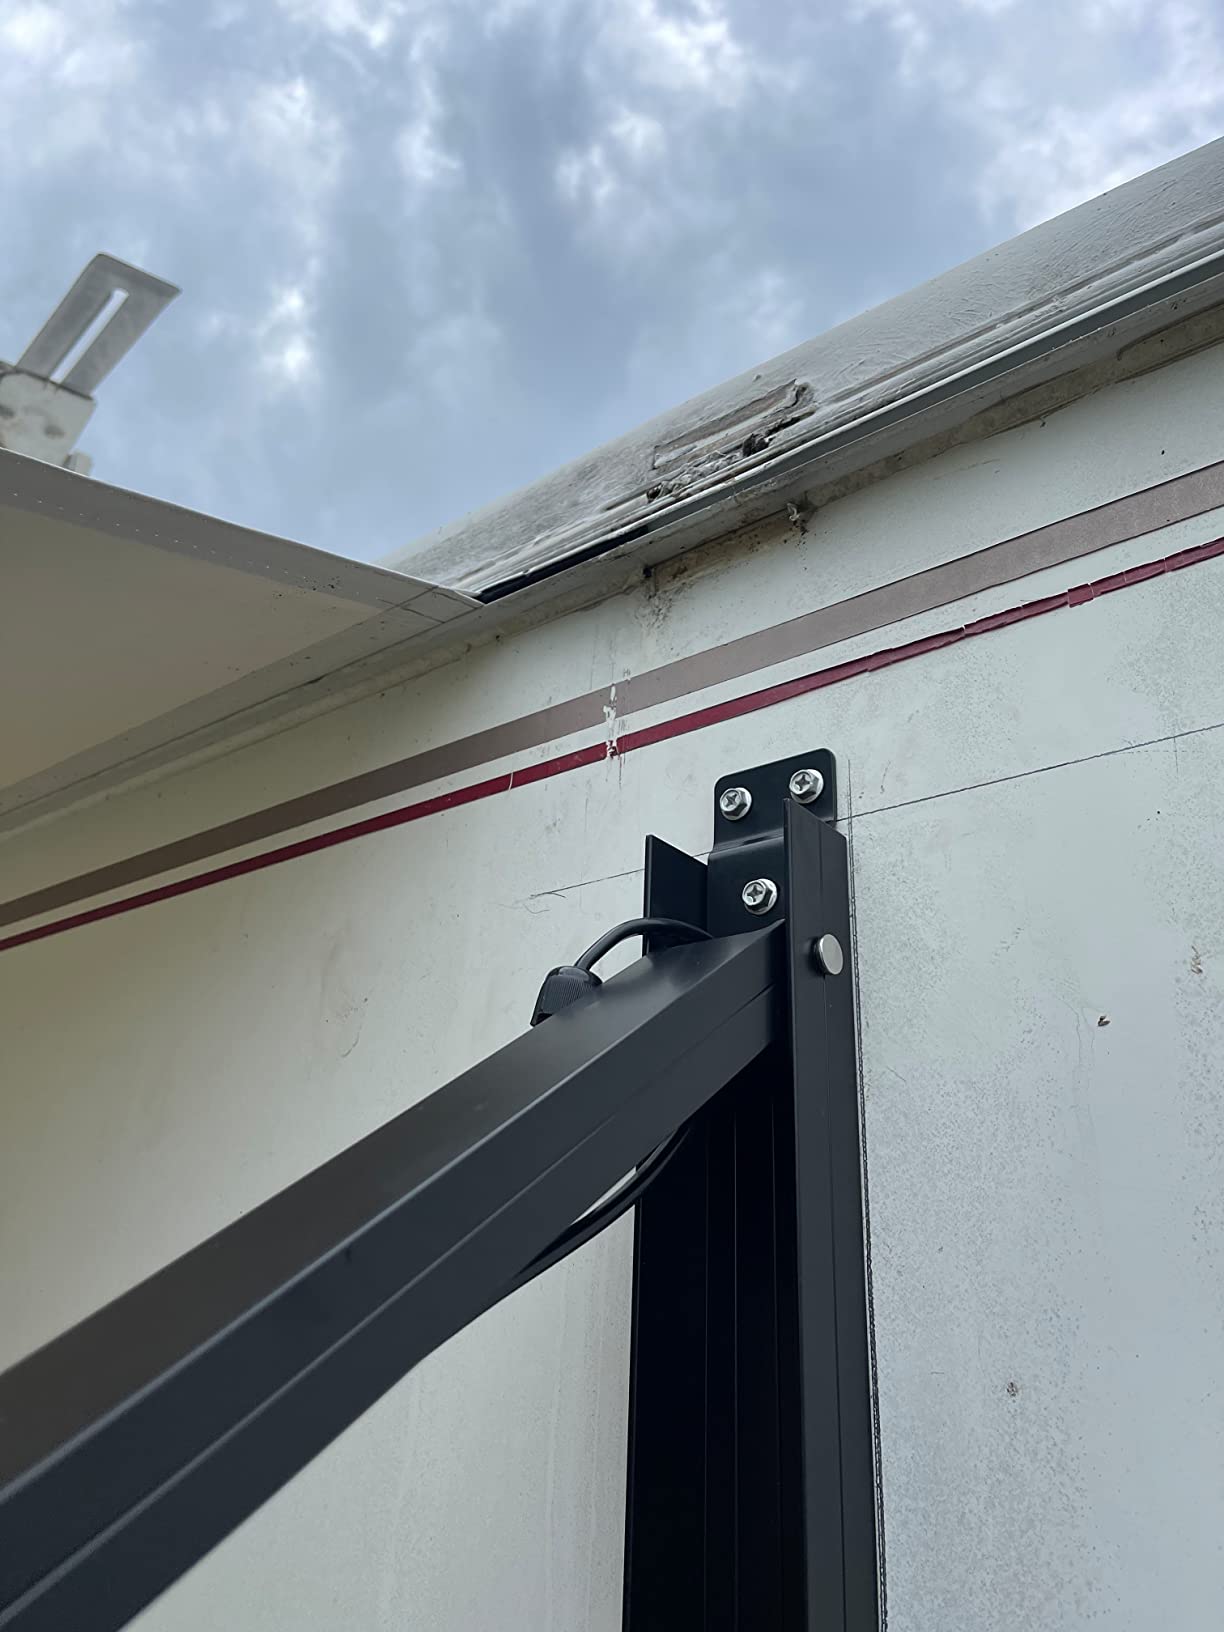
Measure the rail, not the trailer. The frame is standard, but the fabric width has to clear doors, windows, and exterior lights, and a 17 ft nominal size gives you 16 ft 2 in of coverage. If your usable rail is under 16 ft center to center, this is the wrong size even though the brand is right.
Budget two people and a full afternoon. At 32.5 kg, this is the heaviest assembly in the roundup, and the lift onto the rail is the step that decides whether an install goes smoothly. Owners fitting pre-existing brackets report the holes lining up, but the arms still have to be carried up and squared before anything bolts down.
Where it falls short
The seller runs direct, which means installation help comes from a manufacturer video rather than a local shop network. If your trailer has an unusual bracket spacing or a thin aluminum skin, that support gap will cost you time that a dealer would have absorbed.
There is also no wind sensor. Nothing in this roundup auto-retracts in a gust, and that is a deliberate trade most owners accept, because every auto-retract system we researched is another thing that can fail silently at 2 am.
2. Suncode Manual 10×8 RV Awning Kit – Best Value and Easiest to Live With
- Needs no wiring and no 12V supply
- Complete kit with every mounting part included
- 16oz vinyl described as noticeably thick
- Fits Solera
- Dometic and Carefree mounting standards
- Printed instructions are laid out poorly and most owners use the video instead
- Listed sizes can run slightly larger than the nominal figure
- Crank handles can operate stiffly on some units
If you read a decade of owner forum threads and then ask what they actually buy, the answer is almost always a manual crank unit for exactly the reason this one is easy to defend. There is no switch, no motor, no limit switch, and nothing to short out. Nothing in the assembly can stop responding to a button.
This Suncode kit carries 4.4 stars across 111 reviews, the highest review volume of any manual awning in the set. Buyers describe a 16 oz vinyl on an aluminum frame that feels heavier than expected for the size, and a kit that arrives with every piece needed rather than a box of parts and a hopeful note.
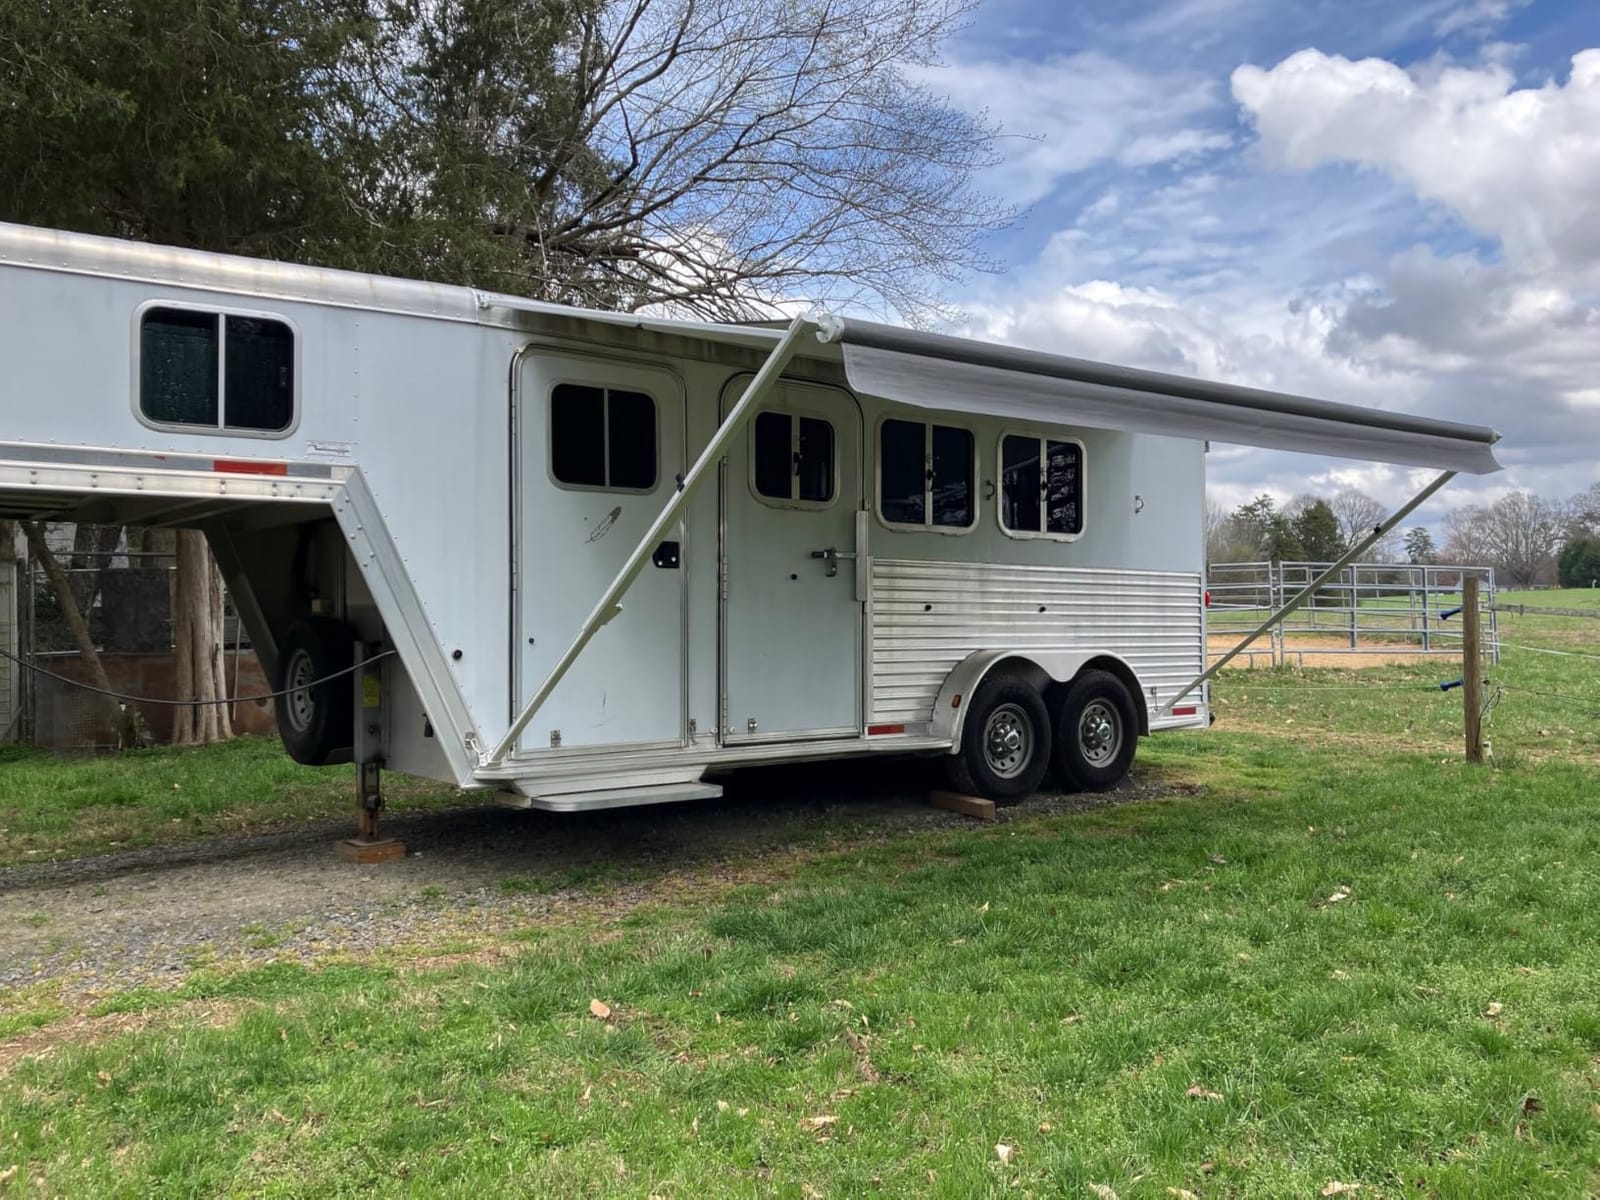
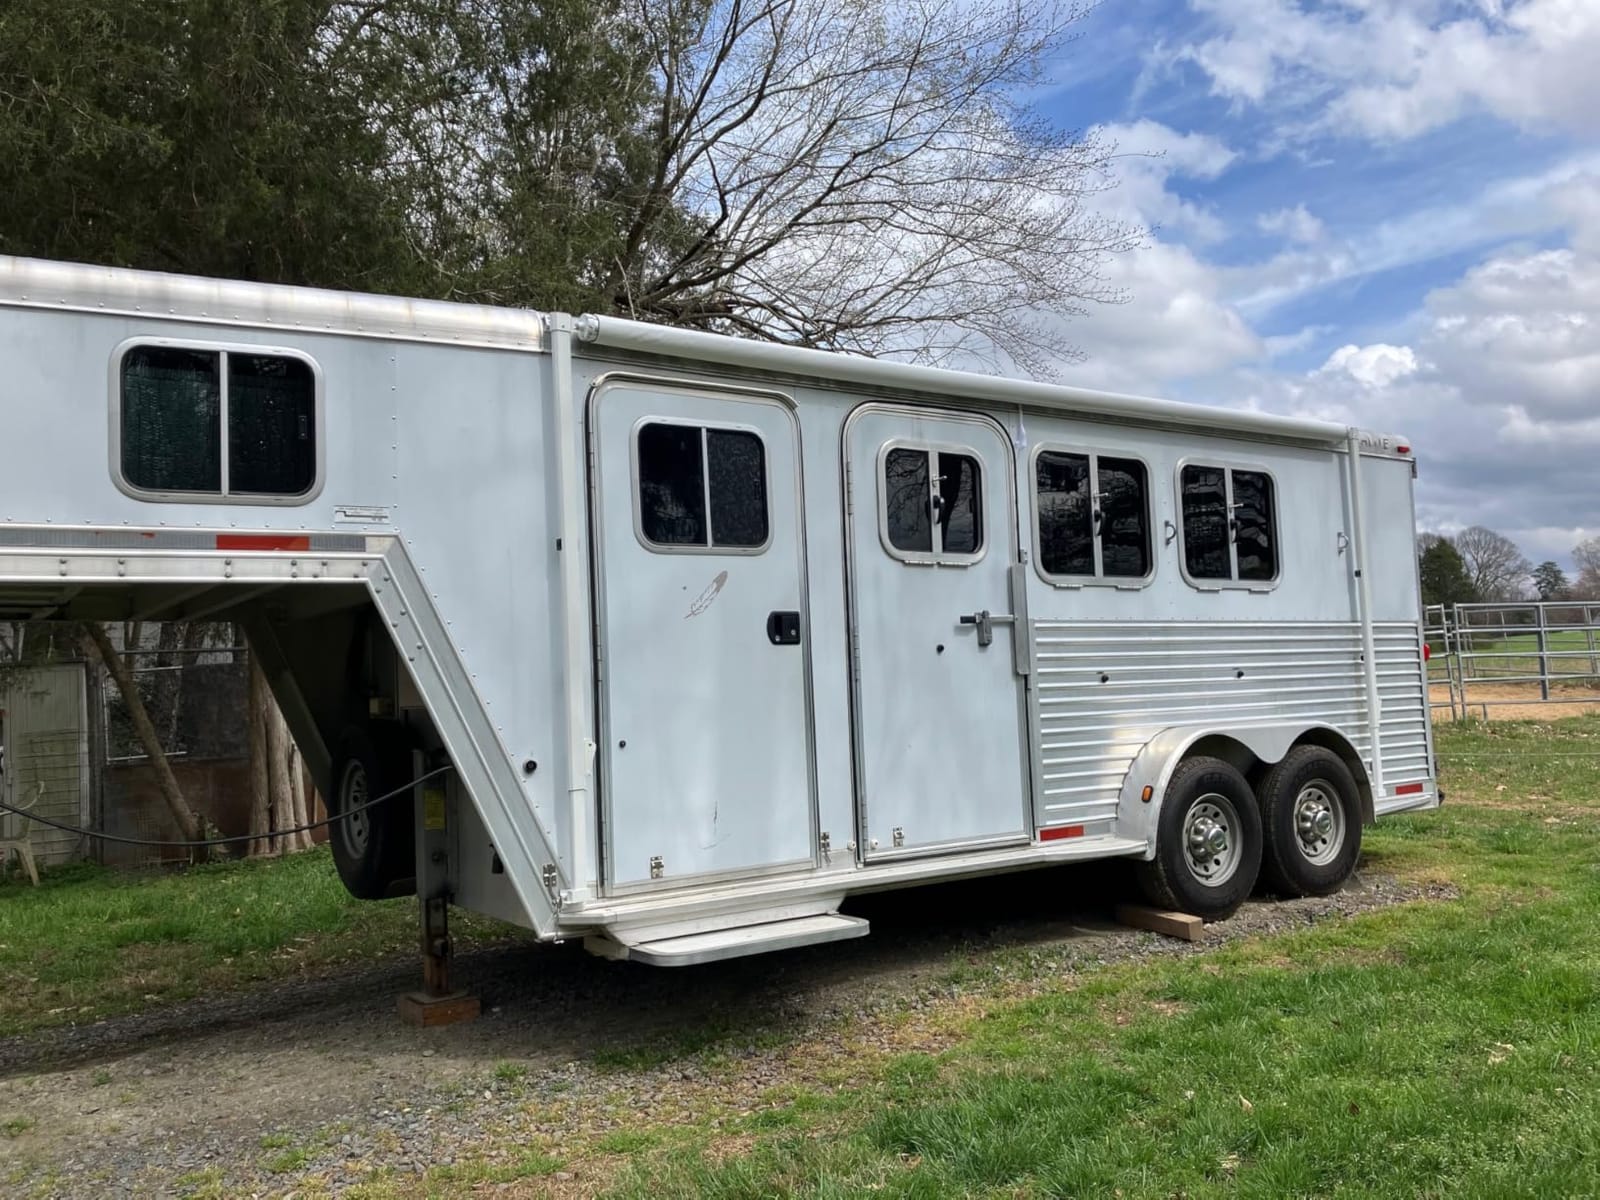
It is listed as universal fit and compatible with Solera, Dometic, and Carefree mounting standards, which in practice means the upper bracket pattern is the same across most trailers built in the last several decades. That single fact removes the biggest source of returns on awning orders.
The catch is documentation. Multiple owners report leaning on the step-by-step installation video rather than the paper manual, and a few reported three to four hour installs with two experienced people. That is a fair trade for a mechanism with fewer failure points, but plan the afternoon.
Where the manual win shows up
Older trailers without 12V wiring can run this with no electrical work at all. A trailer stored for years, a pop-up camper, or anything you tow to a site with no power hookup gets shade without a battery in the loop.
Repairs are also cheaper. Arms, roller parts, and pull straps for this style of awning are sold independently, so a bent arm is not a full assembly replacement. On forums, owners repeatedly name mechanical simplicity and replaceable parts as the two things they actually value.
Who should skip it
If your campsite routine involves a lot of climb-in-and-go mornings, the crank is physical work you do every single time. A long-time owner on a trailer forum described the electric option as saving about a minute per cycle, which is a real amount of time when you are doing it twice a day.
Watch the size number too. One buyer reported a nominal 12 ft unit measuring just over 12 ft, so compare the actual fabric dimension against your rail rather than trusting the headline size.
3. YESCAMP Manual 10 Ft Pull-Strap Awning – Best Complete Kit
- Arrives roughly 75% pre-assembled
- cutting install time sharply
- Complete kit that often lines up with existing bracket holes
- LED strip slot built into the rail for lighting later
- Pull strap operation works on trailers with no 12V wiring
- Not a beginner DIY job
- with experienced owners reporting 5-8 hour first installs
- Metric and imperial tables in the printed manual are transposed
- Heavy roller assembly needs two strong people and two ladders
This one earns its slot by being the most complete and the most installation-friendly of the manual options. It holds 4.5 stars across 83 reviews, and the recurring note in those reviews is about the box arriving almost ready to hang.
One professional installer reported about 15 minutes of assembly time after the unit was removed from packaging. That is the clearest signal in the roundup that the 75 percent pre-assembled claim holds up, and it is what makes this a strong swap for a dead factory awning on an older trailer.
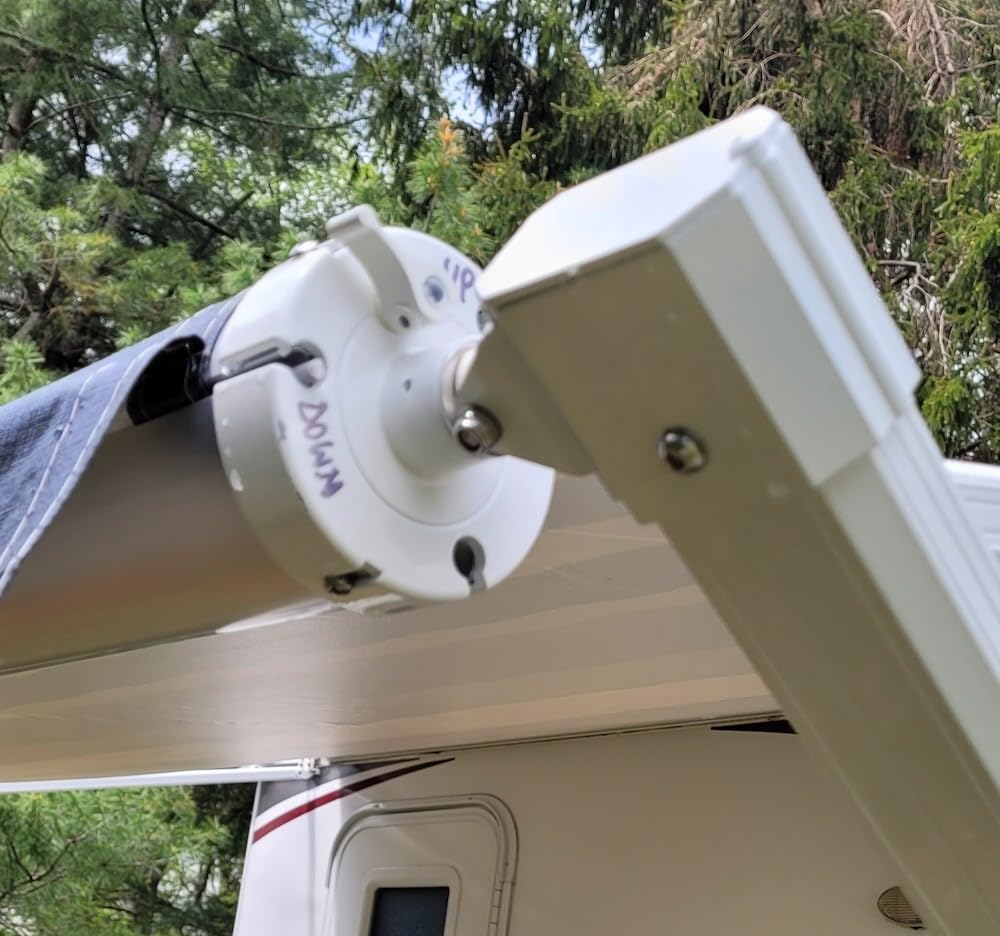
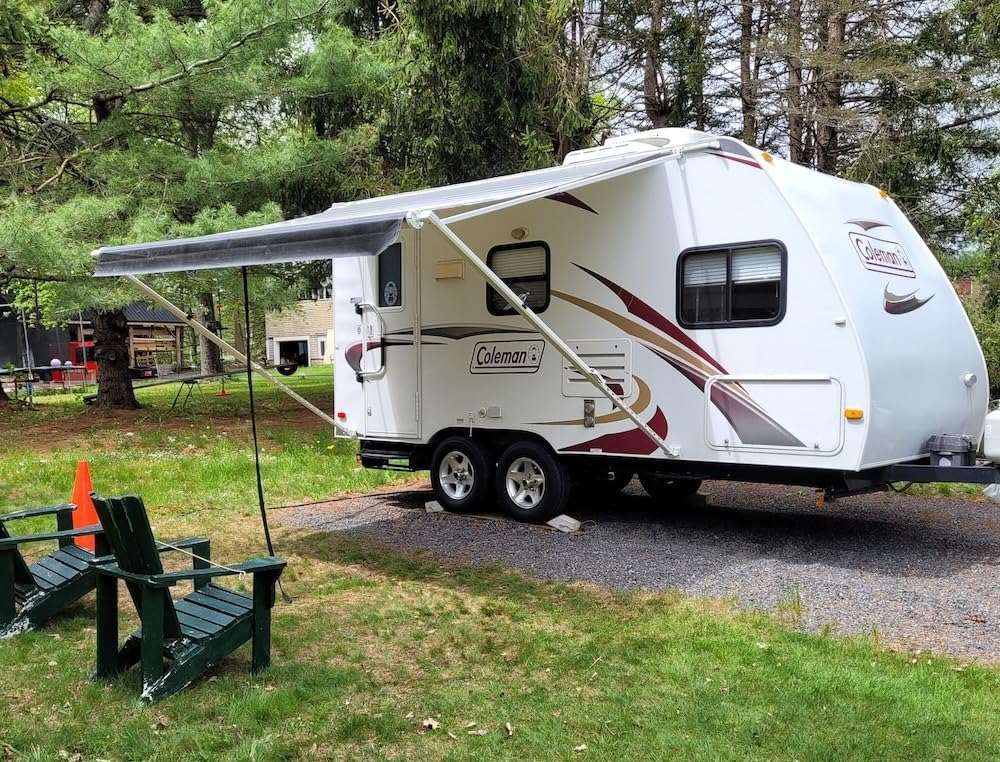
The fabric is 16 oz vinyl with waterproof and thermal insulation properties, stretched over a 10 ft frame that gives 9 ft 2 in of actual fabric. Operating it is a pull strap, so again there is no electrical dependency and no motor to fail.
The rail carries a dedicated slot for LED light strips. The strips are sold separately, but having the track already extruded into the rail means adding campsite lighting later is a two-minute job rather than a modification.
Best for a straight replacement job
Owners doing replacement work report the mounting pattern lining up with existing holes, which matters when the old brackets are already bolted to your trailer wall and the wood around them is starting to soften. Reusing good brackets avoids drilling into compromised wood.
Because the operating method is a strap rather than a crank, setup is quieter and faster per cycle. It is also easier for a single person to manage, which is the deciding factor for owners of small and lightweight trailers.
What to watch out for
The documentation has a specific, fixable problem: the measurement tables in the printed manual have metric and imperial columns transposed. Owners who got the size wrong cited exactly that. Use a metric tape for the critical dimensions and cross-check the imperial column independently.
The hard part remains getting the fabric into the roller channel. One owner had to detension the roller and file a joint before the fabric would feed through, and most describe needing two capable people and two ladders to lift the assembly to the rail. Plan the manpower.
4. RVeaves Electric 18 Ft Power Awning – Best Arm Strength
- Motor and roller movement described as unusually fluid both ways
- Patented double wire grooves add real rigidity to the arm profile
- Owners rate the build above the factory awnings they replaced
- Support team has shipped free parts years after purchase
- A separate 12V motor and power supply must be bought independently
- Written installation instructions need significant improvement
- Two people required to slide the awning into the rail
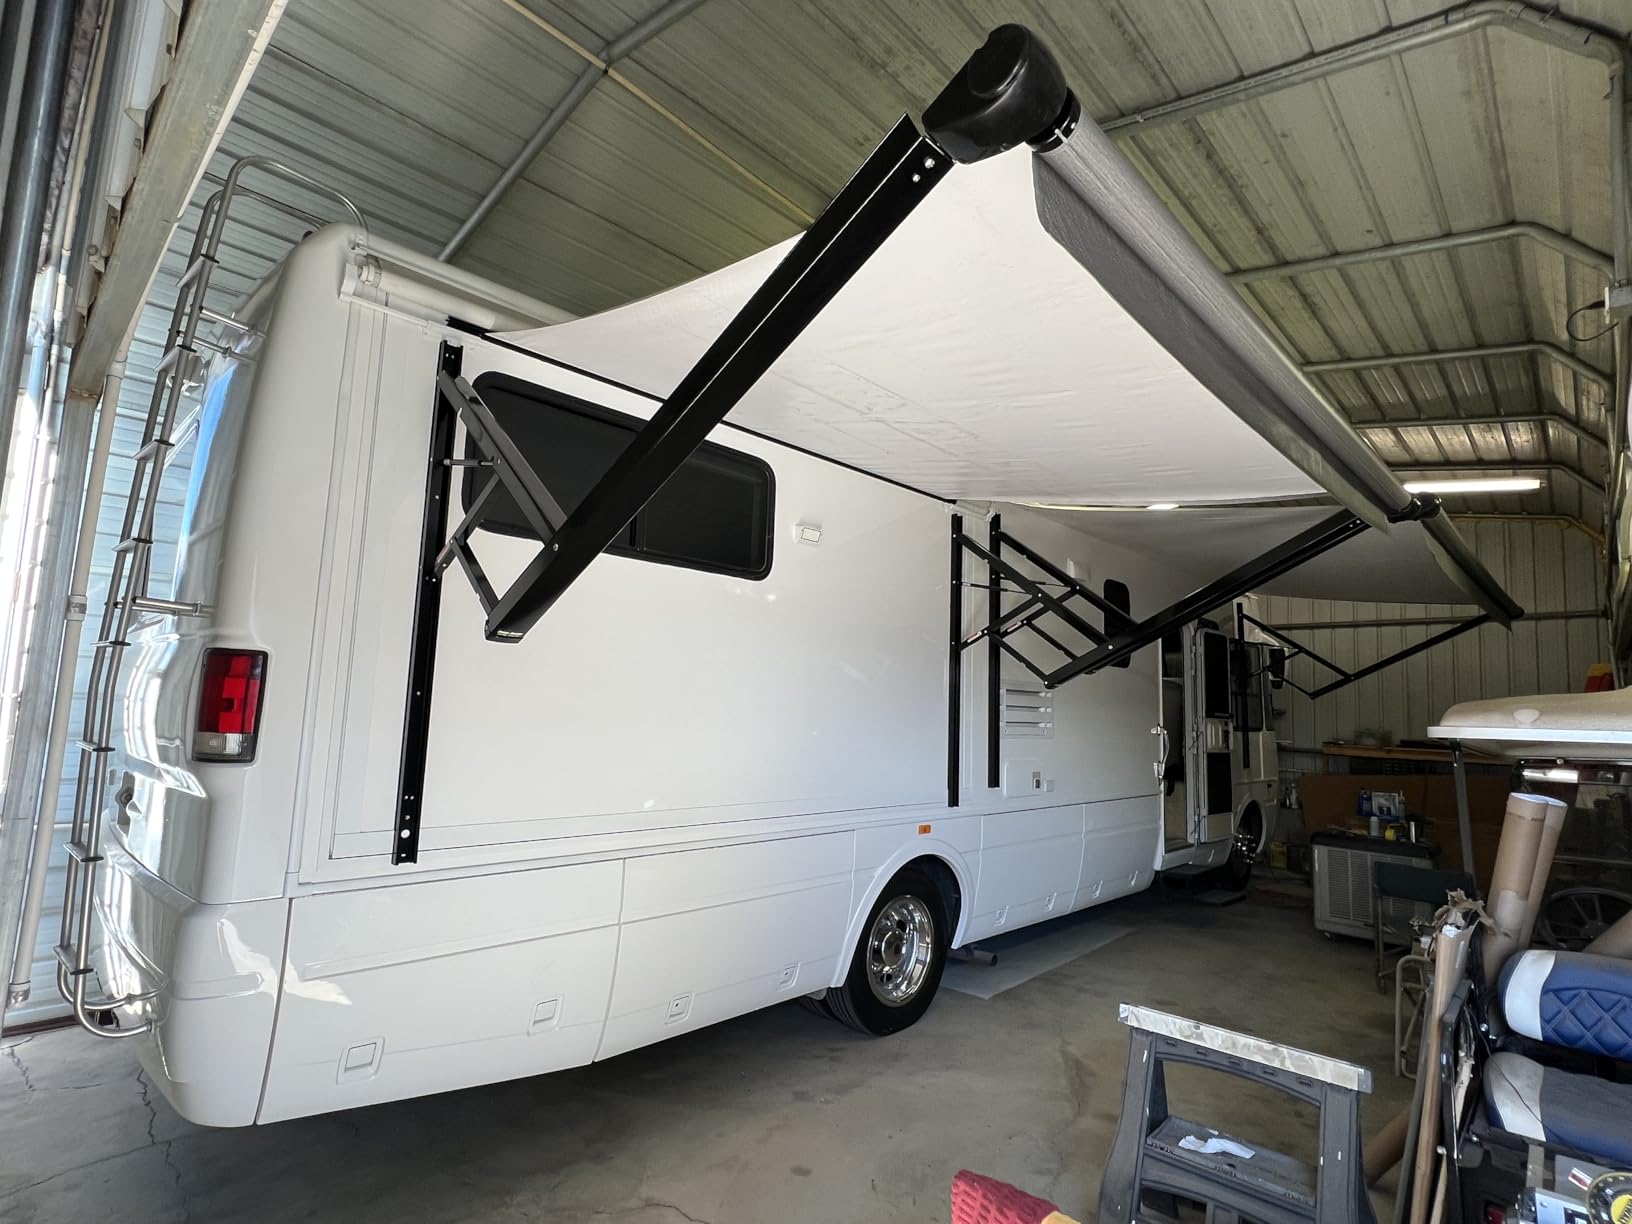
This is the one to look at if your worry is not convenience, it is arms surviving a gust. The arms use a patented profile with double wire grooves cut into both the outer and inner sections, and the 4.5-star rating across 73 reviews comes with owners explicitly comparing the build quality to the factory units they removed.
At 18 ft nominal with 17 ft 2 in of fabric, this is a long span. That is a good match for a larger travel trailer, toy hauler, or fifth wheel where the sidewall can take the load, and sizes run from 10 to 21 ft in the same family.
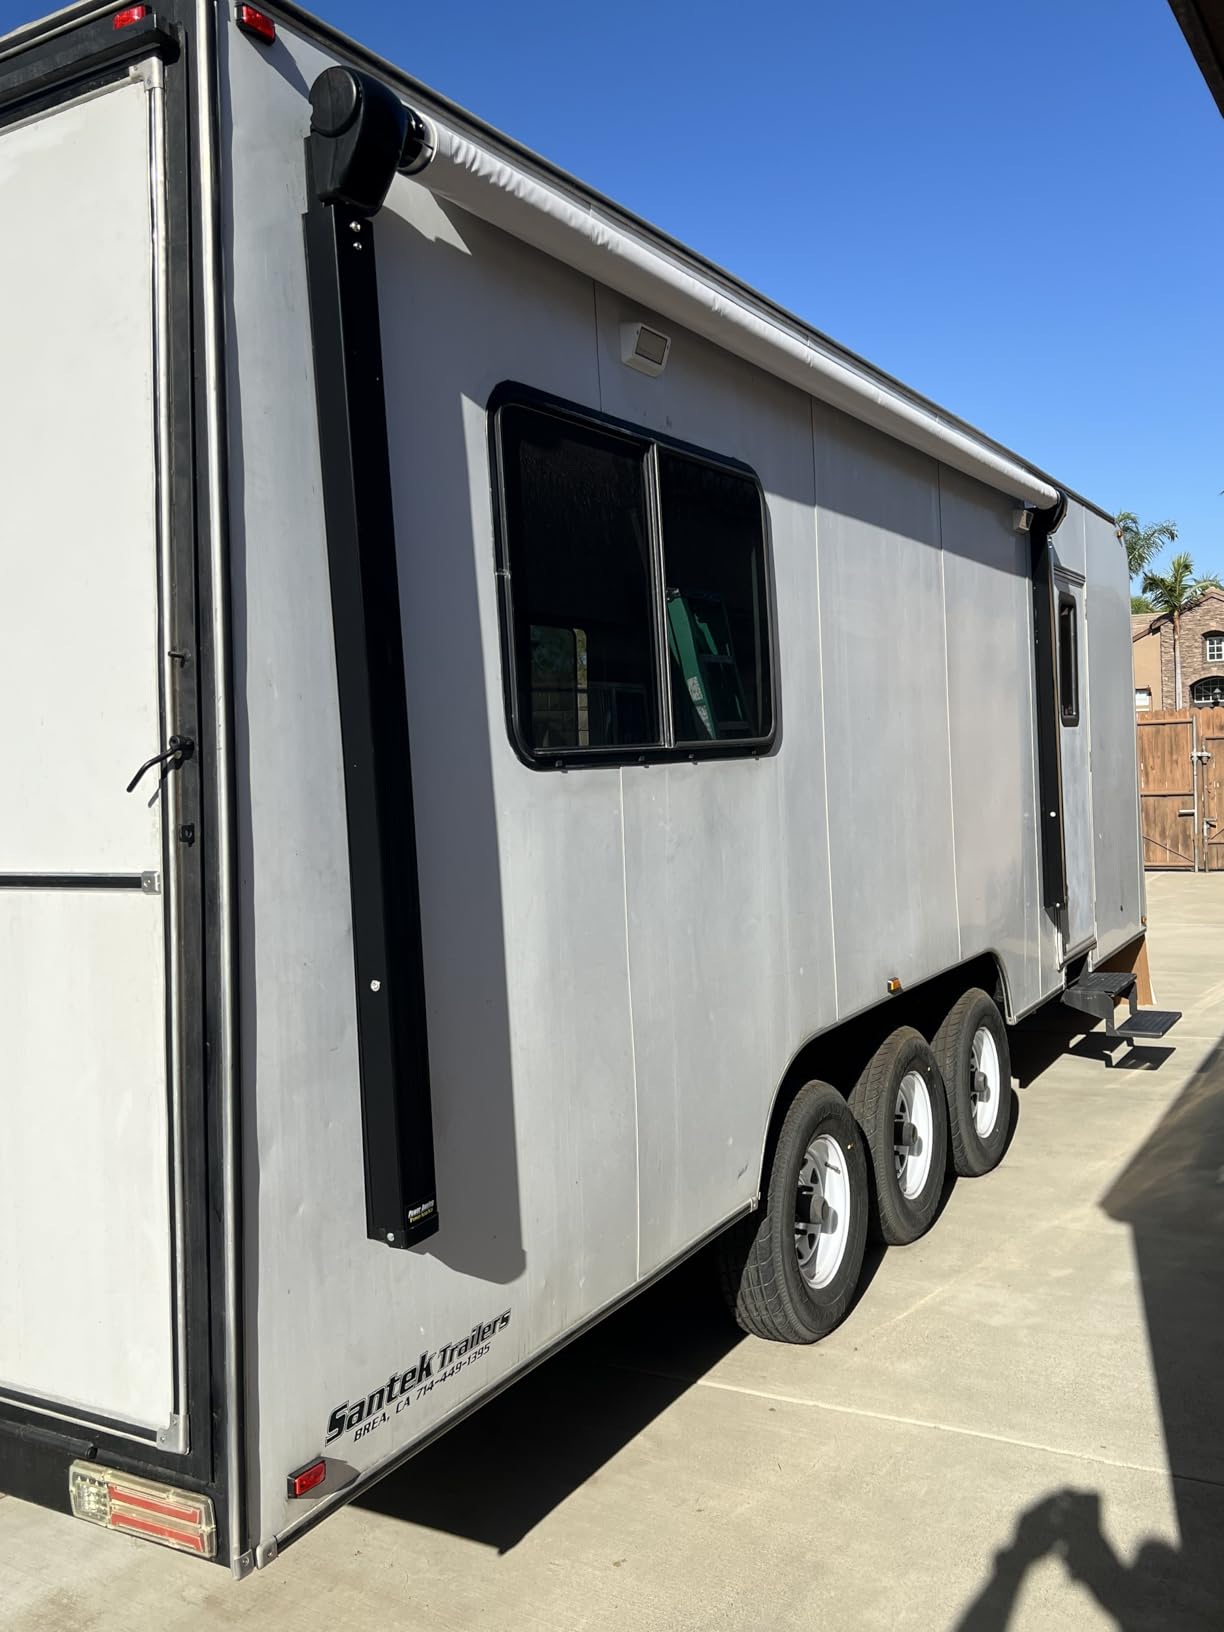
The pitch, or angle, adjustment is quick, which is genuinely useful. Awning pitch controls how water runs off the fabric, and a canopy that sags in the middle pools water at the front rail, which is how a lot of awning damage actually starts.
Support is the quiet strength here. Owners report free replacement switches, free parts long after the warranty period, and even custom-made components for non-standard installations. For a full-size frame, that kind of long-tail parts availability matters more than any listed feature.
Plan the power before the frame
The single most important detail here: the motor and power supply are not included. The documentation specifies wattage without naming a compatible part, so you need to source the 12V motor and wiring separately and confirm the rating before the frame goes up. Getting power to the switch is the longest step in the install.
Several owners completed the job themselves in about 90 minutes after layout, but they had already run the electrical. If you are starting from a trailer with no 12V circuit in the awning bay, add a full day.
Where it falls short
Switch failures appeared in more than one review, and while they were replaced promptly, a dead switch on an 18 ft electric awning is an inconvenience. Check the switch operation before you re-apply the rail covers.
The written instructions are the weak point. Owners describe the install as straightforward in principle and poorly documented in practice, which is the same pattern that shows up on nearly every kit in this roundup. Budget time with the video open on a second screen.
5. Suncode Motorized 16×8 RV Awning Kit – Best Mid-Size Powered Option
Suncode RV Awning for RV&Camper-Motorized RV Awning,Electric Camper Awning Complete Kit-16x8Ft-White Frame &Sliver Fade
- Motorized deployment with a hand crank backup in the same kit
- Owners confirm every installation part is in the box
- 16oz vinyl with reinforced stitching rated good for the money
- Fluid extension and retraction with easy pitch adjustment
- Support team replaced a faulty fabric roll promptly
- Printed instructions are the weak point and owners rely on the video
- One unit arrived with pinholes through the vinyl
- wiring into the weatherproof connectors is fiddly
Sixteen feet is the size most travel trailers actually want, and this is the powered kit built around that number. It holds 4.4 stars across 54 reviews, with 70 percent five-star scores, and the most common theme is completeness: owners open the box, find everything, and finish the job.
Like the manual Suncode above, it uses 16 oz vinyl with reinforced stitching on tough aluminum arms, and it fits Solera, Dometic, and Carefree rails. Nominal size is 16×8 ft, giving 15 ft 2 in of actual fabric.
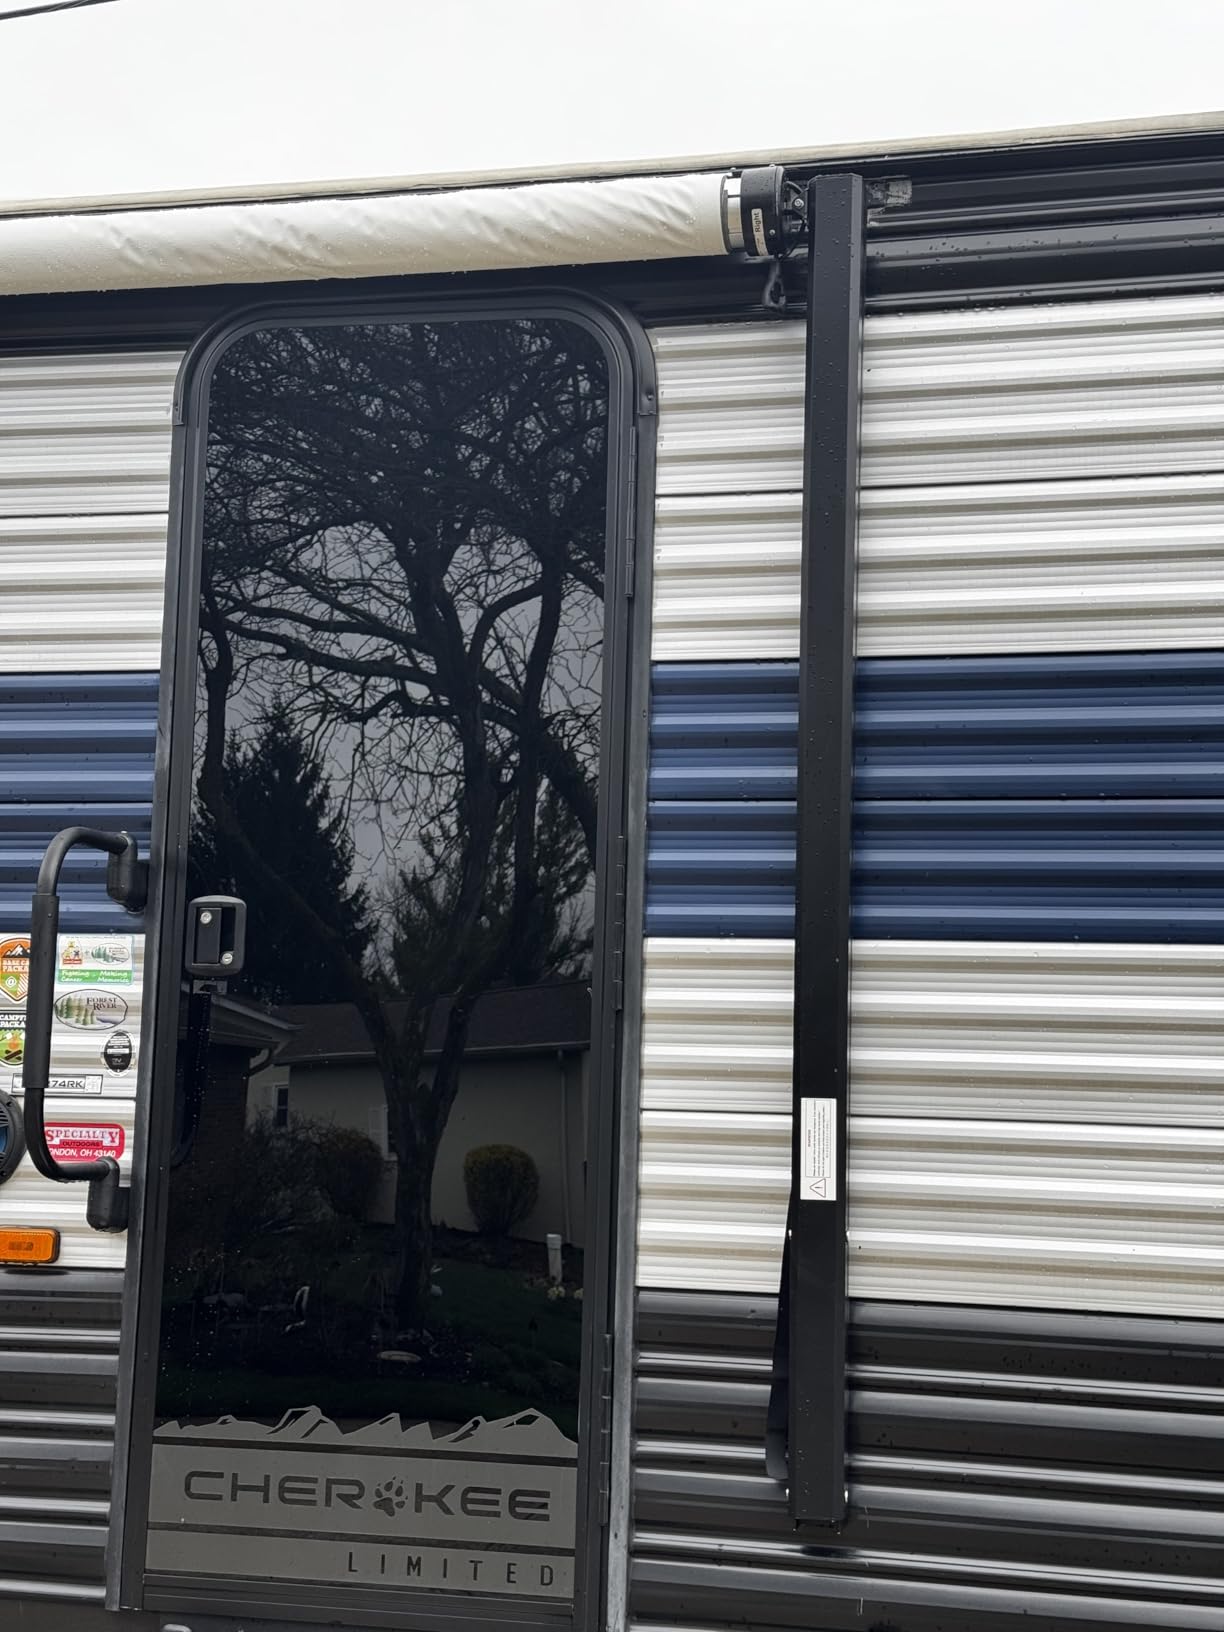
The dual operation mode is the practical part. A switch runs the motor in under a minute, and a hand crank is included for when the battery is flat or you want the canopy down during a storm without relying on electronics. Several owners specifically praised that the crank is a real working option, not a stub.
Pitch adjustment is straightforward, so you can set the drainage angle rather than accepting whatever the arms settle at. On a mid-size span that is the difference between water running off the front and water pooling in the middle.
Inspect the fabric on arrival
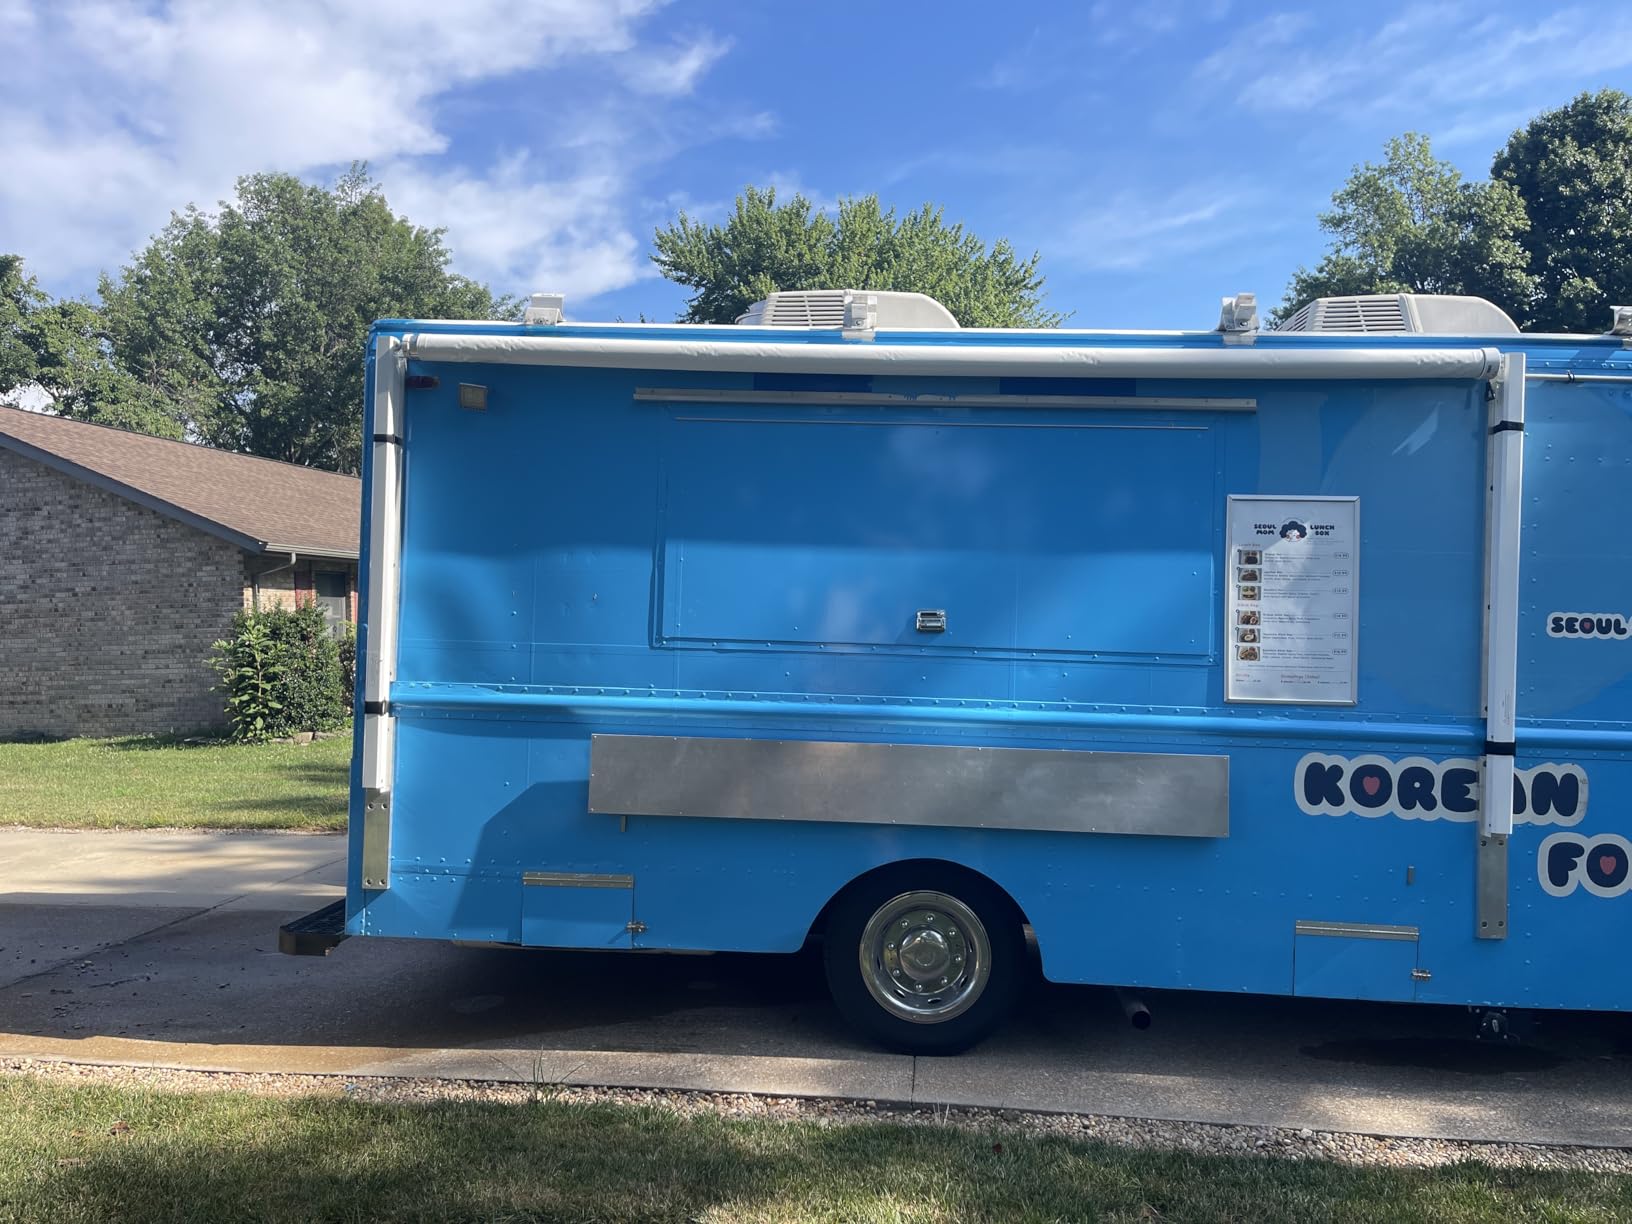
One owner received a unit with tiny pinholes through the vinyl that only appeared once the canopy was fully extended. The seller resolved it promptly, but the lesson is practical: run the awning all the way out the moment it is installed and look at the fabric under good light before you button up any trim panels.
Also take a look at your trailer skin before centering the brackets. Owners with thin aluminum skins reported stripped screw holes from over-tightened brackets during centering, and stripped holes in an aluminum sidewall are a much worse afternoon than a slow install.
What to watch out for
Wiring into the weatherproof connectors is fiddly on this kit, and it is the step most likely to cause a fault later if it is rushed. Do the connections before you lift the assembly, on a bench, with the trailer on shore power if you have it.
Larger sizes need three to four people to install. That is not padding from the manufacturer, it is a consequence of the roller and arm assembly weight, and it is the step where a one-person install goes wrong.
6. YESCAMP Motorized 20 Ft RV Awning Kit – Best for Big Trailers
- 4.6 stars with no one-star reviews in its 46-review history
- Opens or closes in under a minute at a button press
- Powder-coated mechanical parts described as top-notch
- Built-in full-width LED strip light mount in the rail
- Customer service replaced damaged units the same day in several cases
- Routing power to the switch and motor is the longest part of the install
- Printed instructions are confusing while the videos are much better
- Arm-to-roller connections described as smaller than buyers would like
Twenty feet is a serious span, and this is the largest complete awning in the roundup. It carries 4.6 stars across 46 reviews and its review history contains zero one-star ratings. That is a meaningful signal on a product class where damage complaints dominate.
Operation is a single button, and the canopy opens or closes in under a minute. An emergency hand crank is included for non-electric operation, so the failure mode where a dead motor leaves you stuck under a deployed awning is covered.
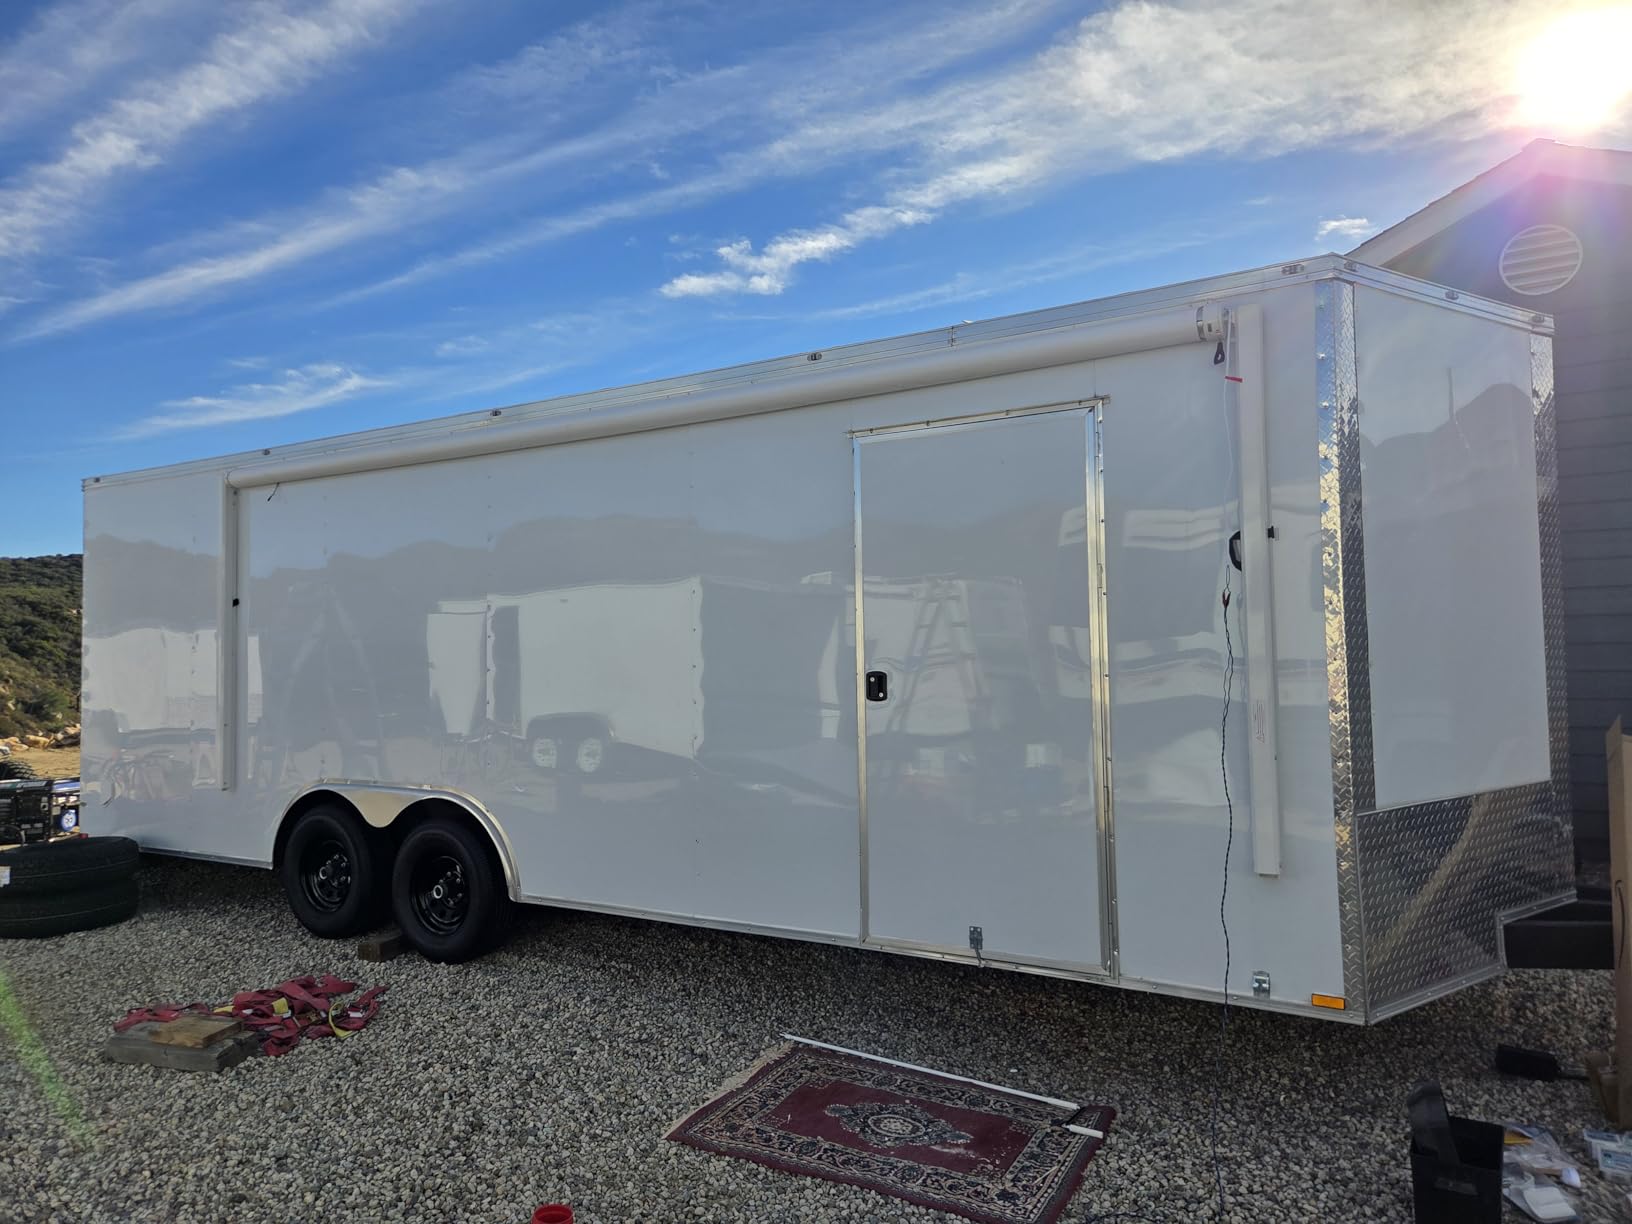
The fabric is 16 oz vinyl described as waterproof, thermally insulated, and effective against UV, rain, and snow. Frames come in black or white with six fabric colors, spanning 10 to 20 ft, and the mechanical parts are powder coated.
There is a full-width LED strip light mount integrated into the rail. Strips are not included, but the track is extruded into the rail itself, which is the same design choice as the YESCAMP manual kit and a genuinely useful addition for evening campsite use.
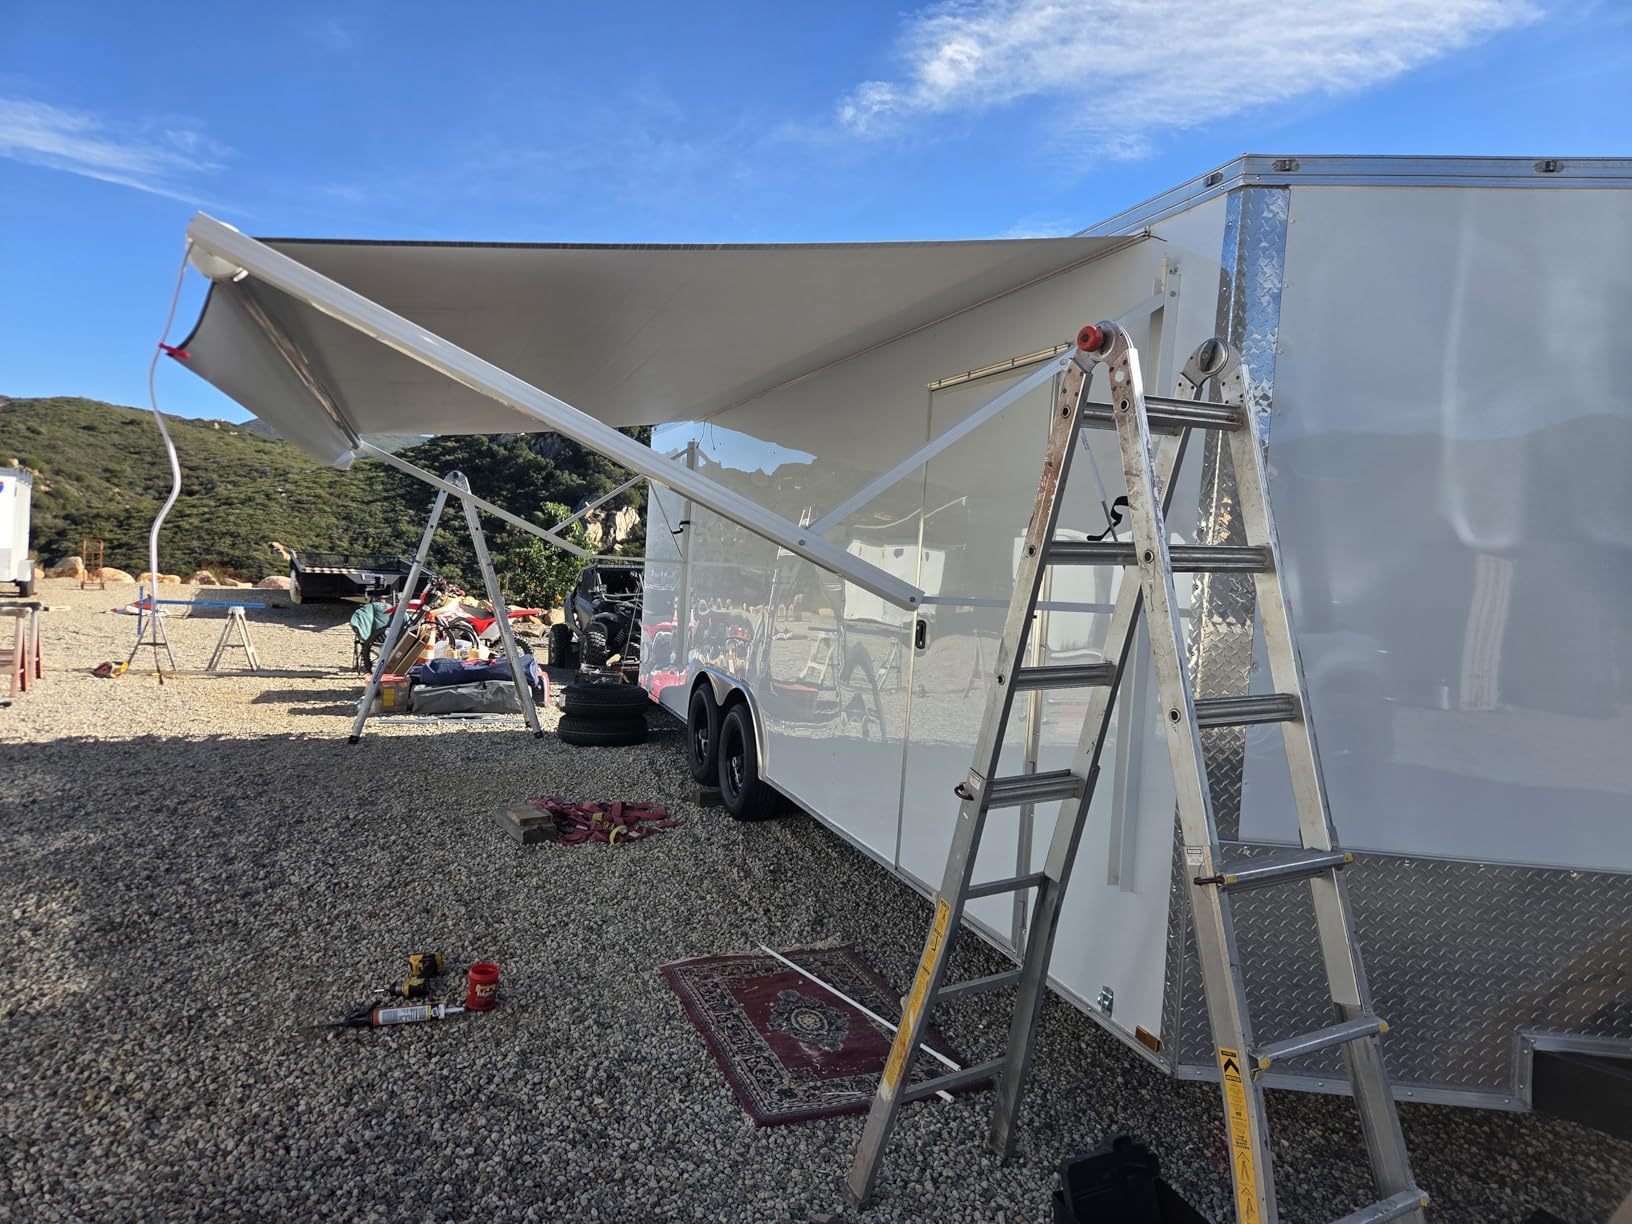
Check the sidewall before the 20 ft
This is the one product in the roundup where trailer structure genuinely limits fit. Owners of older trailers reported needing wall bracing welded in where the arms load, because a 20 ft span puts more leverage into those brackets than a 10 ft unit does. Inspect the sidewall around the mounting area before you commit.
Measuring matters here in a specific way. Size is measured center to center between the two arms, and the manufacturer advises keeping the span clear of windows, doors, and exterior lights. A 20 ft nominal unit gives 19 ft 2 in of fabric.
Where it falls short
The electrical run is the long pole. Owners consistently named getting power routed to the switch and motor as the most time-consuming part of the install, so if your trailer has no 12V circuit near the awning bay, that is an electrician task or a long day of your own.
One unit arrived with a bent roll bar and no instructions in the box, which says more about packing than about the product. Inspect everything on arrival, and keep the videos open because the printed instructions are consistently described as confusing.
7. Dometic Trim Line 11×7 Awning – Best for Small Trailers
- Established RV brand with a straightforward replacement design
- Rail and fabric split lets owners replace just the broken section
- Spring tension rafters and adjustable poles make setup quick
- Compact 11x7 ft footprint suits pop-up campers and small trailers
- Most owners spend more time on instructions than on the swap
- One owner reported a wind gust broke a pole and bent another
- Replacement poles cost nearly as much as a complete awning
- Instructions use very small illustrations
Not every trailer that needs shade can carry a 17 ft awning, and this Dometic is built for the other end of the scale. It is 11×7 ft with a full 7 ft projection, a compact footprint that suits pop-up campers, teardrops, and small travel trailers. If your sidewall is short, this is the shape that fits.
It holds 4.4 stars across 44 reviews, and the most useful structural detail is the split between rail and fabric. Owners with a torn panel report replacing just the damaged section and keeping the existing fabric, which is a repair path the full-roll kits in this roundup do not offer.
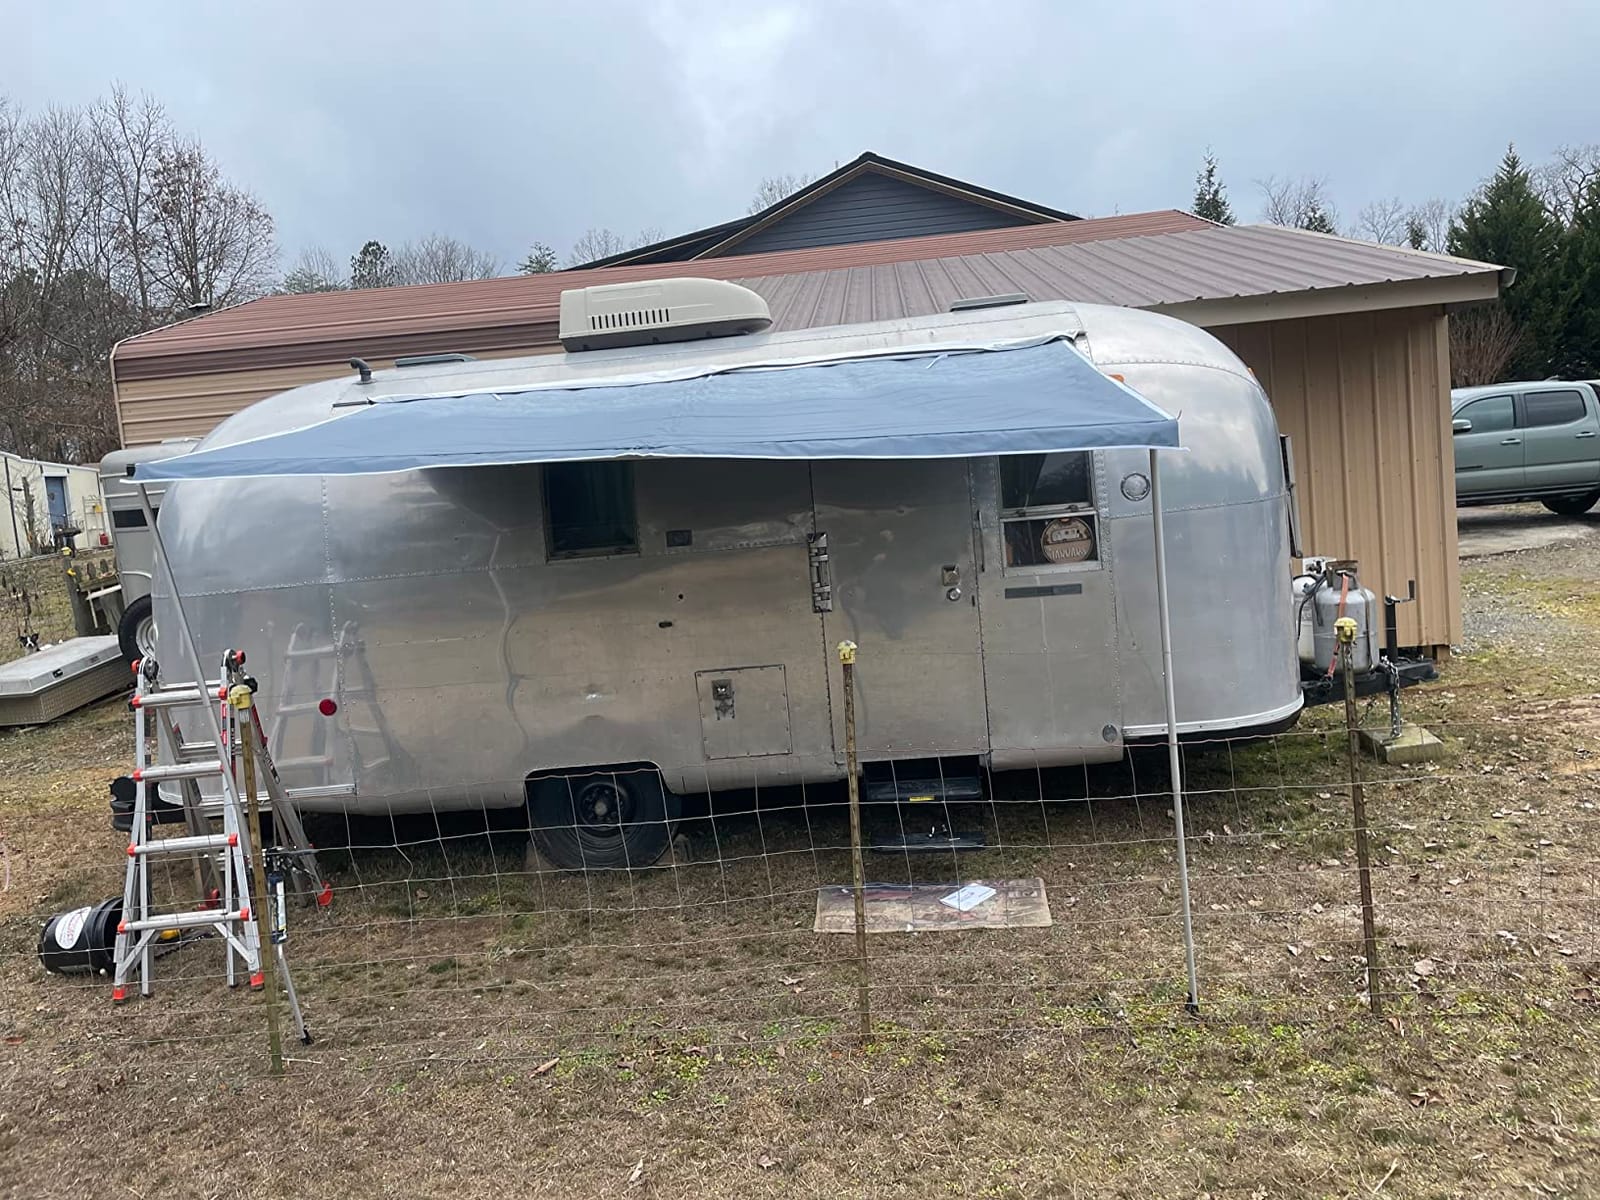
Setup uses spring-loaded tension rafters with adjustable support poles rather than an arm assembly. That is a much lighter system to carry and set up, which is the deciding factor when a single person is deploying shade on a small trailer. It also means nothing electrical is involved at all.
The fabric is double-sided reinforced vinyl in an azure linen fade, the most traditional material and colour in this roundup. If you are matching an older trailer with a Dometic rail already on it, this is the like-for-like choice.
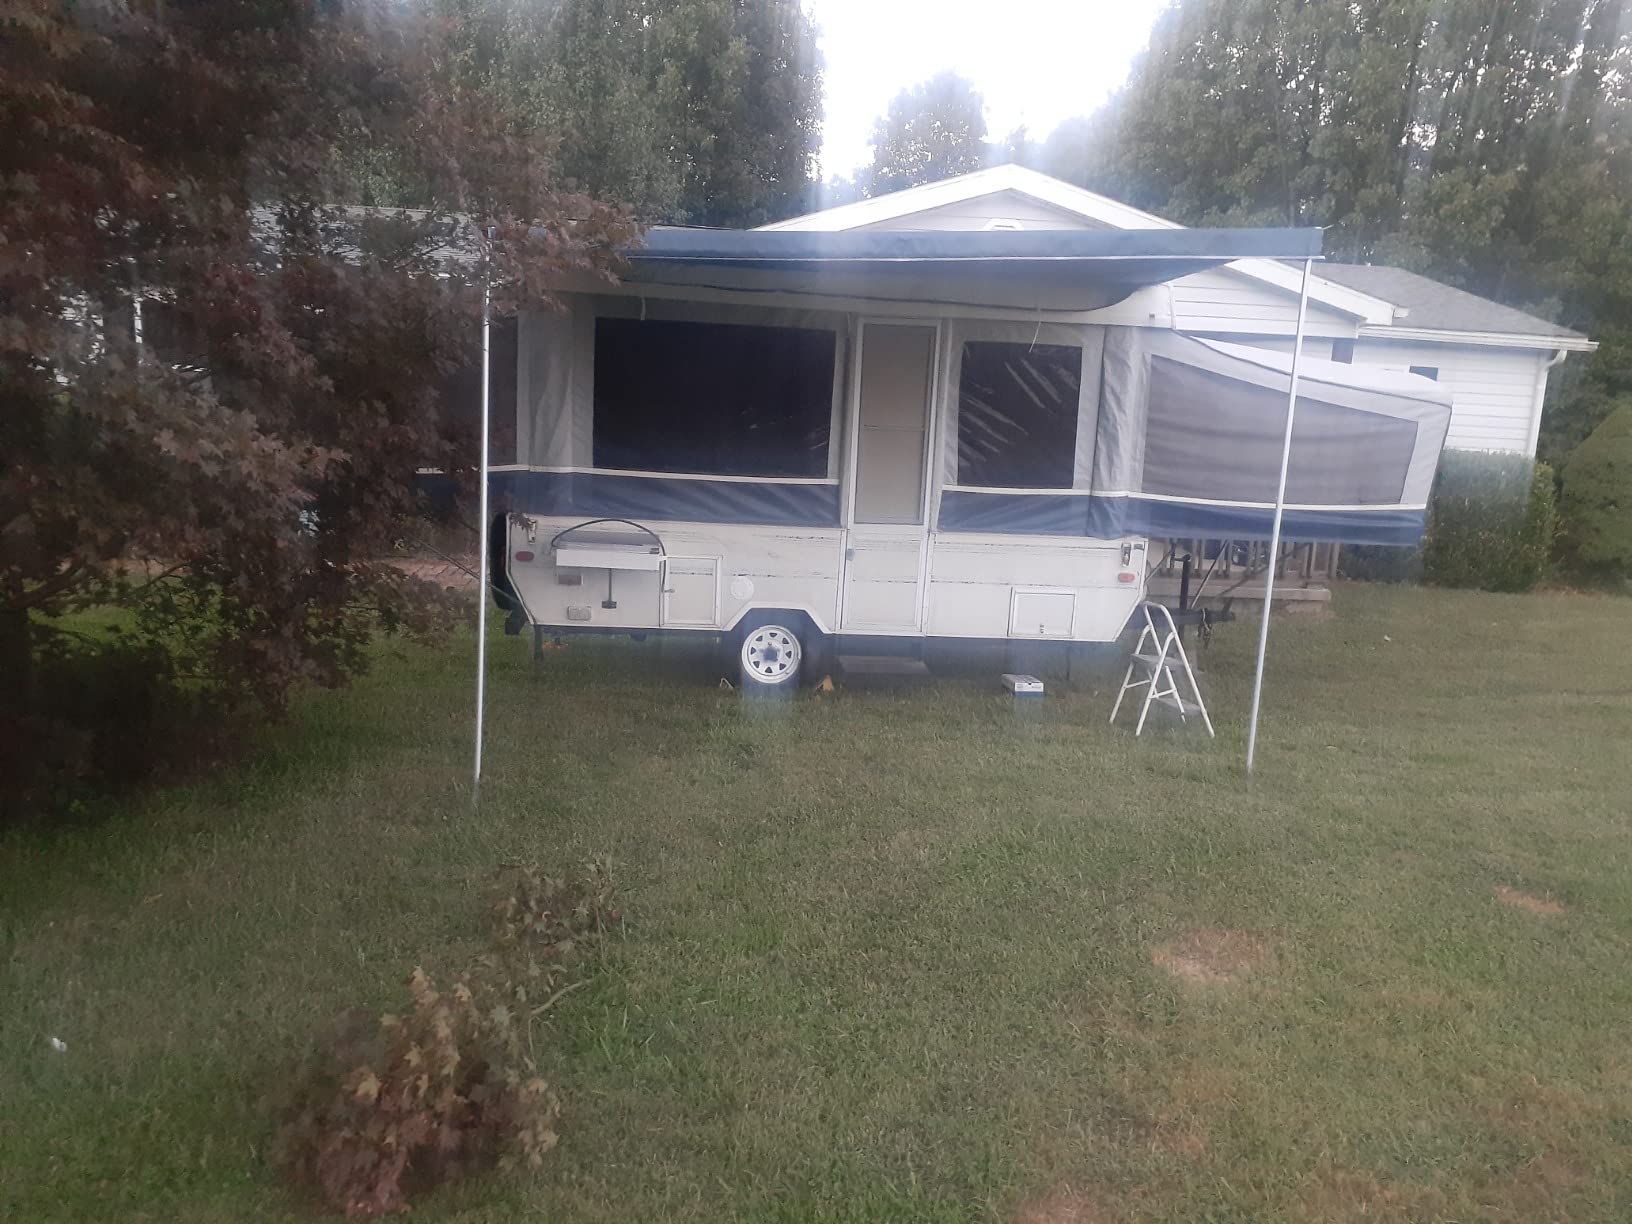
Best as a partial repair
Because rail and fabric are separable, you can replace a torn panel or a damaged rafter section without dismantling the whole installation. Several owners described the swap itself as faster than reading the instructions, which is about the highest praise an instruction-poor product can earn.
It is also the only unit here that suits trailers we have covered in our guides to teardrop trailers for couples and similar small formats, where a long arm assembly simply has nowhere to mount.
Where it falls short
One owner reported that a wind gust after about two hours of use broke a pole and bent another. This is the clearest wind-damage account in the roundup, and it happened to the unit with the simplest structure. Treat any awning as temporary in gusty conditions regardless of what it costs.
Replacement poles cost nearly as much as the complete awning, so the partial-repair advantage erodes if the failure is a support pole rather than the fabric. And it arrives as multiple heavy packages, which means someone has to be home for more than one delivery.
How to Choose the Right RV Awning for Your Travel Trailer
Most awning decisions get made on colour or price, and both are the wrong inputs. The four decisions that actually determine whether you are happy with the result are rail compatibility, span length, power source, and who does the install.
Measure the rail before anything else
Pull the trim on the awning rail and measure the distance between the two upper bracket mounting holes, center to center. That number, not the trailer length, sets your awning size. Then subtract room for doors, windows, and exterior lights that fall inside the span.
Remember that the fabric is always a little shorter than the nominal size. Across this roundup the offset runs from about 10 inches, so a 10 ft unit gives 9 ft 2 in of fabric and a 20 ft unit gives 19 ft 2 in. Awning arm strength is not the same thing as coverage, and a fabric that is too wide will not tension properly.
Decide manual or powered honestly
A crank or pull strap has no electrical failure points and works on a trailer with no wiring. A motor saves roughly a minute per cycle and matters if you break camp often or deploy several times a day. Our honest read of owner consensus across the RV forums is that manual wins for durability and powered wins for convenience, and neither is wrong.
Whichever you pick, confirm it can still be operated without power. Four of the seven kits here include a hand crank alongside the motor, and that redundancy is what turns a dead motor into an inconvenience instead of a trip to a repair shop.
Look at the fabric weight, not the brand
Every well-reviewed unit in this roundup uses 16 oz vinyl. That is the number to look for, along with heat-welded or reinforced seams. Acrylic woven fabric breathes better and resists mildew better over years, but it costs more and is a different purchase conversation than a vinyl replacement kit.
Cold climates add one more consideration: cold-crack resistance. Cheap vinyl that goes stiff in low temperatures cracks along the fold lines, and you find out on the first cold morning rather than in the packaging.
Be honest about the install
These are complete assemblies, and complete does not mean simple. A pre-assembled kit can still take 5 to 8 hours on a first install, and lifting a roller and arm assembly onto a rail at chest height needs two capable people and often two ladders. If you are unsure, a local installer is cheaper than a bent arm.
Plan the electrical early if you are buying powered. Several kits in this roundup do not include the motor, and for all of them the wiring run is the longest part of the job.
Electric vs Manual Crank: Which One Should You Buy?
If you read owner forums, you will notice that experienced RVers lean manual, and the reason is not nostalgia. A manual crank awning has nothing electrical to fail: no motor, no switch, no limit switch, no wiring to corrode in an awning bay that is permanently exposed to rain.
The counterargument is honest too. A Keystone owner put it plainly, describing a power awning as saving about a minute to extend or retract and not being worth it on a trailer they rarely moved. If you break camp daily, that minute happens twice a day, every day, for a season.
Our take: buy manual if you are replacing an old manual awning, if your trailer has no 12V wiring, or if you camp in exposed sites where a dead motor at night would be a real problem. Buy powered if setup speed genuinely matters to you, and then insist on a unit with a hand crank fallback.
The failure data supports the caution. A reported owner case involved an electric awning that went completely unresponsive after rain and could not be retracted even after extensive troubleshooting. Manual awnings do not have that failure mode. They have a crank that turns.
What Wind Speed Is Too Windy for an RV Awning?
There is no single safe wind number, and anyone giving you one is guessing on your behalf. Manufacturers rate their own units differently, and most warranty terms exclude wind damage outright. The number that matters is the one printed on your specific unit’s documentation.
What we can say is directional. Treat light breeze conditions as the working range for any extended deployment. Gusty conditions, passing squalls, and anything that visibly moves the fabric or flexes the arms is the range where awnings fail.
Understand the failure before it happens. The common outcome is a bent extension arm, and the common response from manufacturers is that wind damage is not warrantied. One owner reported an arm bent double when wind rolled in a large awning, with the answer being no warranty due to wind. That is the norm, not the exception.
Two habits close most of the risk. Retract before a storm front arrives rather than after you hear it, and retract before you leave the campsite, even for an hour. A trailer with the awning still out overnight is the single most common way owners destroy them.
And retract it before you drive. An extended awning catches wind at highway speed, and a partially deployed canopy can rip fabric or bend an arm in seconds. Make it part of the same walkaround as the hitch and the lights.
How to Measure Your Travel Trailer for the Right Awning
Measure from the brackets, not the trailer, and do it before you order anything. This process takes about fifteen minutes and it is the step that prevents the single most common awning return.
Step one, pull back the awning rail trim and measure center to center between the two upper bracket mounting holes. That is your awning size. The YESCAMP 20 ft kit, for example, is specified the same way, from the center of one arm to the center of the other.
Step two, subtract clearance. Check for doors, windows, exterior lights, and vents inside that span. A fabric that crosses a light fixture or a door will not tension evenly and will rub in transit.
Step three, account for the fabric offset. The fabric is roughly 10 inches narrower than the nominal frame size, so a 10 ft frame gives about 9 ft 2 in of coverage. Compare that real coverage figure against the wall area you actually want shaded.
Step four, inspect the mounting surface. Check the wood or aluminum around the existing brackets for rot or damaged fasteners before ordering, and confirm the wall can take the load of the span you want. Rot at the awning mount is a recurring repair thread on owner forums, and it is worth fixing before the new awning goes on.
Step five, verify power. If you are buying powered, confirm there is a 12V supply at the switch location with fuse protection and room for the motor. Several kits in this roundup require you to source the motor separately, so this determines what you need to buy.
Common RV Awning Problems and How to Fix Them
These are the failures owners actually report, in the order they are most efficiently diagnosed. Work down the list rather than jumping to the most expensive part.
An electric awning that will not retract is the most common complaint. Check the trailer fuse first, then the wall switch, then try the manual override release before assuming the motor is dead. Corroded wiring in an exposed awning bay is the usual culprit, and it is visible and cheap to fix compared with a motor.
Then check the limit switch. If the motor runs but the awning stops short or runs past fully open, the limit switch has usually shifted with vibration, and repositioning it takes minutes.
A bent extension arm is a wind or transit problem, not a defect. Retract before driving, retract before storms, and replace the arm rather than forcing it straight. Owners repeatedly rank replaceable parts as a top purchase criterion for this reason.
Water trapped in the arm hardware causes stuck arms and long-term exterior damage. A Hi-Lo owner described an extension arm that was stuck and trapped moisture that would ruin the exterior. Retract the awning fully dry, and drain the arms after wet use.
Wood rot around the awning mounting bolts is a repair, not an awning problem. Remove the brackets, cut back to sound wood, use an exterior-rated repair block, and seal before the new brackets go on.
Fabric pinholes and tears are manufacturing or age issues. Extend the canopy fully in good light after install to inspect, because a fault that is invisible on the roller is obvious at full extension. A replacement roller assembly is far cheaper than a new frame.
For campers who also maintain their own hardware, our guides to trailer jacks for utility trailers and kayak trailers for anglers cover the same kind of component-level maintenance thinking on other parts of the rig.
Which Awning Brand Replaces Yours?
Replacement fit is mostly decided by mounting standard rather than brand, and that is good news, because it means you are not locked into the original manufacturer. The most widely used standards come from Carefree of Colorado, Dometic (formerly A and E), Solera, Lippert, Carter, and Faulkner.
Carefree of Colorado is the name owners mention most often when replacing a failed factory awning, and manual crank Carefree units come up repeatedly as the durability choice in owner discussions. Dometic and Zip Dee are the other two manufacturers commonly named as direct replacements.
Four of the seven kits in this roundup explicitly state compatibility with Solera, Dometic, and Carefree mounting standards, which covers a large share of trailers on the road. Lippert systems, common on newer fifth wheels and toy haulers, use their own rail, so confirm the bracket pattern before ordering.
Thule and Fiamma are worth separating from that group. Both are strongest in roof-rack and overland mounting, where the awning hangs from a rack on a van or truck rather than from a rail on a trailer. If that is your build, our separate guide to vehicle awnings for overlanding is the more relevant comparison.
Shade Pro and Tentproinc-style drop screens occupy a different category again. A sunshade hangs from the front bar of an awning you already own to block low evening sun, so it is an add-on rather than a replacement.
Frequently Asked Questions
Which brand of awning is considered the best?
For travel trailer replacements, Carefree of Colorado is the brand owners most often name, particularly the manual crank units, with Dometic and Zip Dee cited as the other main replacement manufacturers. If you are buying a complete aftermarket kit rather than a like-for-like swap, the compatibility matters more than the logo: most kits in this roundup fit Solera, Dometic, and Carefree rail standards.
What are the best awning brands on the market?
The main awning manufacturers are Carefree of Colorado, Dometic, Solera, Lippert, Shade Pro, Fiamma, Thule, Zip Dee, Carter, and Faulkner. Carefree and Dometic dominate trailer rail replacements, Lippert covers many newer fifth wheels, Shade Pro and similar makers sell drop-screen sunshades, and Fiamma and Thule lead in roof-rack and overland mounting.
What wind speed is bad for an RV awning?
There is no single safe number, because each manufacturer rates its own units differently and most warranty terms exclude wind damage outright. Use the figure in your unit documentation, and treat any condition that visibly moves the fabric or flexes the arms as unsafe. Wind damage is rarely warrantied, and a bent extension arm is the usual result.
What are some common problems with electric awnings?
The most common problems are a motor that will not respond, a limit switch that has shifted, corroded wiring in the exposed awning bay, and a failed wall switch. Work the diagnosis in order: check the trailer fuse, then the switch, then the manual override release, then the wiring, and only then assume the motor needs replacing. Check the arm for water intrusion while you are there.
Do I need a power awning for my travel trailer?
Not necessarily. A manual crank or pull-strap awning has no electrical failure points and works on a trailer with no 12V wiring, which is why experienced owners favour it for durability. A motor saves roughly a minute per deploy and retract cycle, which adds up if you break camp daily. If you go powered, choose a unit with a hand crank so a dead motor is not a problem.
How do I measure my RV awning?
Pull back the rail trim and measure center to center between the two upper bracket mounting holes, then subtract clearance for doors, windows, and exterior lights. Remember the fabric is roughly 10 inches narrower than the nominal frame size, so a 10 ft frame gives about 9 ft 2 in of coverage. Inspect the mounting surface for rot before ordering.
Our Best RV Awnings for Travel Trailers in 2026
The AWNLUX 17×8 motorized kit is the one we would fit first. It pairs the strongest rating in the set with a hand crank that means a dead motor is a delay rather than a disaster. If you want no electrical dependency at all, the Suncode 10×8 manual kit has the largest following of manual buyers here, and the YESCAMP pull-strap model is the easiest complete kit to install.
Whatever you choose, measure the rail first, check the mounting surface for rot, and make retracting the awning part of leaving the campsite and part of the pre-drive walkaround. Those three habits protect the awning more than any feature on the list above.