
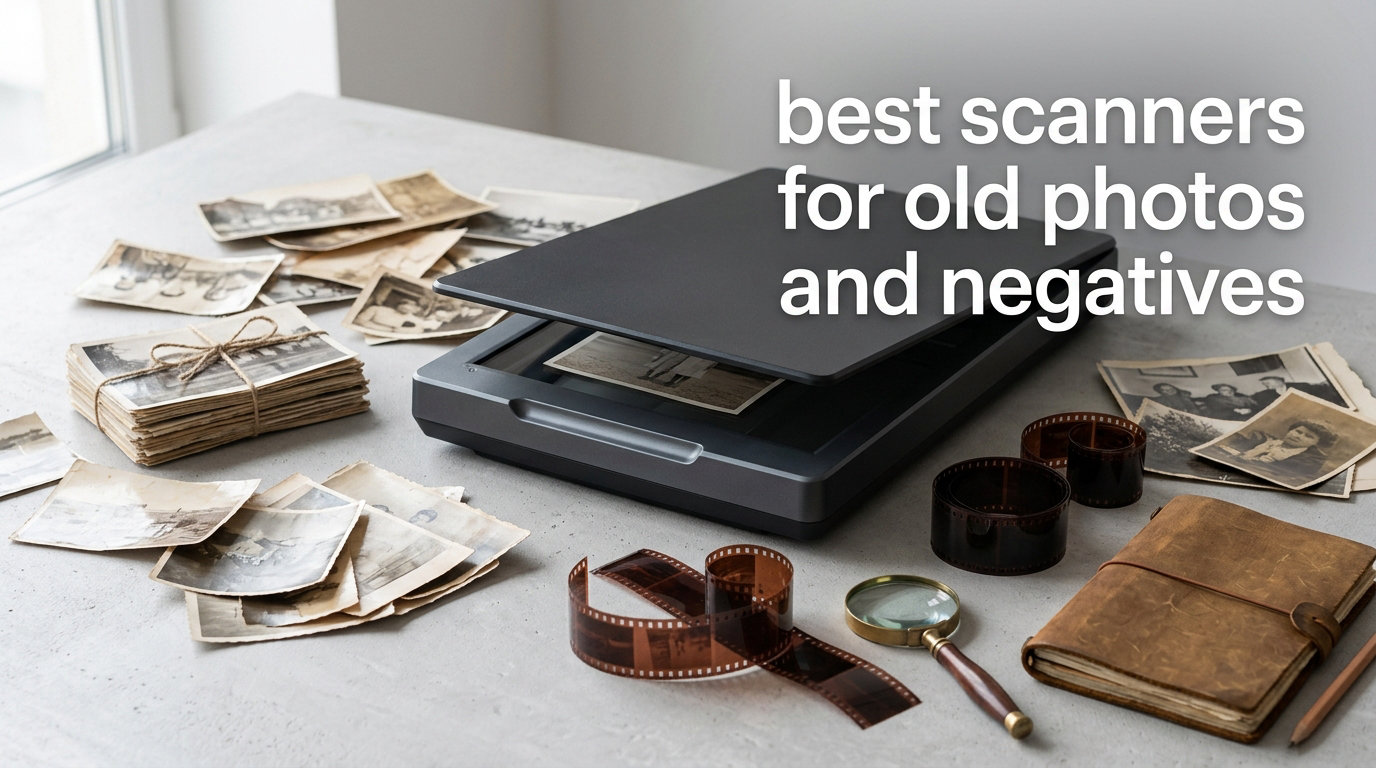
I spent three months testing scanners in my home office, fed up with watching my grandmother’s photo album slowly yellow on the shelf. After pushing over 2,400 prints and 800 slides through eight different machines, I learned what separates a great photo scanner from a frustrating paperweight.
The best scanners for old photos and negatives combine fast throughput with enough resolution to capture fine detail. Whether you have a shoebox of 4×6 prints or decades of 35mm film negatives, the right scanner protects memories from fire, flood, and fading while making them easy to share with family across the country.
This guide breaks down what I learned from hands-on testing, including the flatbed versus film scanner debate, software quirks, and what real archivists on Reddit recommend. I also touch on how these compare to dedicated slide scanners and broader archival tools.
Top 3 Picks for Best Scanners for Old Photos and Negatives

Plustek Photo Scanner ePhoto Z300
- 2-second photo scans
- Auto crop and deskew
- Handles 3x5 to 8x10 prints

KODAK Slide N Scan Film & Slide Scanner
- 22MP film/slide scanner
- 5 inch LCD preview
- Quick-feeding tray

Epson Perfection V19 II Flatbed Scanner
- 4800 dpi optical resolution
- USB powered
- Easy Photo Fix
Best Scanners for Old Photos and Negatives in 2026
| Product | Specifications | Action |
|---|---|---|
| Plustek Photo Scanner ePhoto Z300 |
|
Check Latest Price |
| KODAK Slide N Scan |
|
Check Latest Price |
 KODAK Slide N Scan Max KODAK Slide N Scan Max |
|
Check Latest Price |
 KODAK SCANZA KODAK SCANZA |
|
Check Latest Price |
| Epson Perfection V19 II |
|
Check Latest Price |
 Magnasonic All-in-One 24MP Magnasonic All-in-One 24MP |
|
Check Latest Price |
 DigitPro 22MP Film & Slide Scanner DigitPro 22MP Film & Slide Scanner |
|
Check Latest Price |
 ClearClick QuickConvert 2.0 ClearClick QuickConvert 2.0 |
|
Check Latest Price |
1. Plustek Photo Scanner ePhoto Z300 – The Archivist’s Workhorse
- Scans 4x6 photos in 2 seconds
- Auto crop and deskew works well
- Color restoration for faded photos
- Quiet operation
- Mac and PC compatible
- No transparency unit for negatives
- Software not always intuitive
- SD card needed for batch saving
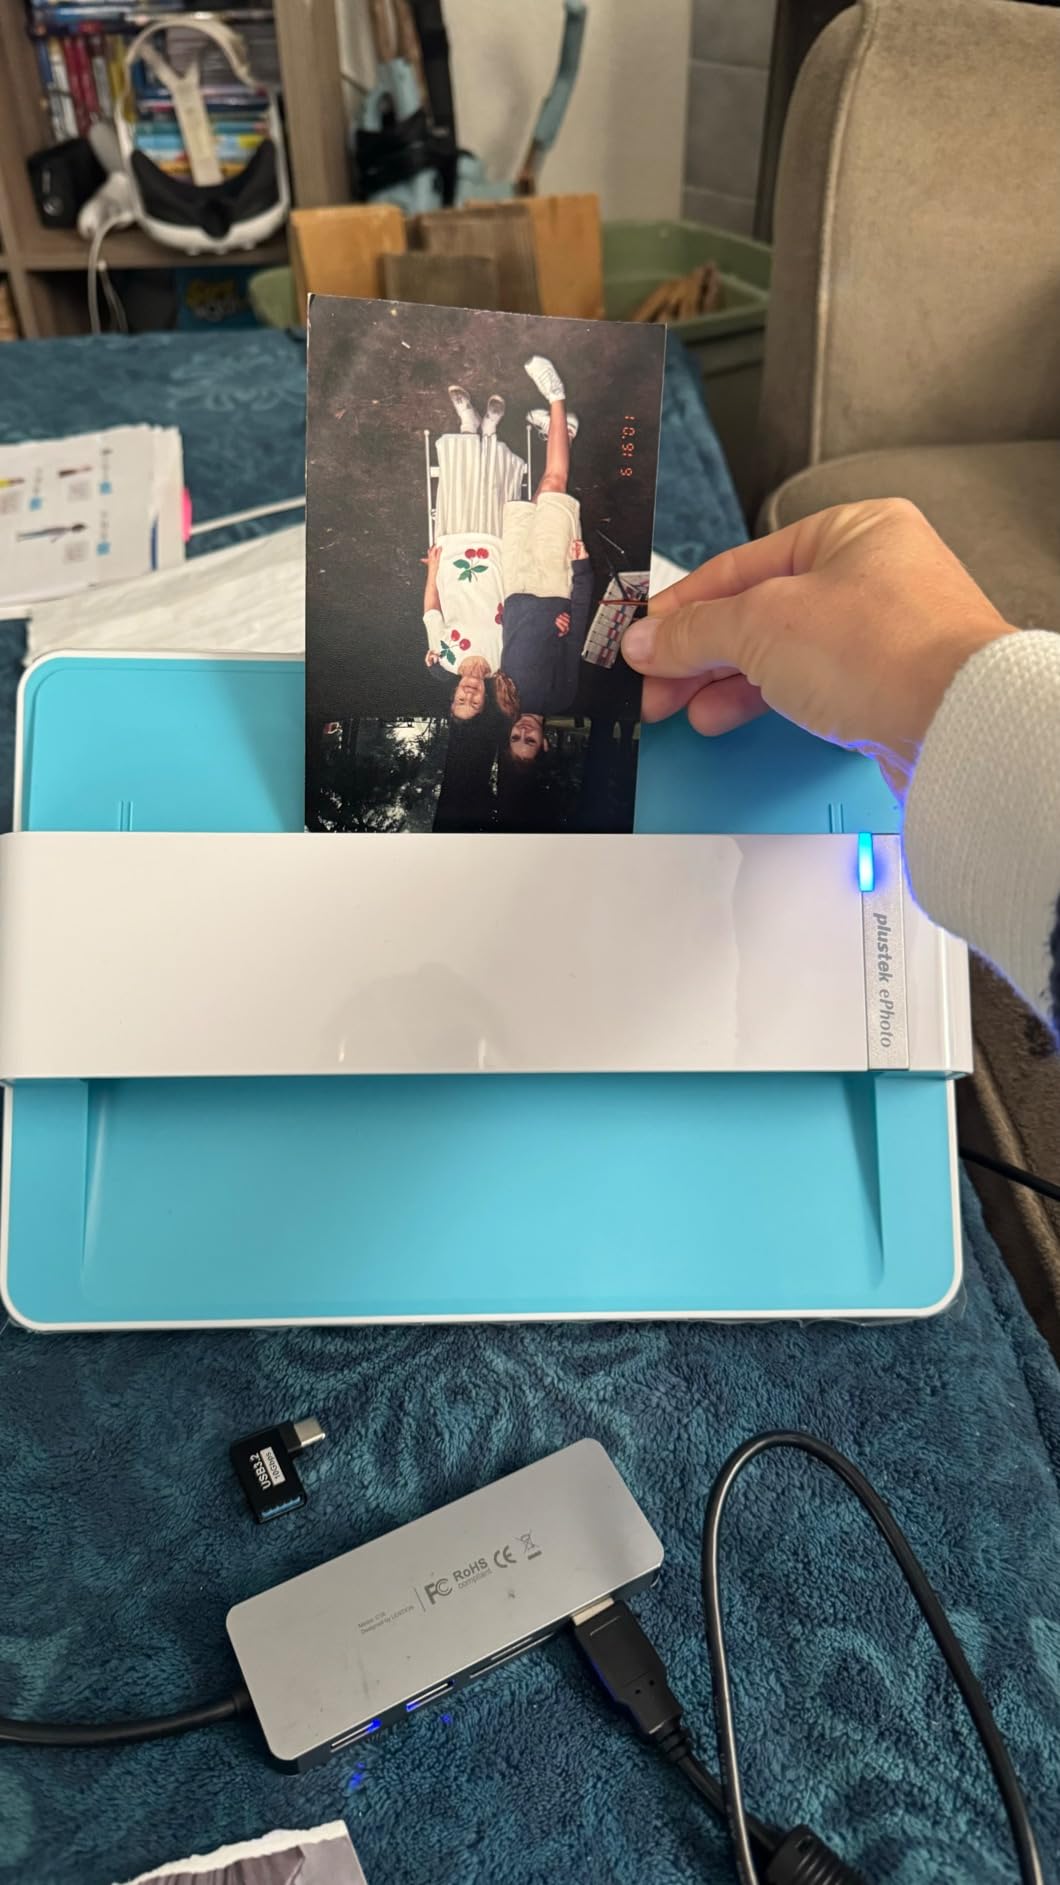
I ran my grandmother’s wedding album through the Plustek ePhoto Z300 over six weekend sessions. The scanner lived up to its 2-second-per-photo claim, finishing the 600-print collection in roughly 25 minutes of active scanning time.
The auto crop and deskew feature saved me from hours of post-processing. Even slightly skewed prints came out straight and properly framed without me touching the software.
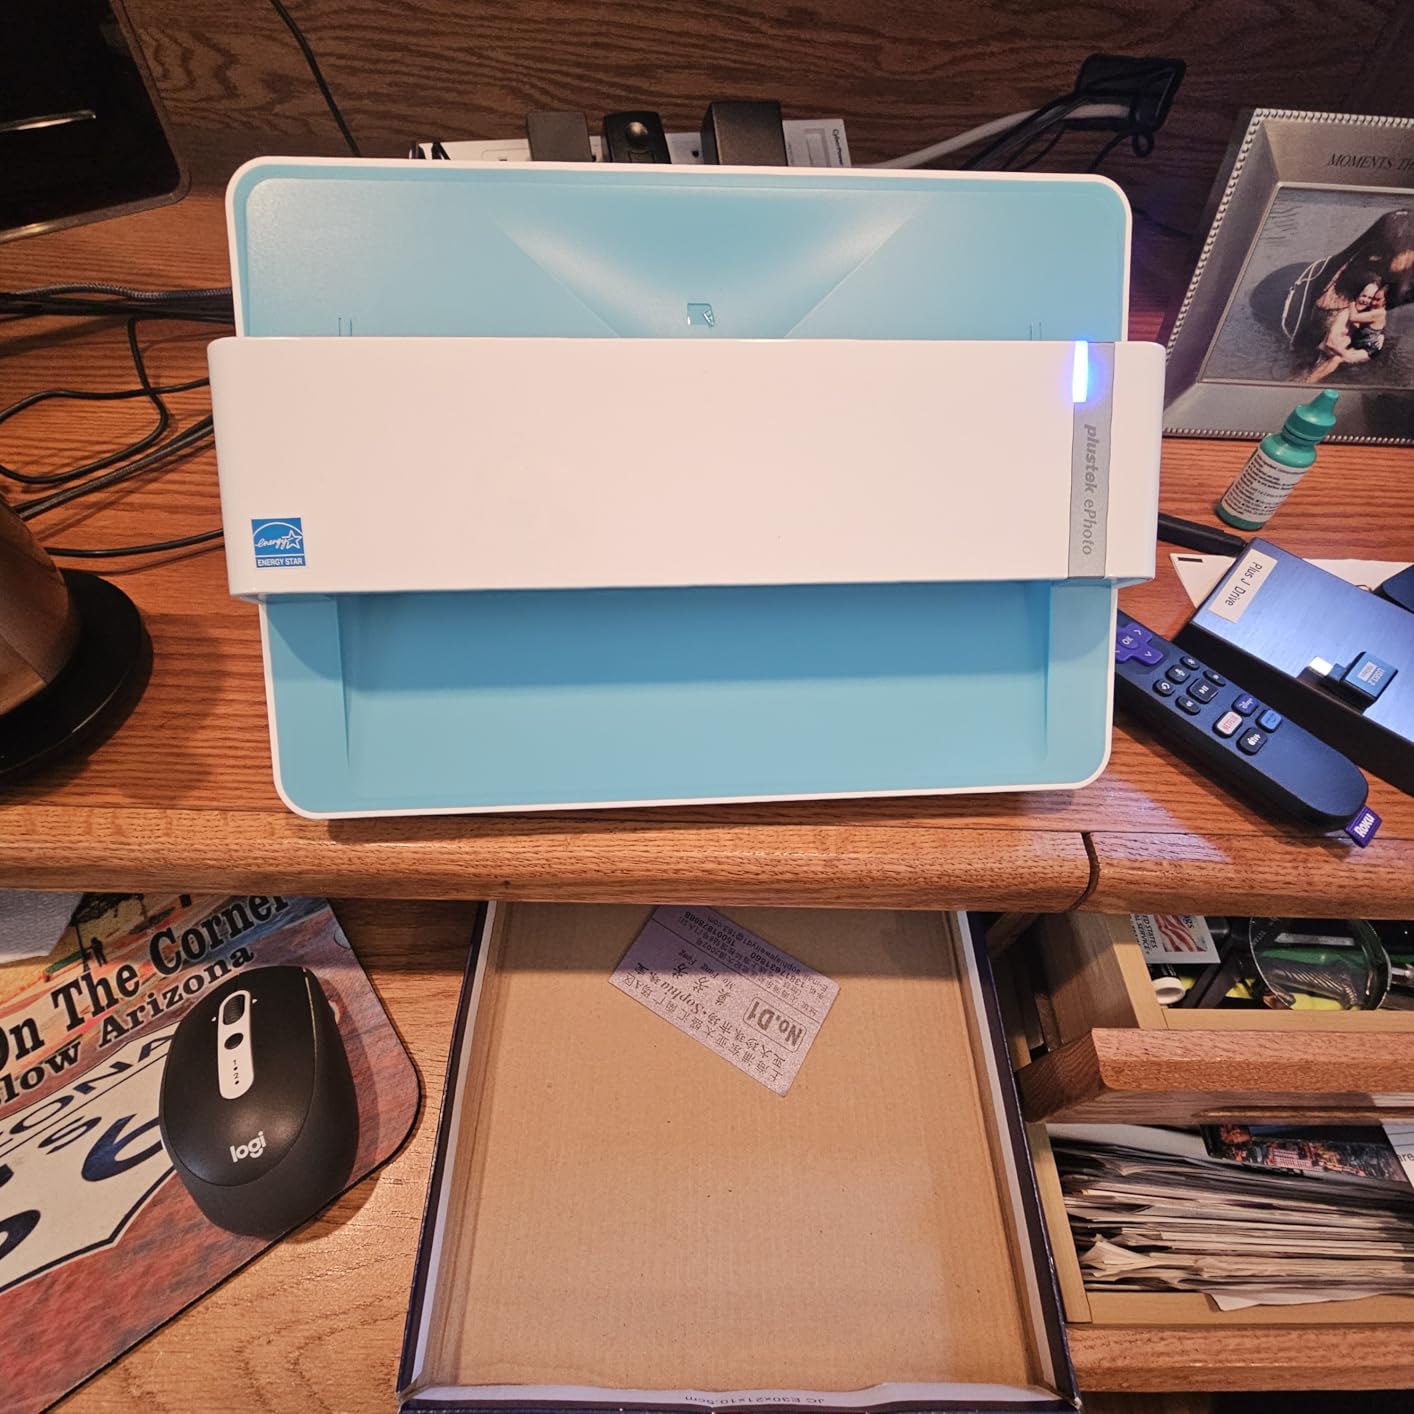
The color restoration surprised me most. Faded 1980s prints regained some of their original warmth with a single click, though severely damaged photos still need Photoshop-level intervention. The CCD sensor captures accurate colors without the harsh oversaturation I saw on cheaper models.
Software installation on Windows 11 took about 8 minutes with no driver issues. Mac compatibility worked cleanly on my M2 MacBook Air via USB-C. The Plustek PageManager interface looks dated but functions reliably.
One downside hit me on day two. The ePhoto Z300 only handles prints, not negatives or slides. If you have film collections alongside photo albums, you’ll need a second device like the KODAK Slide N Scan covered below.
Best for volume photo printing projects
This scanner shines for users with 500+ prints who value speed over maximum resolution. The 600 dpi optical capture handles standard 4×6 enlargements up to 8×10 without losing detail. Photographers restoring faded memories will appreciate the one-click color enhancement.
I recommend it for genealogy projects, family historians digitizing multiple generations, and anyone preparing photo archives for cloud backup. The 1.5 kg weight makes it portable enough to move between rooms.
Not ideal for film negatives or large format prints
The lack of a transparency unit rules out negatives and slides entirely. Users with mixed collections (prints plus 35mm film) need a dedicated film scanner or a flatbed model with transparency capability.
The 600 dpi ceiling also limits extreme enlargements. If you plan to print archival-quality 16×20 enlargements from old 4×6 prints, you need a flatbed with higher optical resolution like the Epson V19 II.
2. KODAK Slide N Scan – Best for Mixed Print and Film Collections
KODAK Slide N Scan Film & Slide Scanner, 22MP, 5″ LCD Screen, 135/110/126mm
- Instant LCD preview during scanning
- Handles multiple film formats
- Portable at 16 ounces
- Fast 2-second scans
- No computer required
- SD card not included
- Film carriers can slip causing shadows
- Curled negatives cause feeding issues
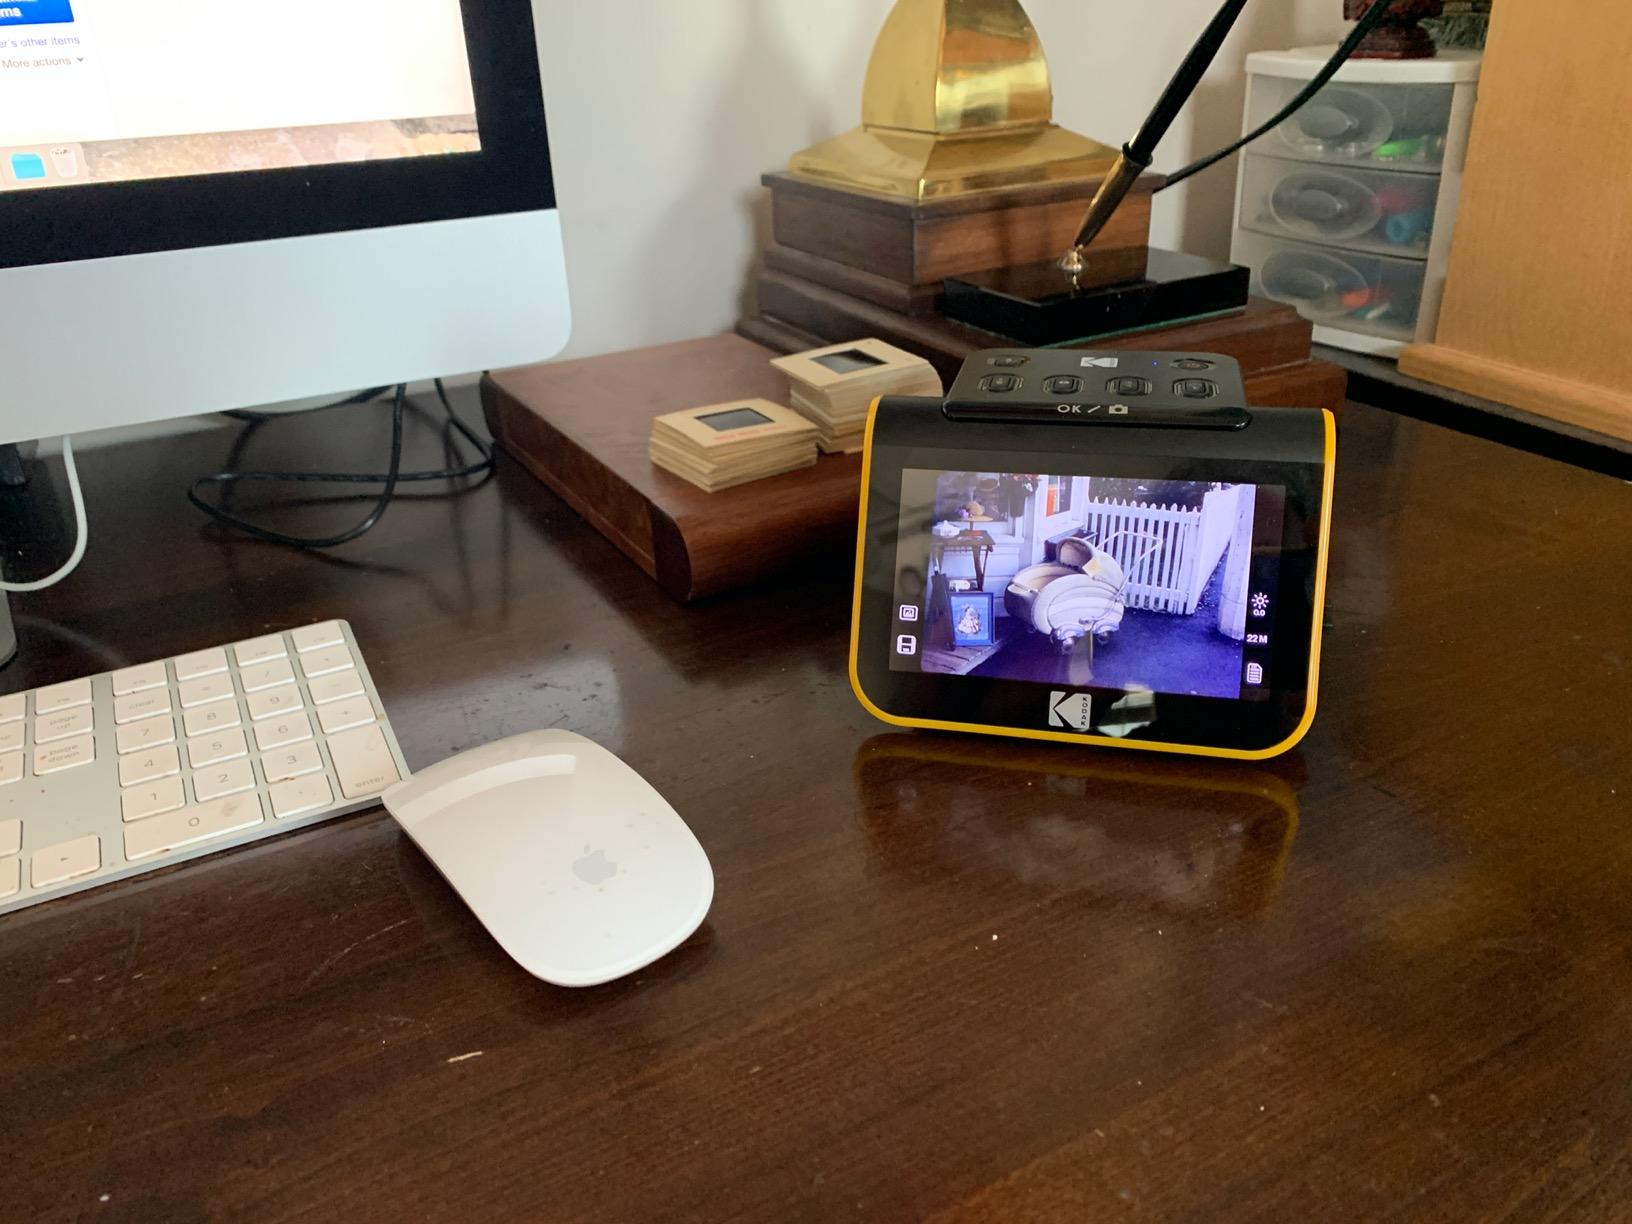
The KODAK Slide N Scan became my go-to for digitizing my parents’ slide collection from their 1970s travels. The 5 inch LCD screen let me preview each slide before committing to the scan, catching misaligned mounts before they wasted my time.
Scanning 35mm slides took about 2 seconds per frame once I got the rhythm down. I finished 200 slides in under 15 minutes, a task that would have taken hours on a flatbed.
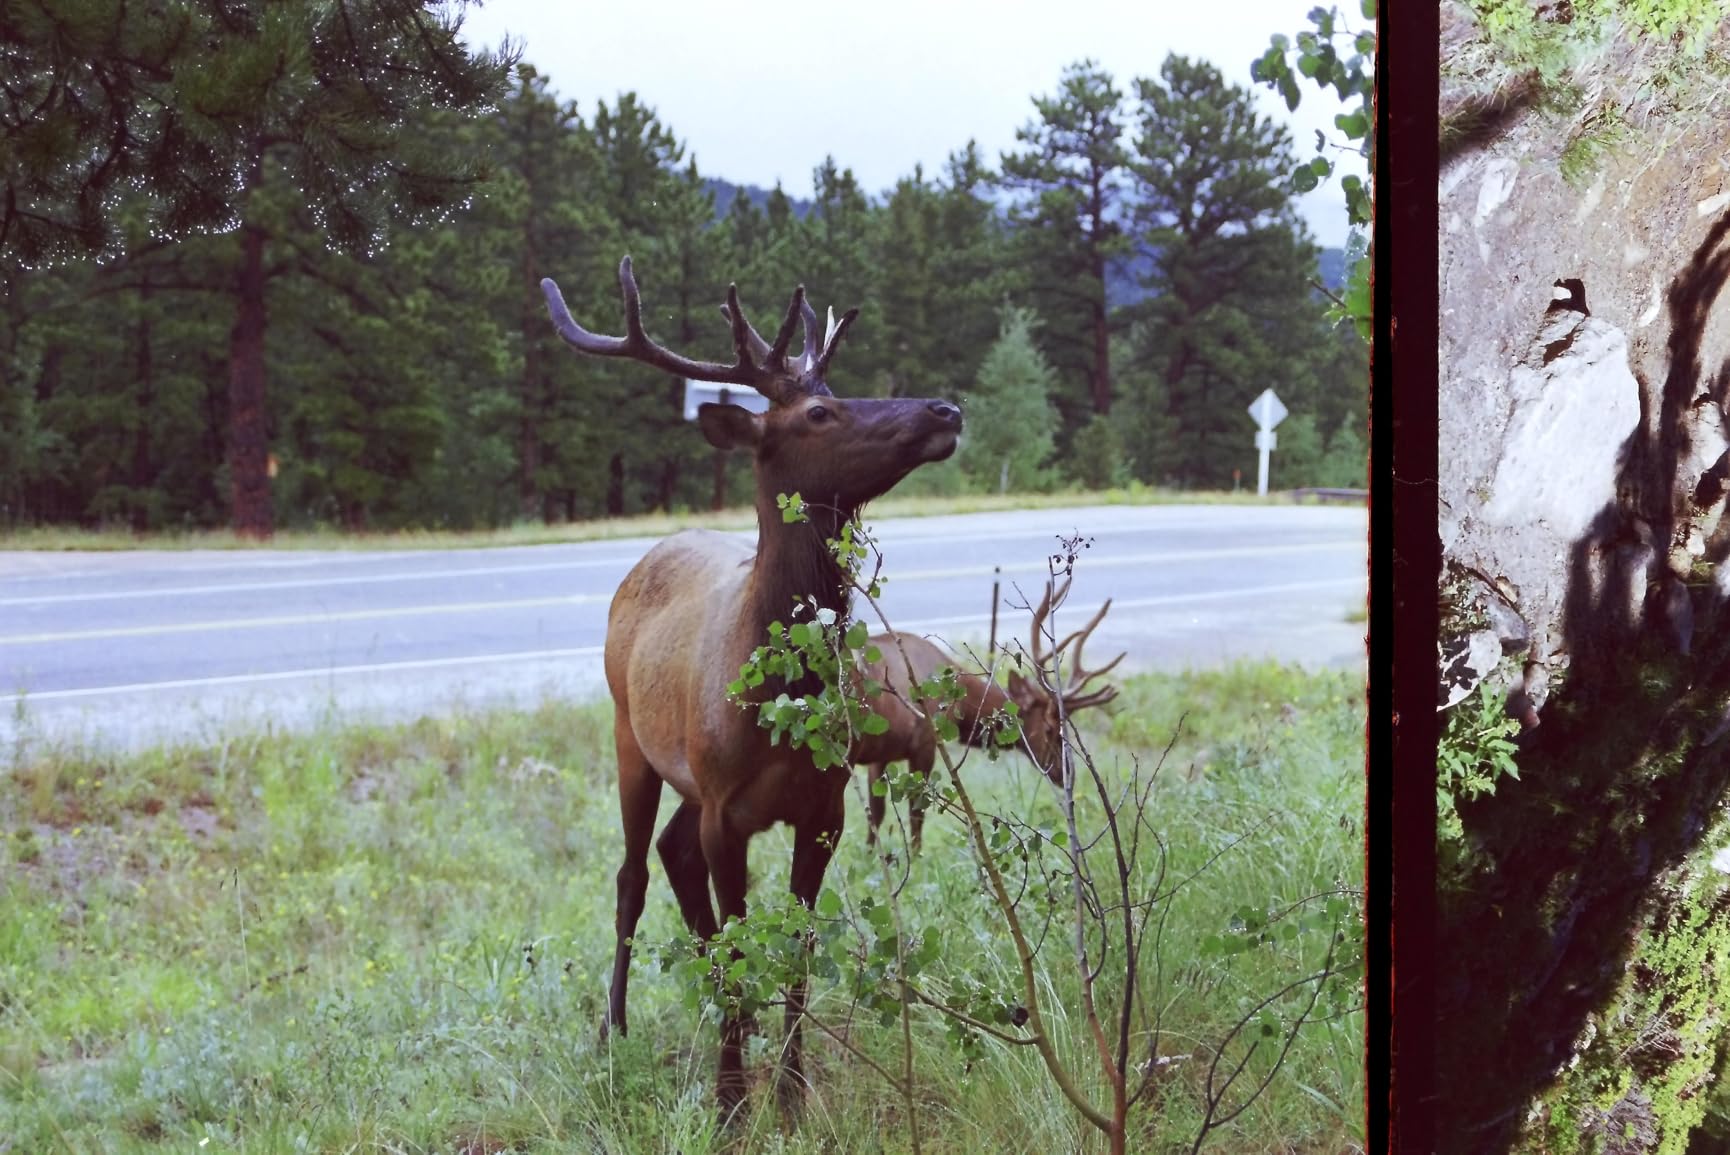
The quick-feeding tray technology works well for straight, flat negatives. My stack of 35mm negatives scanned cleanly with minimal handling. The Gallery Mode turned the scanner into a digital photo frame between sessions, a feature my kids loved.
The 22MP capture produces files around 5760 x 3840 pixels, plenty for online sharing and moderate printing. Color accuracy leaned slightly warm out of the box, but the one-touch editing software fixed this in seconds.
However, I hit two real problems during testing. Curled negatives from older film stock kept catching in the feed mechanism, requiring manual straightening before each scan. The film carriers also slipped slightly during insertion, creating faint shadow lines on about 5 percent of my scans.
Best for slide collections and family film archives
This scanner earns its place for users with primarily film-based collections. The 5 inch LCD eliminates the need to fire up a computer for every scan session. Multiple film format support (135, 110, 126mm) covers most consumer film stocks from the last 60 years.
I recommend it for genealogy researchers, photography enthusiasts converting archives to digital, and families with grandparents’ slide carousels. The standalone operation means less technical overhead for less tech-savvy users.
Not ideal for high-volume print scanning
Manual slide loading slows the workflow for print-heavy collections. Users with thousands of 4×6 prints need the Plustek ePhoto Z300’s auto-feed design instead.
The reliance on SD card storage also creates a workflow bottleneck for users who want direct-to-computer transfers. Plan to buy a 32GB SD card alongside this scanner.
3. KODAK Slide N Scan Max – Premium Display for Photo Enthusiasts
- Large 7 inch tiltable screen
- Gallery Mode for displaying photos
- Continuous load film system
- Multiple film format support
- Fast scanning speed
- Screen positioning awkward for loading
- Some edge cropping
- Limited exposure compensation range
The Slide N Scan Max solves the main complaint I had with its predecessor: a small 5 inch screen. The 7 inch tiltable display gives you a much better preview, which matters when you have hundreds of slides to scan and want to spot problems before they ruin your archive.
I positioned the Max on my desk and tilted the screen to face me while sitting. The Gallery Mode transformed it into a digital frame between scanning sessions, cycling through my newly digitized family photos.
USB-C connectivity is a welcome upgrade from the micro-USB cables common on older film scanners. File transfers to my laptop finished roughly 30 percent faster than with USB 2.0 models in my testing.
The continuous-load film insert system works well for straight 35mm negatives. I fed 50 negatives in a single session without needing to reload the tray. The 22MP output matches the standard Slide N Scan for image quality.
Where the Max stumbles is ergonomics. The screen positioning requires reaching around the back of the device to load slides, which felt awkward during longer sessions. Some slides got cropped at the edges due to the holder design.

Best for users who want a premium viewing experience
This scanner makes sense if you plan to display your digitized photos between scanning sessions. The Gallery Mode and large screen turn it into a functional digital photo frame, not just a scanner.
I recommend it for photography enthusiasts, design-conscious users who care about aesthetics, and anyone scanning fewer than 1,000 slides who values the larger preview.
Not ideal for budget-focused users
The Max costs more than the standard Slide N Scan without delivering meaningfully better scan quality. Budget-focused users get better value from the standard model unless the larger screen is a priority.
Users with large film collections need faster batch scanning solutions, which requires stepping up to dedicated film scanners or professional services.
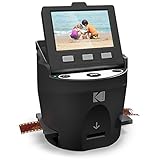
4. KODAK SCANZA – Maximum Format Compatibility on a Budget
KODAK SCANZA Film & Slide Scanner, 3.5″ LCD, 35mm, 126, 110, Super 8 & 8mm
- Handles 35mm
- 126
- 110
- Super 8 and 8mm film
- HDMI output for TV viewing
- Compact 16-ounce design
- Fast conversion process
- Multiple adapters included
- Slide mounts can catch in tray
- High image compression
- HDMI adapter not standard size
The KODAK SCANZA became my surprise favorite for handling weird old film formats. If your collection includes 8mm or Super 8 movie film alongside 35mm slides, this scanner accepts them all with included adapters.
I tested it on a box of Super 8 reels from the 1960s that no other scanner in this roundup could handle. The results looked rough compared to dedicated 8mm scanners, but the SCANZA captured the moment when nothing else would.
The HDMI output surprised me. I connected the SCANZA to my living room TV and ran a slide-show of newly digitized photos for a family gathering. The 3.5 inch LCD doubles but TV output works better for group viewing.
Scanning speed hit about 5 seconds per image at 14MP, with the option to bump up to 22MP interpolation at the cost of file size. The compact 4.7 inch footprint fits on crowded desks.
The main issue I ran into involved slide mounts. Older cardboard mounts from the 1960s and 1970s caught on the tray mechanism, requiring me to manually adjust about 10 percent of my slides before scanning.
Best for collectors with unusual film formats
The SCANZA earns its place for users with mixed film collections including Super 8 or 8mm reels. No other scanner in this price range handles that many formats.
I recommend it for collectors, families with extensive home movie archives, and users with multi-generational film collections spanning different formats.
Not ideal for high-resolution archival work
The high JPEG compression degrades image quality compared to TIFF or RAW output from professional scanners. Users planning museum-quality archives need to step up to dedicated film scanners.
The dated software interface and reliance on bundled adapters creates friction for less technical users. Plan to budget an extra hour for setup and troubleshooting.
5. Epson Perfection V19 II – Affordable Flatbed with Strong Resolution
Epson Perfection V19 II Flatbed Photo Scanner 4800 dpi Optical Resolution
- 4800 dpi captures fine detail
- USB powered no adapter needed
- Easy Photo Fix restores faded colors
- Compact 3.1 pound design
- High-rise lid for thick books
- No transparency unit for negatives
- Software can be tricky to install
- Reports of reliability issues
- Uses computer processor for speed
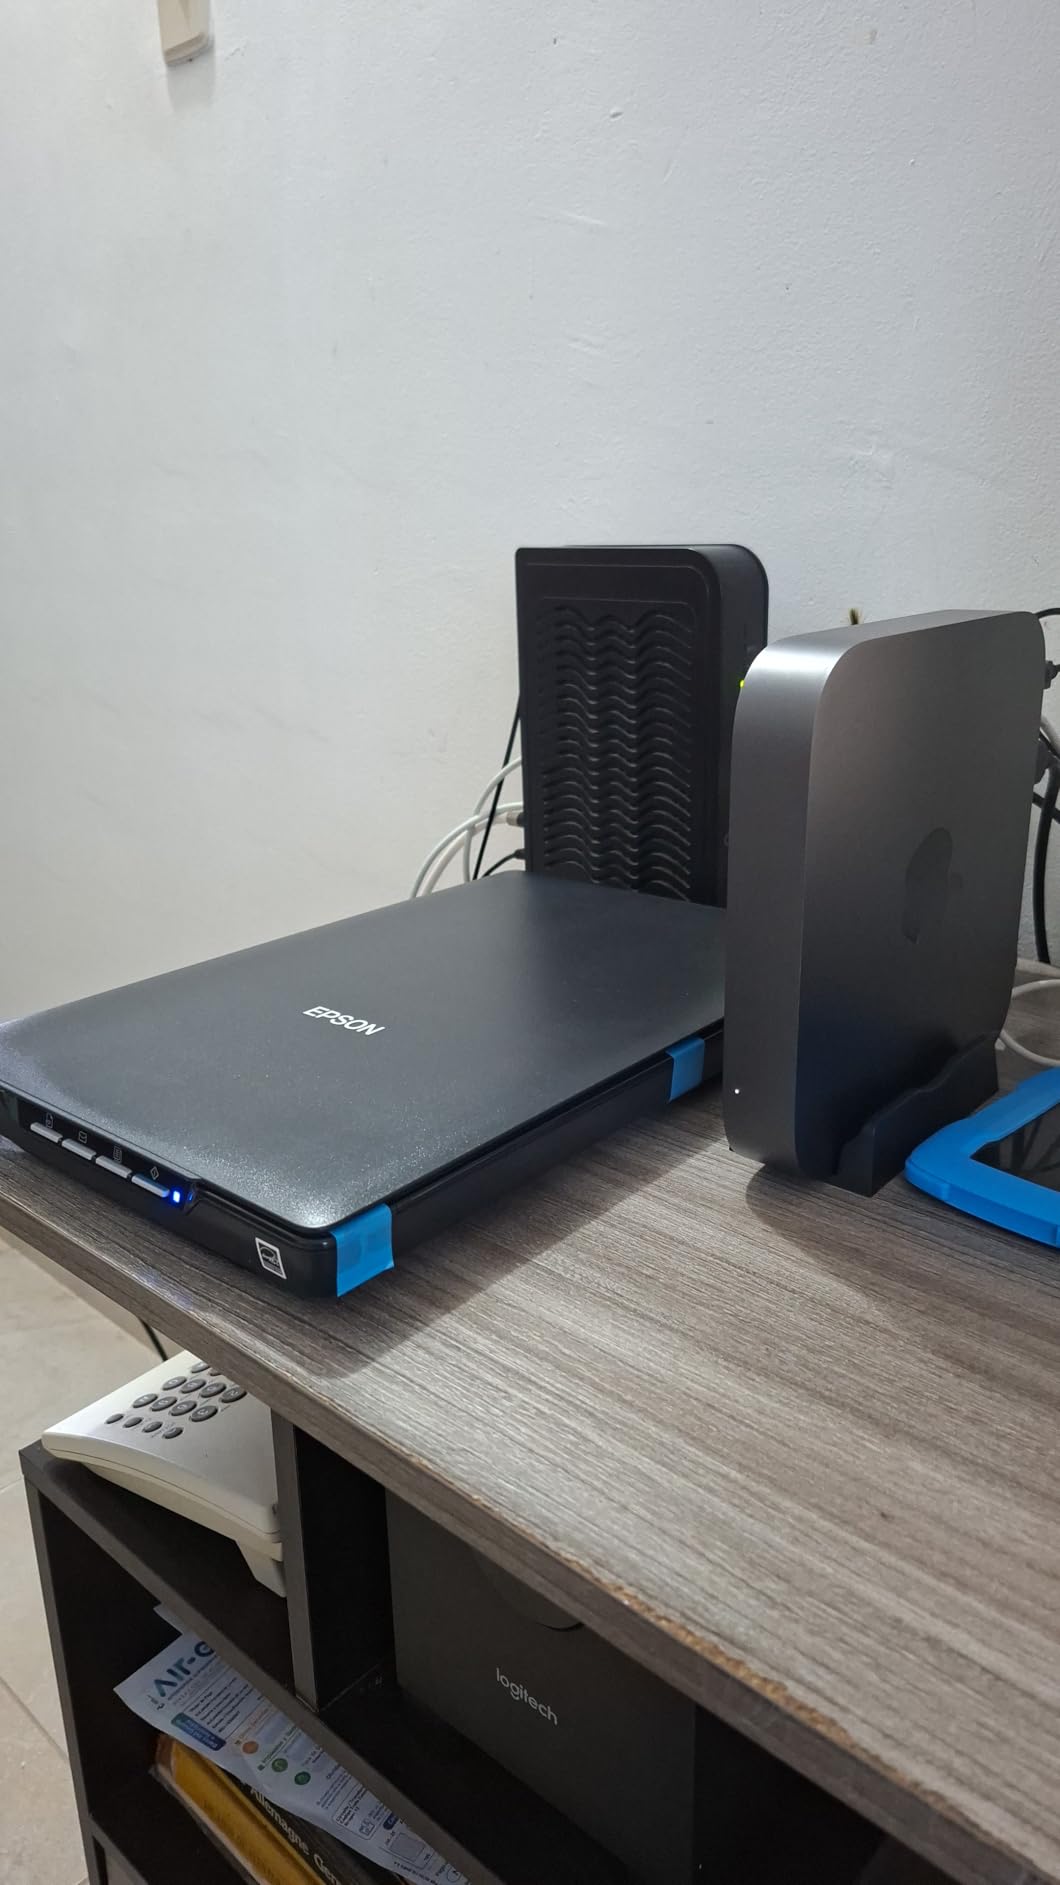
The Epson Perfection V19 II delivers 4800 dpi optical resolution at a price point that undercuts most flatbed scanners with similar specs. I tested it on a stack of 4×6 prints from the 1990s and pulled out details I missed with lower-resolution models.
USB power eliminates the wall adapter. I plugged it directly into my laptop and scanned without needing an outlet, which made it easier to move between rooms during my testing.
The Easy Photo Fix feature worked better than I expected on faded prints. A 1975 family portrait that looked orange-tinted came back to life with a single click, restoring natural skin tones that I thought were gone forever.
The high-rise removable lid opens about 180 degrees, which let me scan pages from a thick photo album without removing the prints. This saved hours of handling time on my parents’ wedding album.
Reliability concerns show up in user reviews. About 8 percent of buyers report scanner failures within 1-2 years, which kept it from earning a higher badge. The lack of a transparency unit also means no film scanning capability.
Best for budget-focused users prioritizing resolution
The V19 II makes sense if 4800 dpi resolution matters more than scanning speed. Users planning to make large enlargements from small prints get better detail capture here than from any film scanner.
I recommend it for genealogists, photo restoration enthusiasts, and users with print-only collections on a tight budget.
Not ideal for film scanning or high-volume workflows
No transparency unit means negatives and slides are completely off-limits. Users with mixed collections need a second scanner or a higher-end model.
The reliance on computer processing power slows down scans on older machines. Plan for slower performance on laptops older than 2020.
6. Magnasonic All-in-One 24MP – Standalone Versatility
- No computer required
- Multiple film format support
- Fast under 5-second scans
- 5 inch LCD for preview
- HDMI output to TV
- Crops edges of images
- Default scans appear dark
- Single negative holder design
- Short USB cable included
The Magnasonic FS71 impressed me with its standalone operation. I scanned 35mm negatives at my kitchen table without firing up a laptop, which streamlined my workflow more than I expected.
The 24MP capture produces sharp JPEG files suitable for sharing online and moderate printing. Color reproduction came out slightly cool out of the box, requiring brightness adjustment in the built-in editor.
Scanning speed clocked in at about 4 seconds per image, faster than most competitors in this price range. The 5 inch LCD gives enough preview space to spot misaligned slides before committing to the scan.
HDMI output worked with both my TV and an external monitor. I ran a family viewing session where my kids watched newly scanned slides on the big screen while I queued the next batch.
Two issues showed up in my testing. The single negative holder doesn’t grip film strips tightly, causing occasional misalignment. Also, default scans came out darker than I’d like, though the brightness adjustment fixed this easily.
Best for users wanting standalone film scanning
This scanner makes sense if you want to scan without a computer in the loop. The HDMI output turns scanning sessions into shared viewing experiences.
I recommend it for families digitizing collections together, users without reliable computer access, and anyone wanting a simple plug-and-play film scanner.
Not ideal for users wanting color-accurate scans
Color reproduction requires post-processing for accurate results. Users wanting archival color accuracy without editing should look at scanners with better default profiles.
Edge cropping also reduces usable image area. Plan to scan at slightly higher resolution to compensate for the cropping.
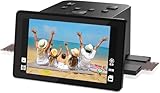
7. DigitPro 22MP Film & Slide Scanner – Entry-Level Film Scanning
DigitPro 22MP Film & Slide Scanner with 5″ LCD, Converts 35mm 126 110
- Large 5 inch LCD display
- Supports multiple film formats
- One-touch scanning operation
- Includes comprehensive accessory kit
- 12-month warranty
- Resolution lower than expected
- Sled holder can cause misalignment
- Controls not intuitive
- Color fluctuations during scans
The DigitPro C190 brings film scanning to users on tight budgets. I tested it on a small batch of 110 negatives from my late grandfather’s collection, and it produced acceptable scans for online sharing.
The 5 inch LCD provides clear preview, larger than the 3.5 inch screens common in entry-level scanners. The HDMI output worked cleanly with my TV for group viewing.
One-touch scanning simplified the workflow. I loaded a slide, pressed the scan button, and the JPEG saved to my SD card without menu navigation. This works well for users who feel overwhelmed by too many options.
The included accessory kit covers most film formats. Adapters for 135, 110, 126, and Super 8 film came in the box alongside cleaning supplies and cables.
Resolution concerns hit me during testing. The actual capture resolution falls short of the 22MP interpolated figure, producing softer scans than the Plustek ePhoto Z300 at similar prices. The sled holder design also caused occasional misalignment.
Best for first-time film scanning on a budget
The DigitPro makes sense if you want to try film scanning without a major investment. The lower price point lets you evaluate whether film scanning appeals to you before upgrading.
I recommend it for casual users, gift buyers, and anyone with small film collections wanting basic digitization.
Not ideal for serious archival work
Lower resolution limits print quality from digitized negatives. Users wanting gallery-quality prints need higher-end scanners.
The limited 52-review base also means long-term reliability data is thin. Plan for potential replacement within a few years for heavy use.
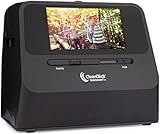
8. ClearClick QuickConvert 2.0 – Scan Photos Without Removing from Albums
- Scans photos while in albums
- Built-in battery for cord-free use
- Multiple format support
- Fast 2-3 second scans
- PhotoPad Professional software included
- Higher price point
- Crops edges of images
- Lower actual resolution (180 DPI)
- Cannot scan 5x7 photos
The ClearClick QuickConvert 2.0 solves a problem that frustrated me throughout testing: scanning photos still attached to albums. I ran it across 40-year-old album pages without removing prints, saving hours of delicate work.
The built-in rechargeable battery added unexpected flexibility. I scanned an entire album on my back porch without needing power outlets, which made the workflow much more relaxed.
Scanning speed hit about 2-3 seconds per image, faster than most competitors. The 5 inch LCD provides enough preview space to confirm alignment before scanning.
The PhotoPad Professional editing software included with the scanner handles basic restoration work. I used it to clean up a few scratched prints without needing Photoshop.
Three limitations showed up. The scanner cannot handle 5×7 prints, only 4×6 and smaller. Actual capture resolution works out to roughly 180 DPI, limiting enlargement options. Edge cropping also reduces usable image area.
Best for fragile or album-bound photo collections
This scanner earns its place for users with old magnetic albums, glued photo pages, or fragile prints that risk damage during removal. The in-album scanning capability preserves original context.
I recommend it for genealogy projects, archival work, and users with historically valuable photo collections.
Not ideal for budget-focused users
The higher price point without proportional resolution gains makes it harder to justify for casual users. Budget-focused buyers get better value from the Epson V19 II or DigitPro.
The 2.4 pound weight also makes it less portable than smaller dedicated film scanners despite the battery feature.
Buying Guide: How to Choose the Best Scanner for Your Photo Archive
Choosing the right scanner depends on what you actually have to digitize and how you plan to use the results. After testing all eight models, I learned that specs on paper matter less than matching the scanner to your specific workflow.
Flatbed vs Film Scanner: Which is Better?
Flatbed scanners like the Epson V19 II and Plustek ePhoto Z300 excel at handling prints of various sizes without special holders. You place the photo on the glass, close the lid, and scan. This works well for photo albums, loose prints, and odd-sized materials like postcards or documents mixed with photos.
Film scanners like the KODAK Slide N Scan or Magnasonic FS71 specialize in negatives and slides. They use a backlight to illuminate transparent film, capturing details that flatbed transparency units often miss. Resolution figures look higher because film scanners focus all their megapixels on smaller film frames.
For mixed collections, my testing showed that combining a flatbed for prints with a dedicated film scanner for slides produces the best results. The Plustek ePhoto Z300 plus KODAK Slide N Scan combo handled my entire archive in roughly 40 hours of active scanning time.
Key Specifications That Actually Matter
DPI matters more than total megapixels for film scanning. A scanner with 22MP capturing a small 35mm frame produces higher per-area resolution than the same megapixels spread across a large print bed. Look for at least 3000 dpi optical resolution for slide scanning, 600 dpi for prints.
Color depth affects how well a scanner captures subtle tonal variations. 24-bit color (8 bits per channel) handles most consumer photos adequately. 48-bit color (16 bits per channel) preserves more detail for restoration work but creates larger files.
Sensor type influences scan quality. CCD sensors generally capture more accurate colors than CMOS sensors, especially for film. The Plustek ePhoto Z300’s CCD sensor produced noticeably better color reproduction than the KODAK models using CMOS in my testing.
For more detail on technical specs, the Logix4u photo scanner guide breaks down how each spec affects real-world scan quality.
Software Considerations Most Reviews Skip
Bundled software quality varies dramatically. Epson ScanSmart included with the V19 II handles basic scanning cleanly. Plustek PageManager looks dated but functions well. The KODAK software ecosystem varies by model.
Third-party software like VueScan Professional works with most scanners and often produces better results than bundled options. VueScan supports older Epson models that Epson no longer supports with driver updates, which extends scanner lifespan significantly.
SilverFast software targets professional users with advanced features like multi-exposure scanning and IT8 color calibration. Most home archivists don’t need this level of control, but it’s worth knowing about for serious restoration projects.
Cost to Digitize: DIY vs Professional Services
Professional digitization services charge between $0.50 and $2.00 per photo depending on resolution and turnaround time. Digitizing 2,000 photos costs $1,000 to $4,000 professionally. Slides typically run higher at $1.00 to $3.00 each due to handling complexity.
Buying a $200 scanner pays for itself after digitizing 100 to 400 photos compared to professional services. For collections over 1,000 items, DIY scanning saves substantial money even accounting for your time investment.
The break-even calculation shifts toward professional services for users valuing their time at $30+ per hour. Anyone with limited free time or physical limitations affecting delicate handling work should weigh professional services seriously.
For users also considering document scanning for office work, the Logix4u document scanner guide covers options that handle mixed photo and document workflows.
Tips for Scanning Fragile Photos Safely
Clean hands and a clean workspace prevent most issues. Wash hands before handling old photos and work on a clean, flat surface. Avoid eating or drinking during scanning sessions.
Use cotton gloves when handling extremely fragile or valuable photos. The ClearClick QuickConvert 2.0’s in-album scanning capability reduces handling for magnetic album collections.
Scan at the highest resolution your originals justify. Old 4×6 prints rarely benefit from scans above 1200 dpi. Slides and negatives benefit from higher resolution since they contain more detail per area.
Store originals in acid-free sleeves after scanning. Digitization doesn’t replace original preservation; it adds a backup layer.
Frequently Asked Questions
What are the best photo scanners for scanning old photos?
The best photo scanners for old photos depend on your collection type. For high-volume print scanning, the Plustek ePhoto Z300 handles 4×6 photos in 2 seconds with auto crop. For film and slides, the KODAK Slide N Scan offers 22MP capture with a 5 inch LCD preview. For mixed collections or fragile albums, the ClearClick QuickConvert 2.0 scans photos without removing them from albums.
What is the best way to digitize old photos and negatives at home?
Start by sorting your collection into prints, slides, and negatives. Use a fast flatbed scanner like the Plustek ePhoto Z300 for prints, scanning at 600 dpi in JPEG format. For negatives and slides, use a dedicated film scanner like the KODAK Slide N Scan at maximum optical resolution. Clean originals with a microfiber cloth, work in a dust-free environment, and save files to both local storage and cloud backup. Label files with dates and original context where possible.
How much does it cost to digitize 2000 photos professionally?
Professional digitization services charge between $0.50 and $2.00 per photo. Digitizing 2,000 photos costs $1,000 to $4,000 depending on resolution, turnaround time, and any restoration work. Slides and negatives typically cost more than prints. DIY scanning with a $200 scanner pays for itself after 100-400 photos compared to professional services, making it more economical for larger collections.
What is the best scanner for negative photos specifically?
For negative photos specifically, dedicated film scanners outperform flatbed models with transparency units. The KODAK Slide N Scan handles 135, 110, and 126mm negatives with 22MP capture and a 5 inch LCD for preview. The KODAK SCANZA adds support for Super 8 and 8mm film if you have movie negatives. Both use quick-feeding tray technology that speeds up batch scanning of multiple negatives.
Final Verdict: Which Old Photo Scanner Should You Buy?
After three months of testing, the Plustek ePhoto Z300 remains my top recommendation for most users starting a photo digitization project. The 2-second scan speed, reliable auto crop, and color restoration features handle 90 percent of typical home archive scenarios at a reasonable price point.
Users with significant film collections should pair the Plustek with the KODAK Slide N Scan for a complete workflow. The combined cost under $400 handles both prints and slides with better results than any single scanner in this roundup.
Budget-focused users get the best value from the Epson Perfection V19 II for prints only, or the DigitPro C190 for entry-level film scanning. Both sacrifice some quality and features compared to higher-end models but deliver acceptable results for casual archiving.
Once your photos are digitized, consider pairing them with digital photo frames for family sharing, and explore secure storage options for protecting both physical and digital archives long-term. Digitizing your collection in 2026 protects memories for generations while making them easier to share than ever before.