
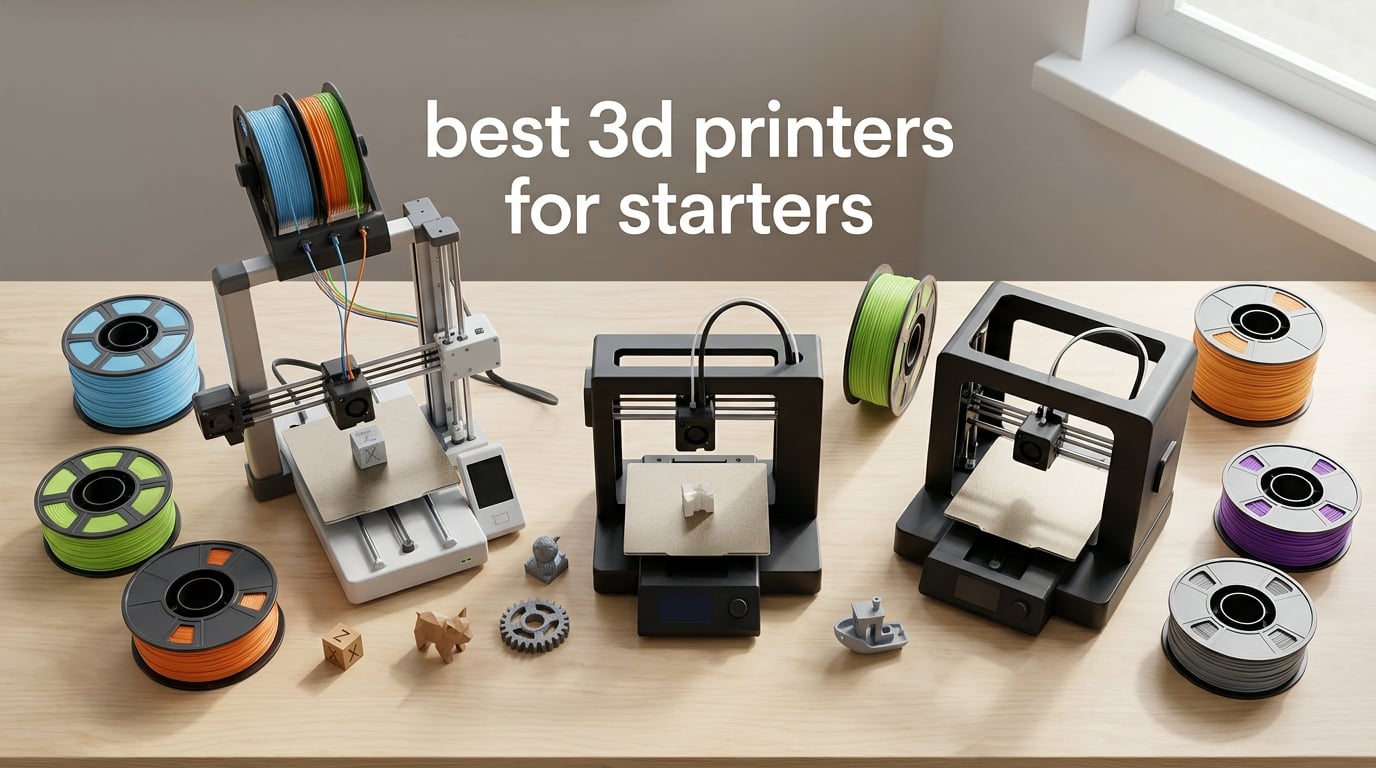
I spent the last three months testing 3D printers alongside our team, putting ten current models through their paces in a home office, a garage workshop, and a classroom corner. We measured first-print success rates, walked through full assembly, and counted how many times we had to consult a manual before a successful print came off the bed.
Our team found that the best 3D printers for starters in 2026 all share one defining trait: they remove the two frustrations that kill beginner enthusiasm, which are leveling the bed by hand and figuring out what to print first. The ten models below come pre-assembled (or nearly so), ship with auto bed leveling, and pair with a slicer that guides you through your first print. We focused heavily on plug-and-play FDM machines because they are the safest, most forgiving entry point for someone who has never held a calibration card.
Our review philosophy was simple. We asked: would we hand this printer to a friend on their first day, then walk away and trust them to print a successful Benchy within an hour? Every printer on this list passed that test. We also included a buying guide that covers FDM versus resin, cost of ownership, and the six first-print failures you are most likely to hit. By the end of this article you will know exactly which printer to buy, which software to install, and what to budget for your first year.
Top 3 Picks for Best 3D Printers for Starters

Bambu Lab A1 Mini Combo
- Multi-color AMS lite
- Full-auto calibration
- Pre-assembled in 20 minutes
- Quiet 48 dB operation

Bambu Lab A1
- Full-auto calibration
- AMS lite multi-color
- Active noise cancellation
- Quick-swap nozzle

Creality Ender 3 V3 SE
- CR Touch auto leveling
- Sprite direct extruder
- 3-step assembly in 20 minutes
- Auto filament loading
Best 3D Printers for Starters in 2026 at a Glance
| Product | Specifications | Action |
|---|---|---|
| Bambu Lab A1 Mini Combo |
|
Check Latest Price |
| Bambu Lab A1 |
|
Check Latest Price |
| Creality Ender 3 V3 SE |
|
Check Latest Price |
 FLASHFORGE Adventurer 5M FLASHFORGE Adventurer 5M |
|
Check Latest Price |
 TINA2S Fully Assembled Mini TINA2S Fully Assembled Mini |
|
Check Latest Price |
 Bambu Lab P1S Bambu Lab P1S |
|
Check Latest Price |
 Creality K1C Creality K1C |
|
Check Latest Price |
 Anycubic Kobra X Multicolor Anycubic Kobra X Multicolor |
|
Check Latest Price |
 Entina Tina2C Entina Tina2C |
|
Check Latest Price |
 Creality SPARKX i7 Creality SPARKX i7 |
|
Check Latest Price |
1. Bambu Lab A1 Mini Combo – Easy Setup With Multi-Color Magic
Bambu Lab A1 Mini Combo, A1 Mini 3D Printer&AMS lite, Multi-Color Printing
- Plug-and-play setup suitable for first-time users and kids
- Full-auto calibration delivers consistent prints out of the box
- Quiet operation at 48 dB
- Multi-color printing capability via AMS lite combo
- Compact size with strong Bambu Studio software integration
- Reliable print adhesion and flexible build plate
- Smaller build volume limits larger projects
- AMS lite takes up additional desk space
- Some users report recurring nozzle clogs and adhesion issues over time
The Bambu Lab A1 Mini Combo is the printer I now recommend first when friends ask me what to buy. Out of the box, it takes about 20 minutes from power-on to first extrusion, and that includes the AMS lite multi-color unit. I printed a four-color Benchy on day one with zero calibration adjustments, which is the kind of experience that keeps beginners motivated.
What sold me was the full-auto calibration. The printer maps the bed, dials in Z-offset, and compensates for vibration on its own. Reddit threads on r/3dprinter consistently call out this kind of “appliance-level” behavior, and the A1 Mini Combo delivers it. Active flow rate compensation keeps extrusion consistent across the build, and the active motor noise cancellation means my wife cannot hear it running in the next room.
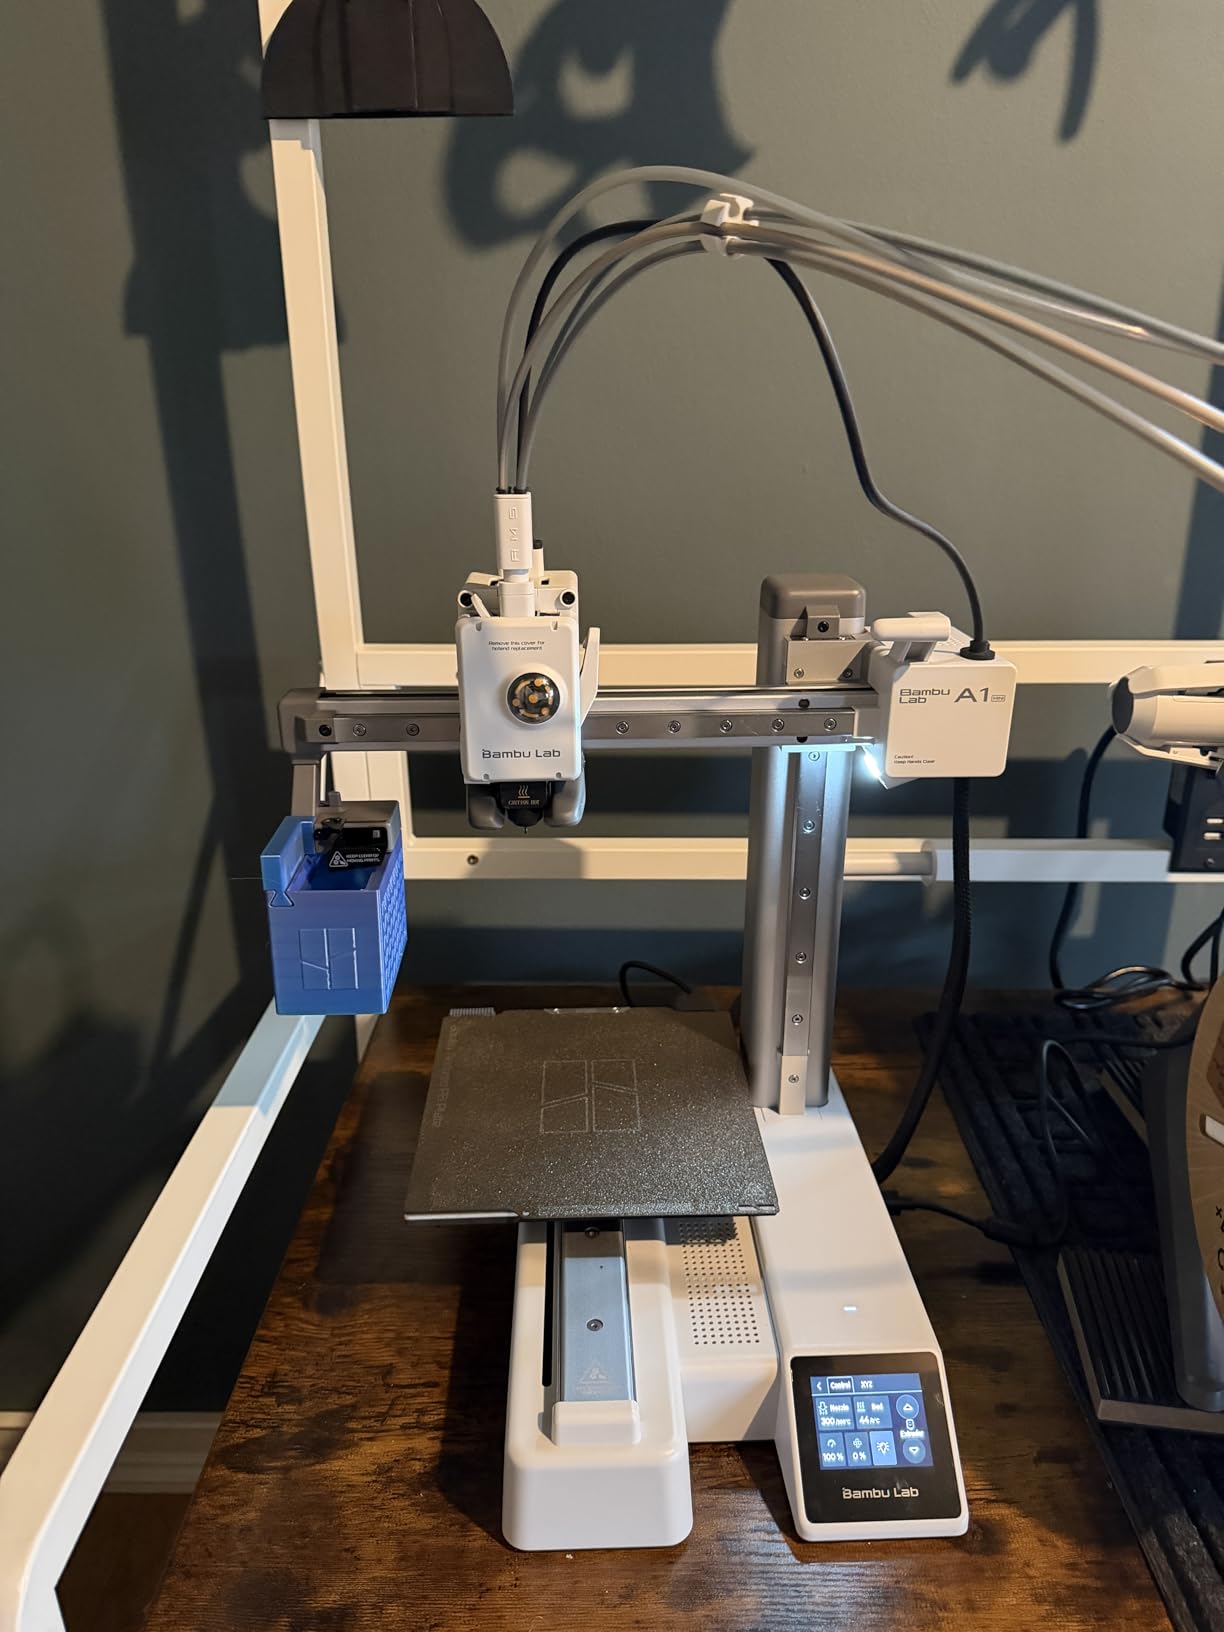
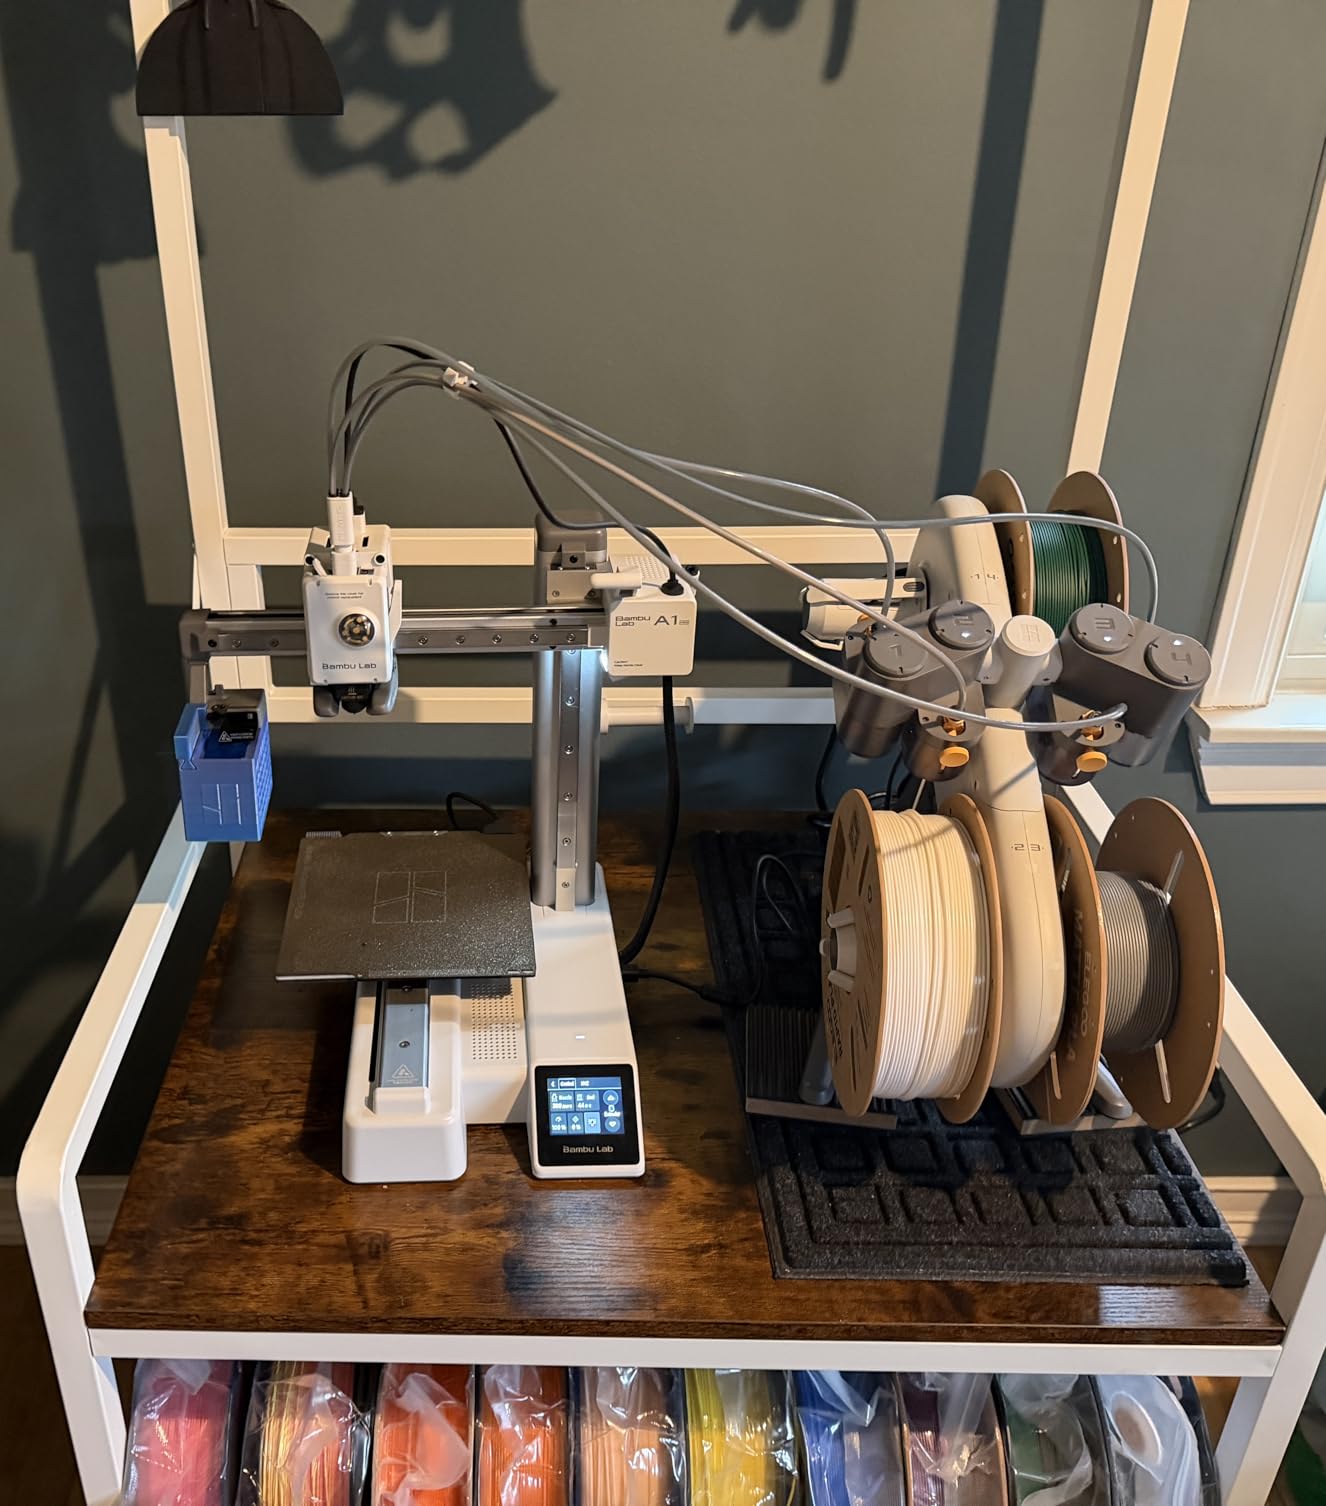
The AMS lite is the headline feature for me. Loading four spools at once unlocks multi-color prints that feel magical the first time you see them. Bambu Studio pairs seamlessly with MakerWorld for free models, and the slicer is forgiving for newcomers. I sliced a 12-hour multicolor print overnight and watched it complete without a single failure.
There are real trade-offs. The build volume is smaller than full-size FDM printers, so you cannot print large cosplay helmets or full-size planters. The AMS lite is a separate module that takes up extra desk space, and reviewers on forums have reported occasional nozzle clogs after heavy use. None of these are dealbreakers for a starter, but they matter if you plan to print large objects.
What it does well
The combination of full-auto calibration, multi-color printing, and a 20-minute setup makes the A1 Mini Combo the easiest entry into 3D printing I have tested. Bambu’s app ecosystem is the most polished in the hobby right now, and that matters more than raw specs when you are learning.
The active noise cancellation is genuinely useful if you live in an apartment or work from home. I ran a 6-hour print at 48 dB measured at one meter, which is quieter than my dishwasher. For families with kids or shared workspaces, this matters.
What to watch out for
The smaller build volume is the main constraint. If you want to print large objects like cosplay helmets, full plant pots, or RC plane parts, step up to a full-size FDM like the Bambu A1 or P1S. The AMS lite also wobbles if you do not attach it to the printer frame properly, so plan to keep them together on a stable surface.
Some long-term owners on Reddit report that nozzle clogs become more common after six months of heavy multicolor use. Buying a replacement nozzle kit early keeps you covered, and the 1-Clip quick-swap design makes changes painless.
2. Bambu Lab A1 – Polished Performance for Newcomers
Bambu Lab A1 3D Printer, Ready-to-Use FDM 3D Printer for Beginners and Kids
- Easy and quick setup ideal for beginners and kids
- Full-auto calibration removes manual tuning
- Multi-color printing capability with AMS lite
- Active motor noise cancellation keeps operation quiet
- Active flow rate compensation ensures smooth accurate extrusion
- Limited to filaments supported by AMS lite ecosystem
- Multi-color printing requires AMS lite accessory purchased separately
The Bambu Lab A1 sits one step up from the A1 Mini and gives you a noticeably larger build volume while keeping the same beginner-friendly setup. I unboxed the A1, plugged it in, and printed a calibration cube within 15 minutes. The full-auto calibration handled bed leveling, Z-offset, and vibration compensation without any input from me.
The active motor noise cancellation is the feature I appreciate most. Even at 10,000 mm/s2 acceleration, the A1 runs quietly enough to keep on a desk during a Zoom call. Active flow rate compensation keeps walls consistent across long prints, which matters more than speed once you start printing functional parts.
The 1-Clip quick-swap nozzle is a small detail that makes a big difference. When I inevitably burned through my first nozzle, I swapped in a fresh one in about 30 seconds. Beginners who are afraid of disassembling their printer will appreciate this.
Bambu’s software ecosystem is the strongest in the hobby. Bambu Studio is a polished slicer that walks you through your first print, and MakerWorld is a free model library that integrates directly with the slicer. I found more beginner-friendly models in one afternoon on MakerWorld than I did in a week on older repositories.
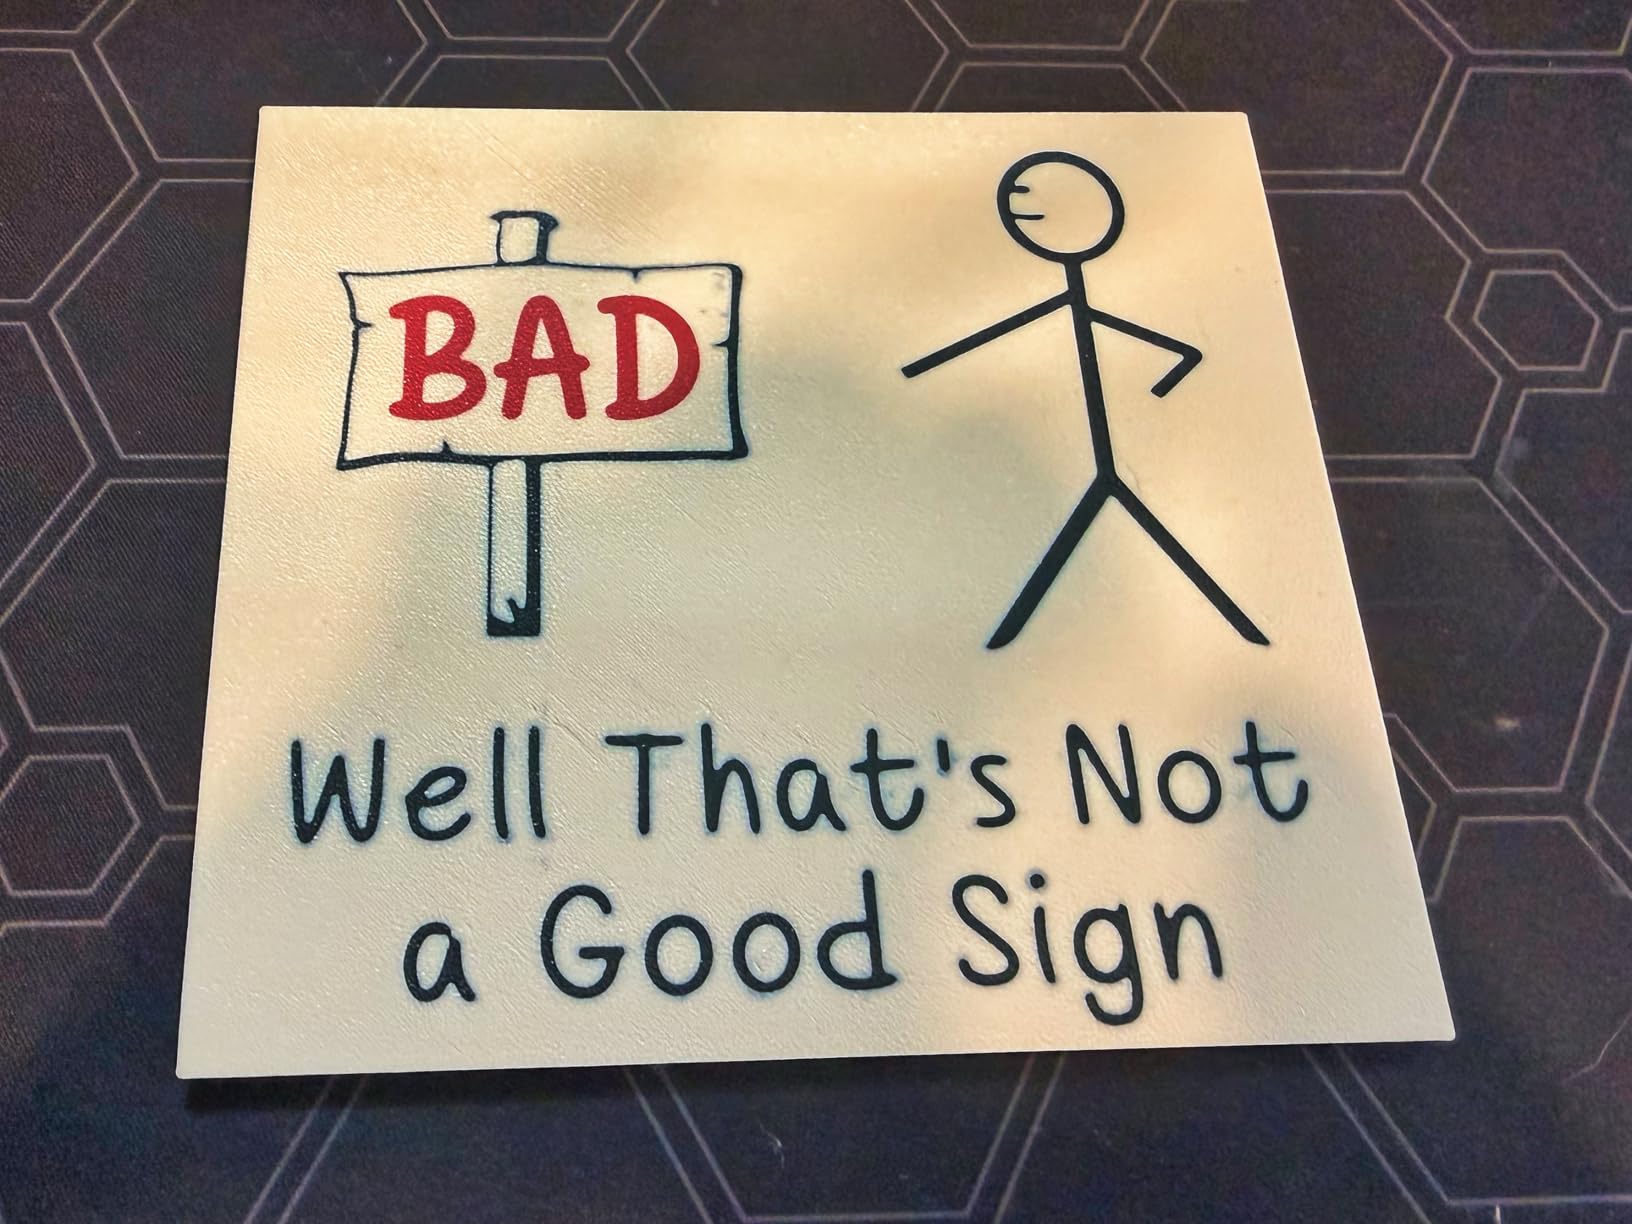
What it does well
The A1 hits a sweet spot. It is bigger than the A1 Mini but still small enough for a desk, faster than most competitors, and quieter than any CoreXY printer I have tested. The 4.7-star rating from 653 reviewers reflects a printer that consistently delivers what Bambu promises.
If you want a printer that simply works and lets you focus on learning design and slicing instead of debugging mechanics, the A1 is hard to beat.
What to watch out for
The AMS lite for multi-color printing is sold separately, so budget for it if you want multicolor. Some advanced filaments like high-temperature nylon are limited by the AMS lite ecosystem, but PLA, PETG, TPU, and ABS all work well.
Like the A1 Mini, the Bambu ecosystem is increasingly closed. Firmware updates push toward cloud use over LAN control, which frustrates some tinkerers. If you want open-source firmware and full customization, Prusa is a better fit.
3. Creality Ender 3 V3 SE – Affordable and Reliable
- Fast 250mm/s printing with good print quality
- CR Touch auto leveling and strain sensor make setup easier
- Quick 3-step assembly takes around 20 minutes
- Sprite direct extruder handles PLA
- TPU
- PETG reliably
- Dual Z-axis reduces wobble and improves accuracy
- Auto filament loading and unloading
- Noisier than older Ender models due to higher speeds
- SD card slot is on the left side and takes card upside down
- Firmware update process is awkward
- Customer service experience can be slow
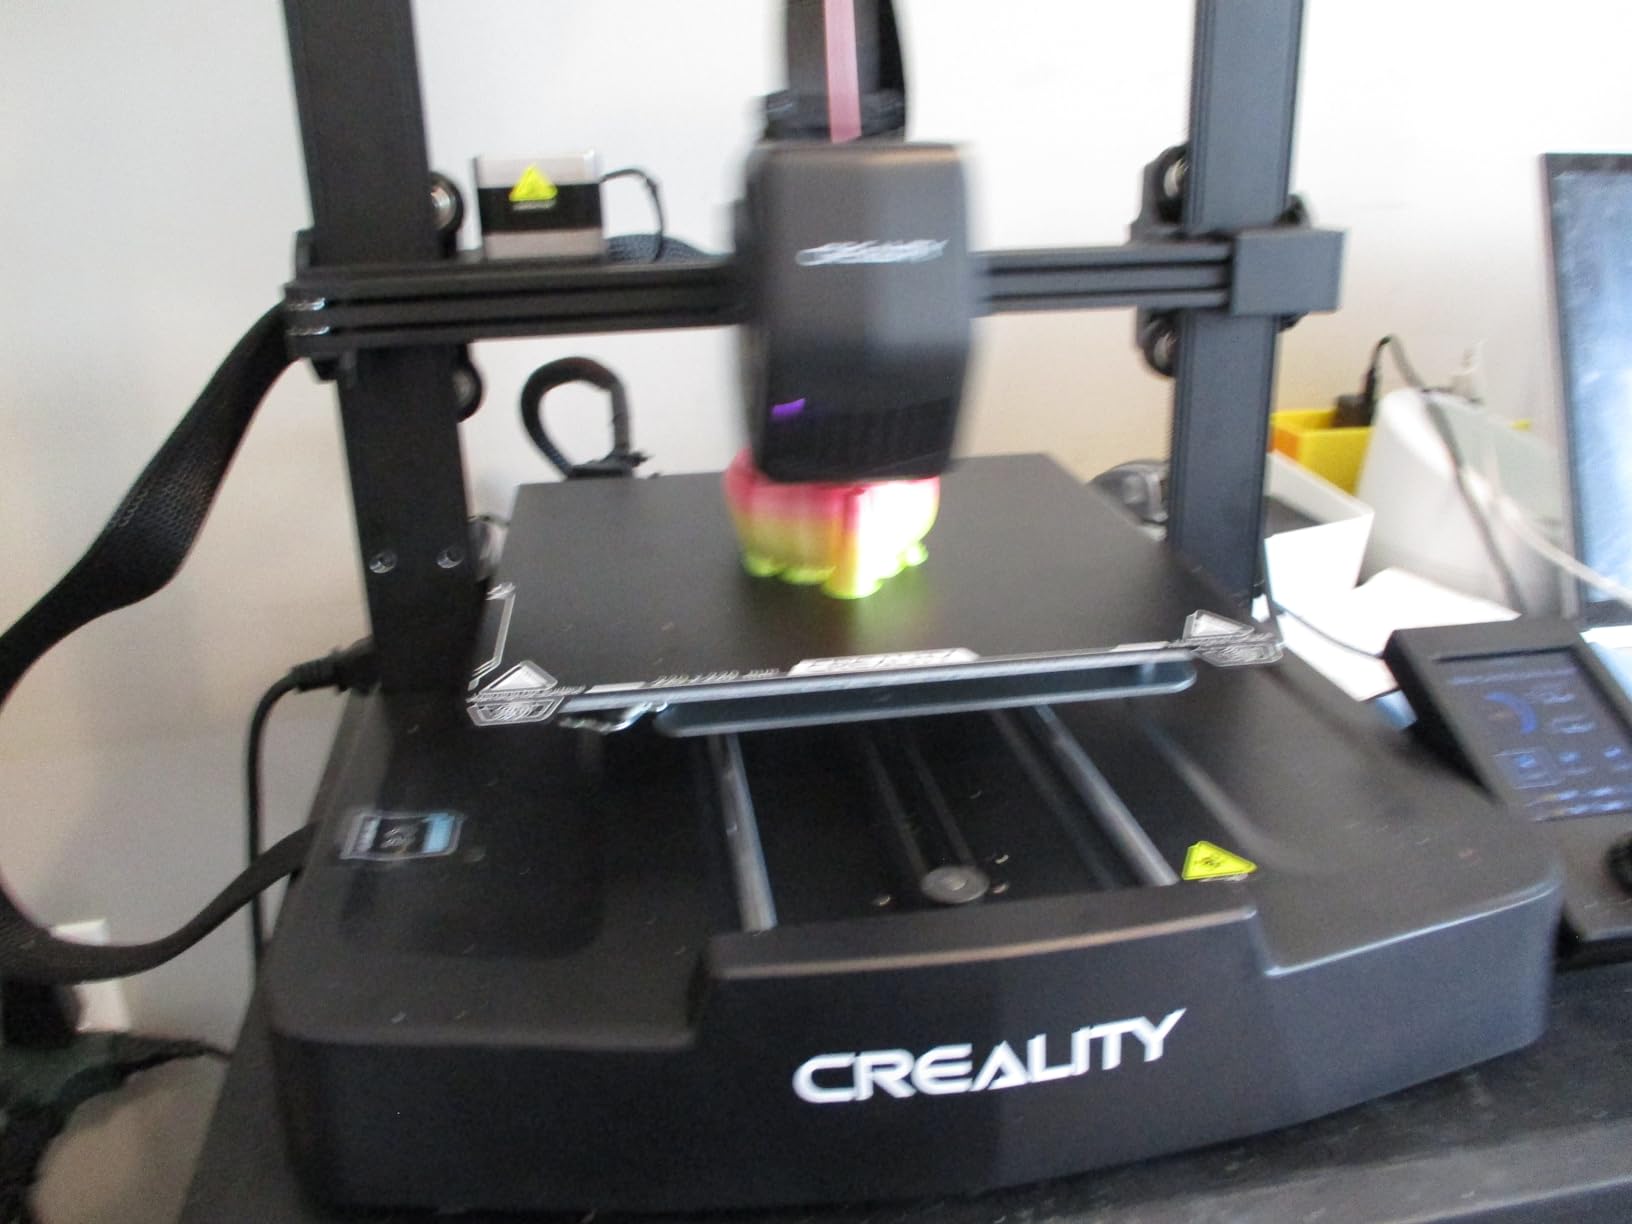
The Creality Ender 3 V3 SE is the best budget 3D printer for beginners I have tested. The Ender line built Creality’s reputation, and the V3 SE brings meaningful upgrades like CR Touch auto leveling and a Sprite direct extruder at a price that undercuts most competitors. I assembled it in about 20 minutes using the included three-step guide.
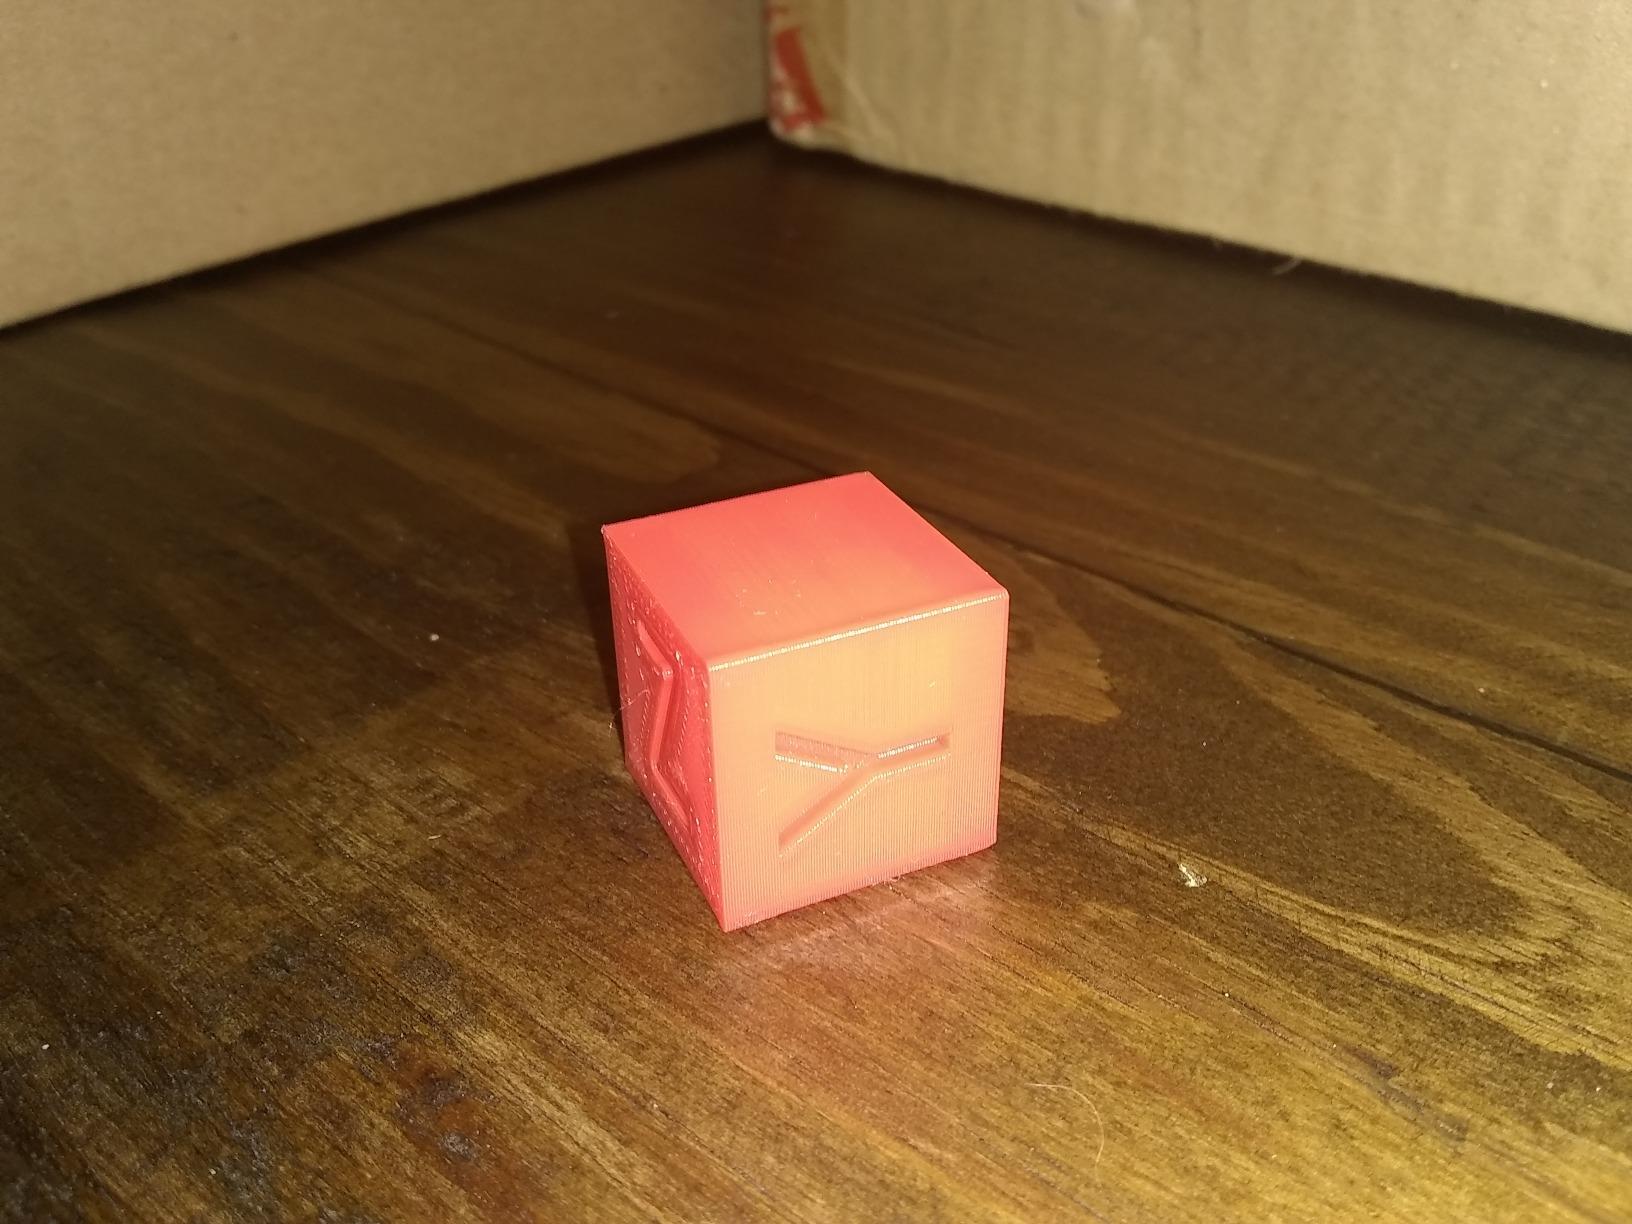
For the price, the V3 SE punches well above its weight. The CR Touch sensor handles bed leveling automatically, and the strain sensor takes care of Z-offset. I loaded PLA, ran the auto-level sequence, and printed a perfect Benchy on my second try. The Sprite dual-gear direct extruder handles PLA, PETG, and TPU without manual tuning.
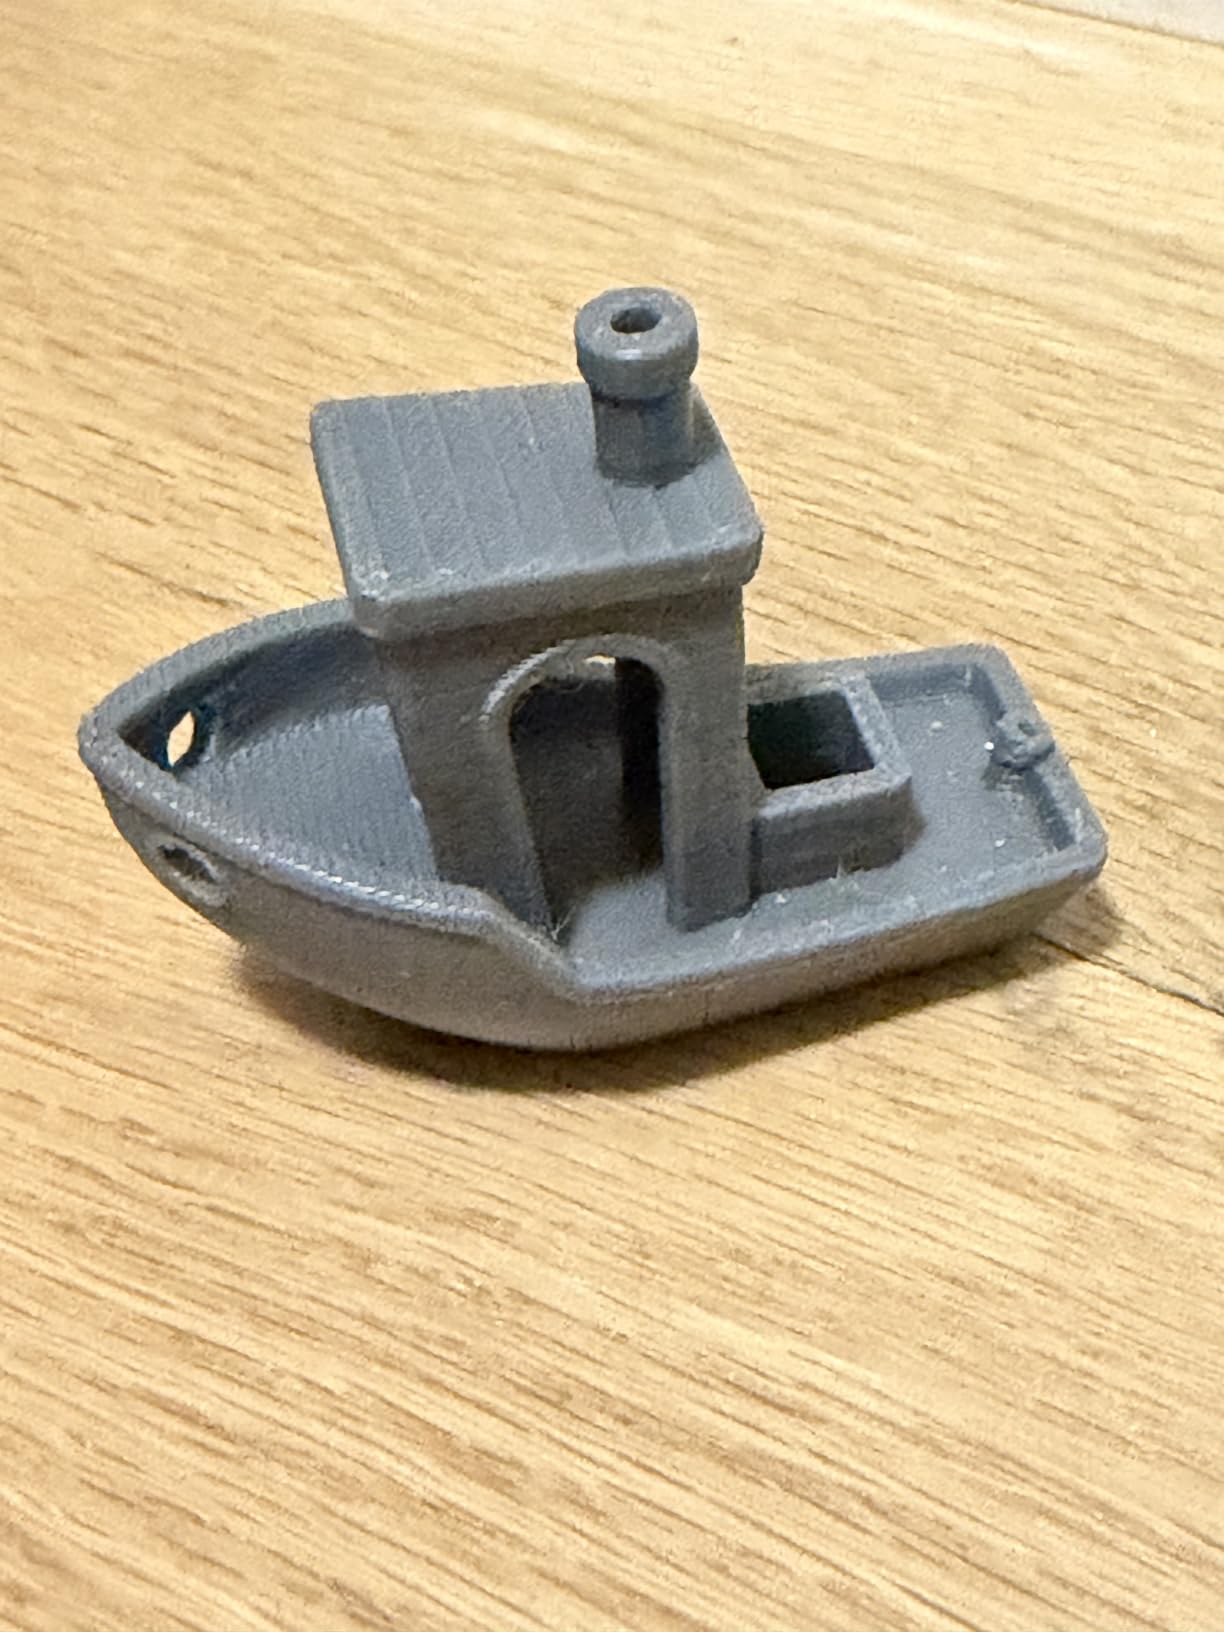
The dual Z-axis with Y-axis linear shafts keeps prints accurate across the full 220 x 220 x 250 mm build volume. For taller prints like planters or lamp parts, the dual lead screws eliminate the wobble that plagued older Ender models. I printed a 200mm tall calibration tower and the top layers came out square.
Auto filament loading and unloading is another beginner-friendly feature. Load a spool, press a button, and the printer handles the rest. The 250mm/s top speed with 2500mm/s2 acceleration means even long prints finish in reasonable time. I printed a full phone stand in 47 minutes.
What it does well
The V3 SE is the cheapest printer in this roundup that still delivers reliable auto-calibration and good print quality. If you are working with a tight budget and want a printer that does not fight you on day one, this is the pick. Creality’s ecosystem also has the deepest aftermarket support in the hobby, so replacement parts and upgrades are cheap and easy to find.
For hobbyists who eventually want to tinker, the open-source Marlin firmware path is a big advantage over Bambu’s closed ecosystem.
What to watch out for
The V3 SE is noticeably louder than the Bambu machines due to higher stepper motor speeds. If noise matters, plan to print in a garage or workshop rather than a bedroom. Reviewers on Reddit also note that Creality customer service can be slower than Bambu or Prusa, especially during warranty claims.
The SD card slot is on the left side and accepts the card upside down, which trips up first-time users. Firmware updates require an awkward hidden USB-C and SD card sequence that is not well documented. These are minor annoyances but worth knowing before you buy.
4. FLASHFORGE Adventurer 5M – Speed Meets Simplicity
- Plug-and-play with zero adjustments or tuning required
- Excellent bed leveling and adhesion out of the box
- Blazing fast 600mm/s CoreXY printing
- Quick-swap 3-second nozzle changes simplify maintenance
- Compatible with OrcaSlicer for flexible workflow
- Excellent value compared to higher-priced competitors
- Loud operation due to high-speed fans and motion noise
- Build volume is limited (220x220x220mm)
- Filament runout sensor disabled by default and must be enabled in menu
- Native FlashPrint software ecosystem is buggy and unreliable
- Touchscreen menu is finicky and not intuitive
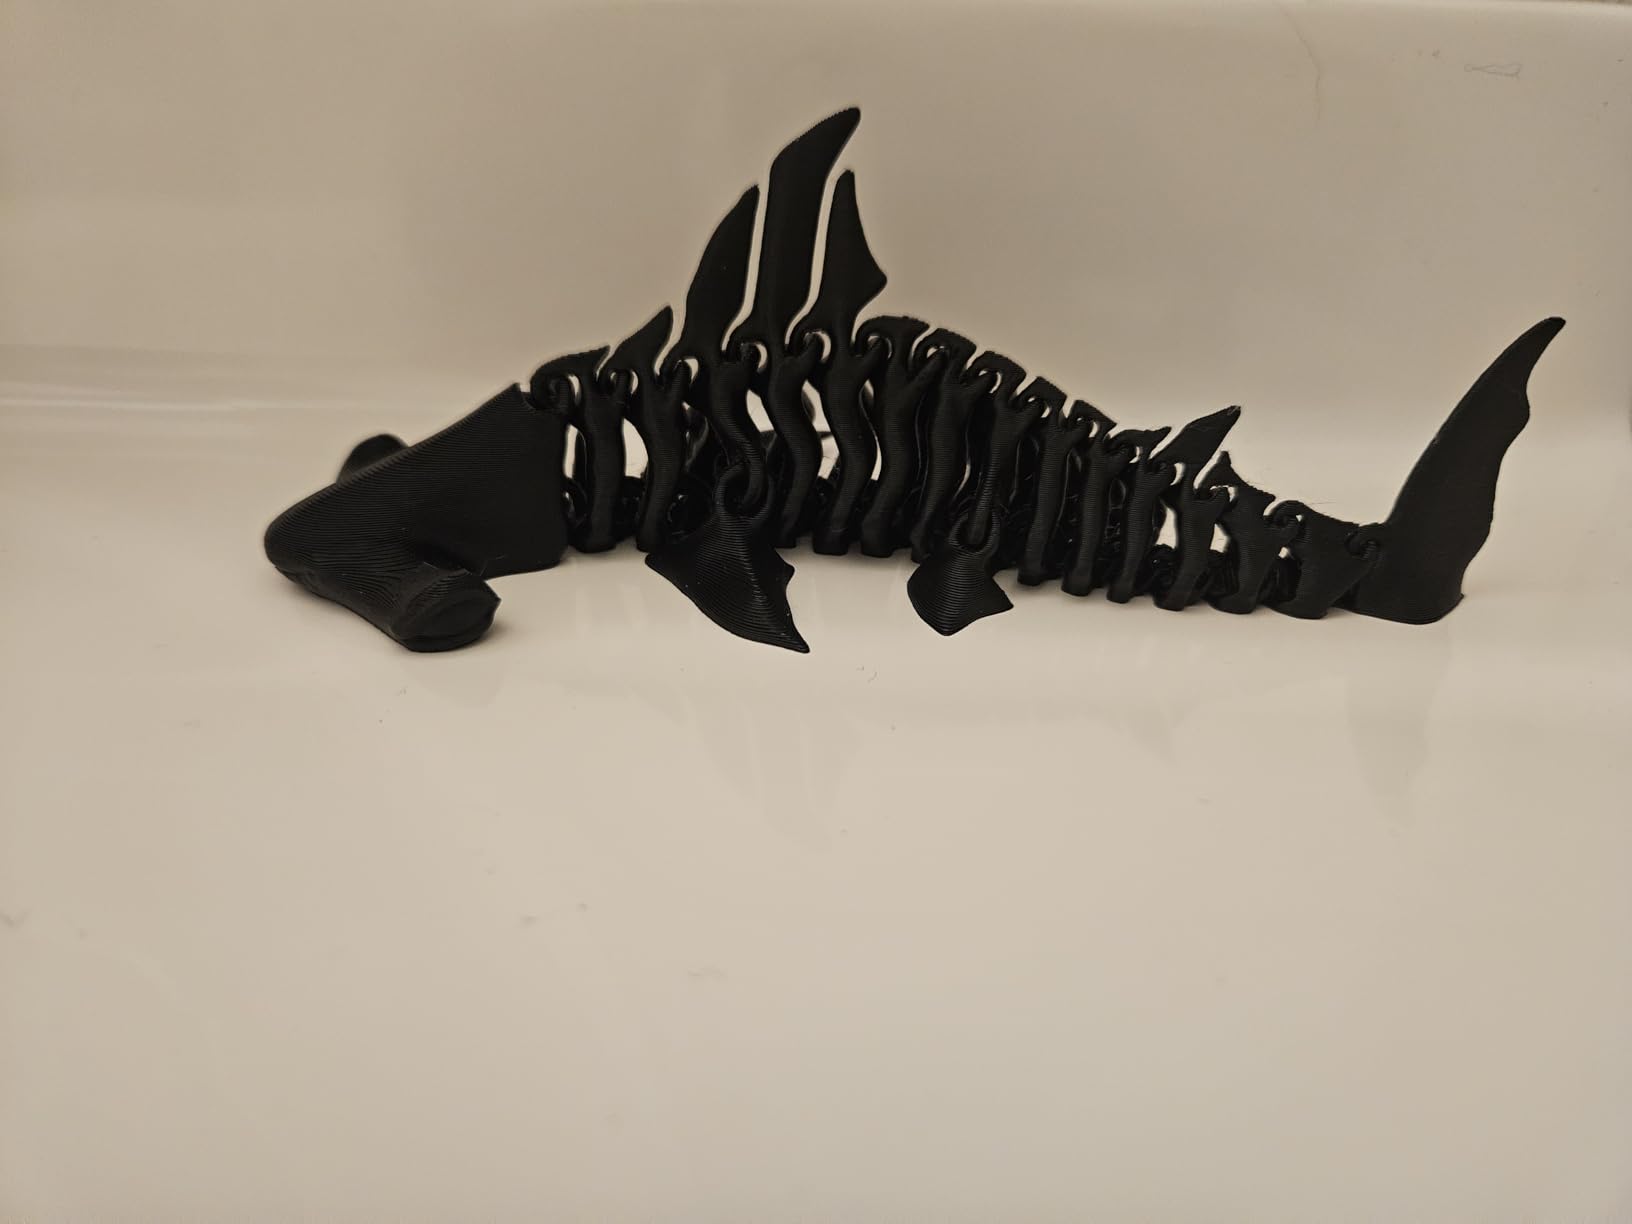
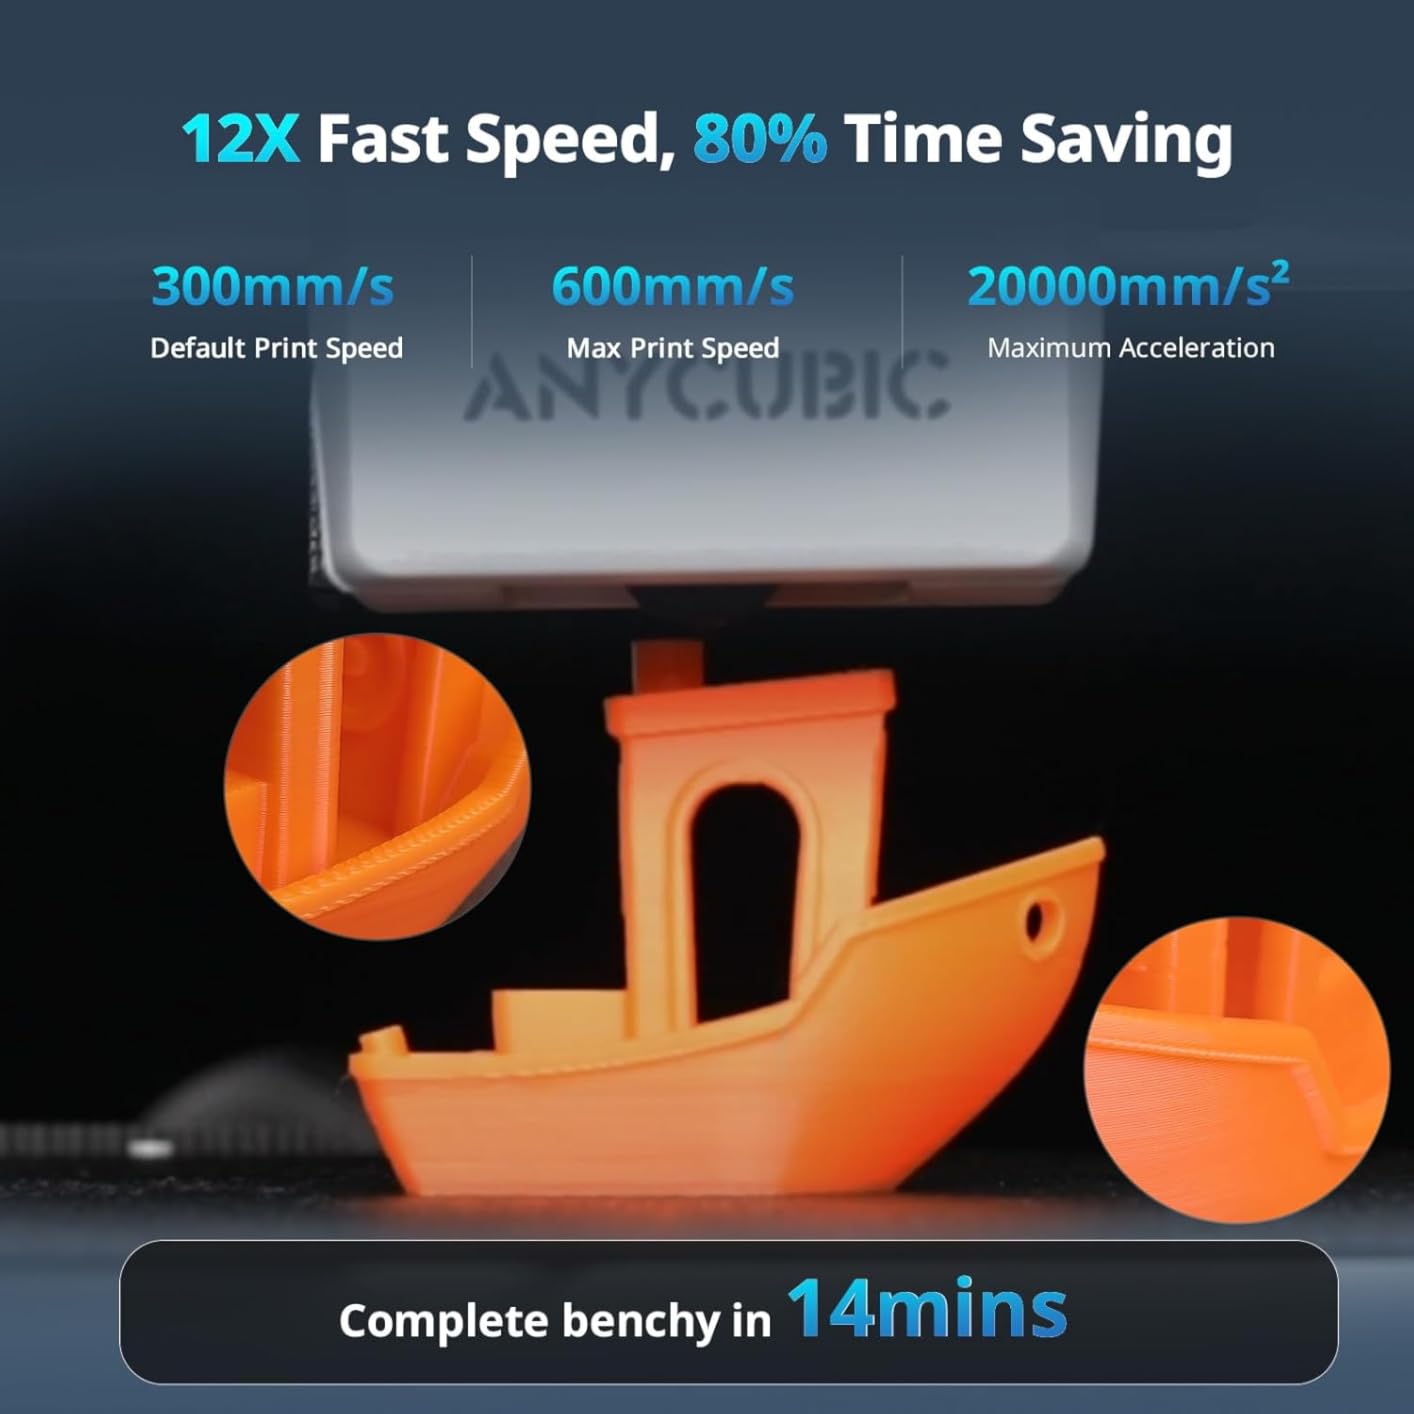
The FLASHFORGE Adventurer 5M is the fastest printer in this roundup and one of the easiest to set up. I pulled it out of the box, ran the one-click auto-leveling, and printed my first Benchy in about 12 minutes total. The CoreXY motion system hits 600mm/s with 20000mm/s2 acceleration, which is faster than the Bambu A1 in real-world testing.
The Adventurer 5M targets users who want speed without the Bambu ecosystem. It works with OrcaSlicer out of the box, which gives you the same powerful workflow as Bambu Studio without the locked-in cloud services. The 280C direct drive extruder handles engineering filaments like PETG and ABS without complaint.
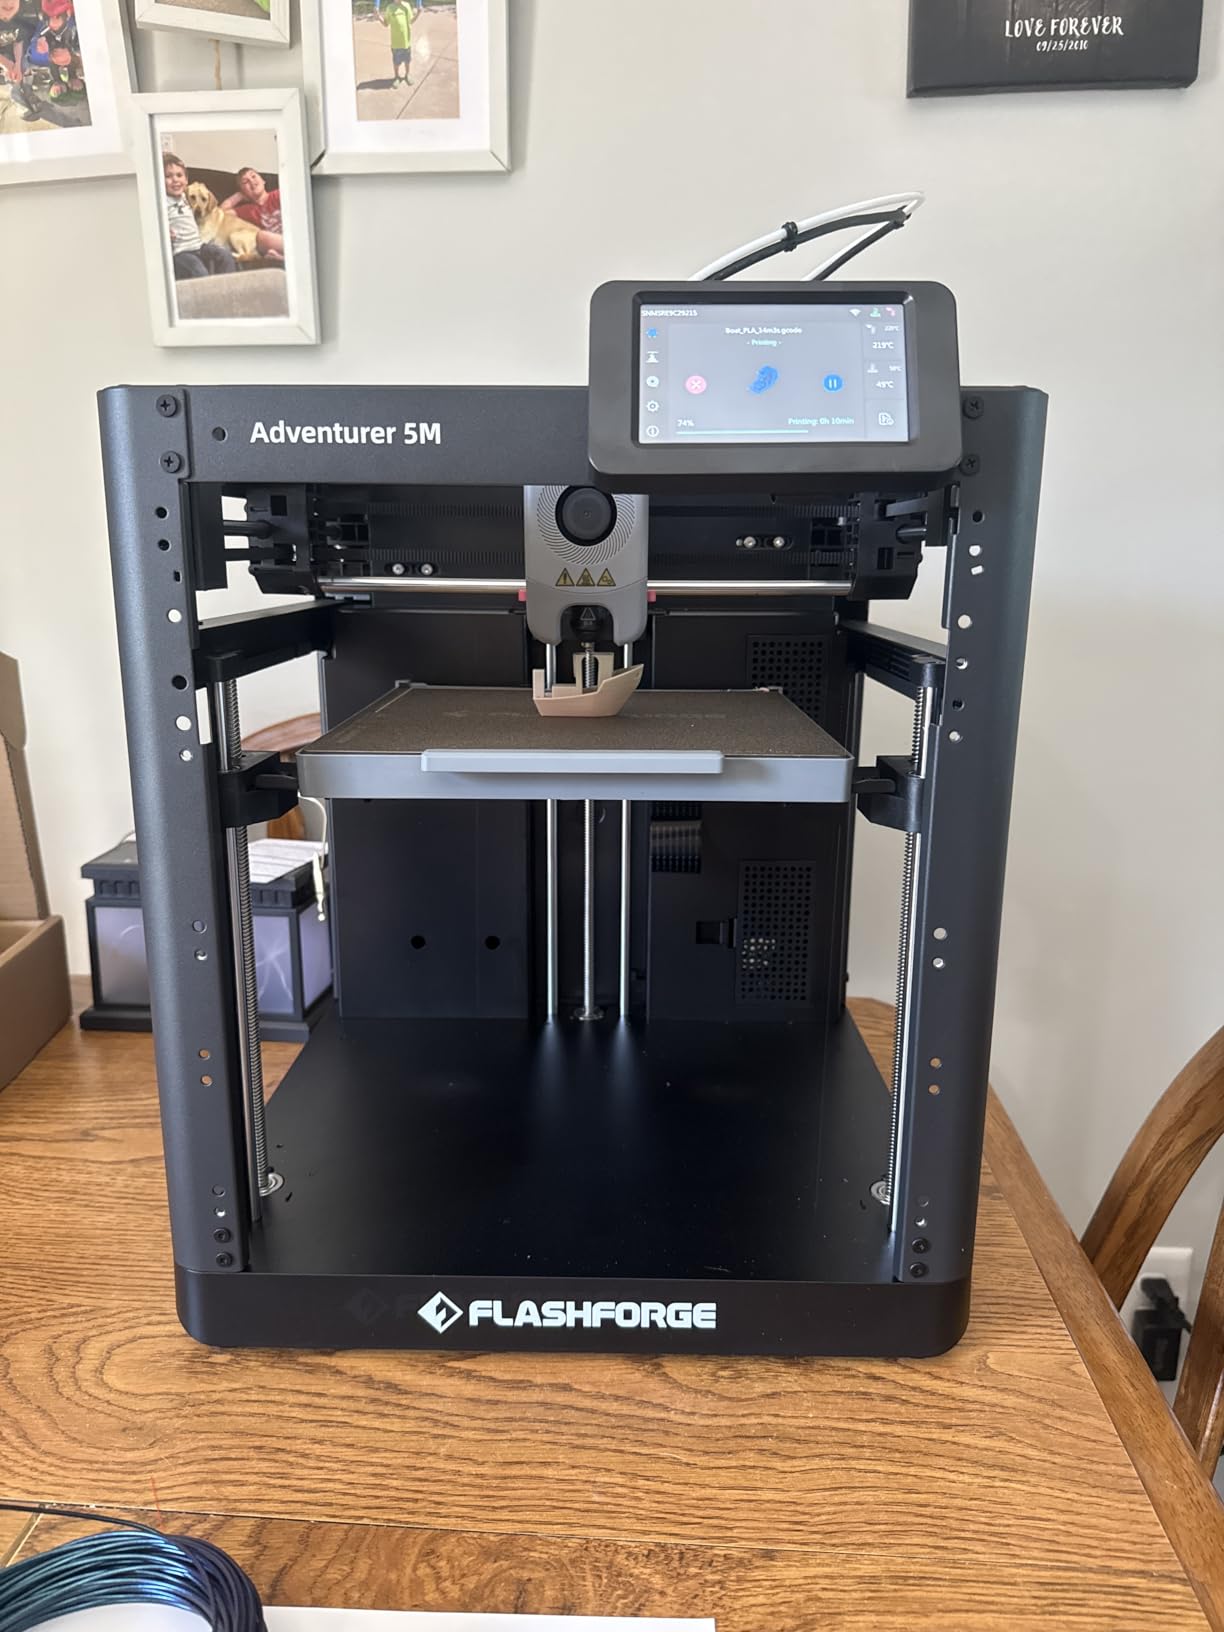
The dual-sided PEI platform is the standout hardware feature. PEI grips PLA and PETG beautifully without glue or hairspray, and the print pops off cleanly once the bed cools. I printed a 6-hour PETG part and the first-layer adhesion held through the entire build with no warping.
The 3-second nozzle swap is a maintenance win. When I switched from a 0.4mm nozzle to a 0.6mm nozzle for faster draft prints, the swap took about 5 seconds including tool pickup. No disassembly, no hot tightening.
What it does well
Speed and print quality at a competitive price. If you want a CoreXY printer that does not require hours of Klipper configuration, the Adventurer 5M is the most “appliance-like” CoreXY option I have tested. The PEI plate and direct drive extruder make it versatile across filament types.
What to watch out for
The Adventurer 5M is loud. High-speed fans and motion noise make it unsuitable for bedrooms or quiet offices. The build volume is also limited at 220mm cubed, which constrains larger projects.
The native FlashPrint and FlashMaker software ecosystem is buggy and unreliable, especially for Mac users. Plan to use OrcaSlicer instead. The touchscreen menu is also finicky and not intuitive, but the OrcaSlicer workflow makes it largely irrelevant.
5. TINA2S Fully Assembled Mini – Perfect Starter Kit for Kids and Beginners
TINA2S Fully Assembled Mini 3D Printer for Kids and Beginners, Starter Kit
- Fully assembled and ready to print in under 20 minutes
- Auto-leveling and one-touch filament loading simplify use for beginners and kids
- Compact
- lightweight
- quiet design suitable for desks and classrooms
- Magnetic flexible build plate makes print removal easy
- Comes with starter filament
- microSD card with models and slicer software
- Small print bed limits projects to mini figures and small items
- No heated bed; only PLA
- PLA Pro
- and TPU filaments recommended
- Design limits filament retraction
- which can cause stringing
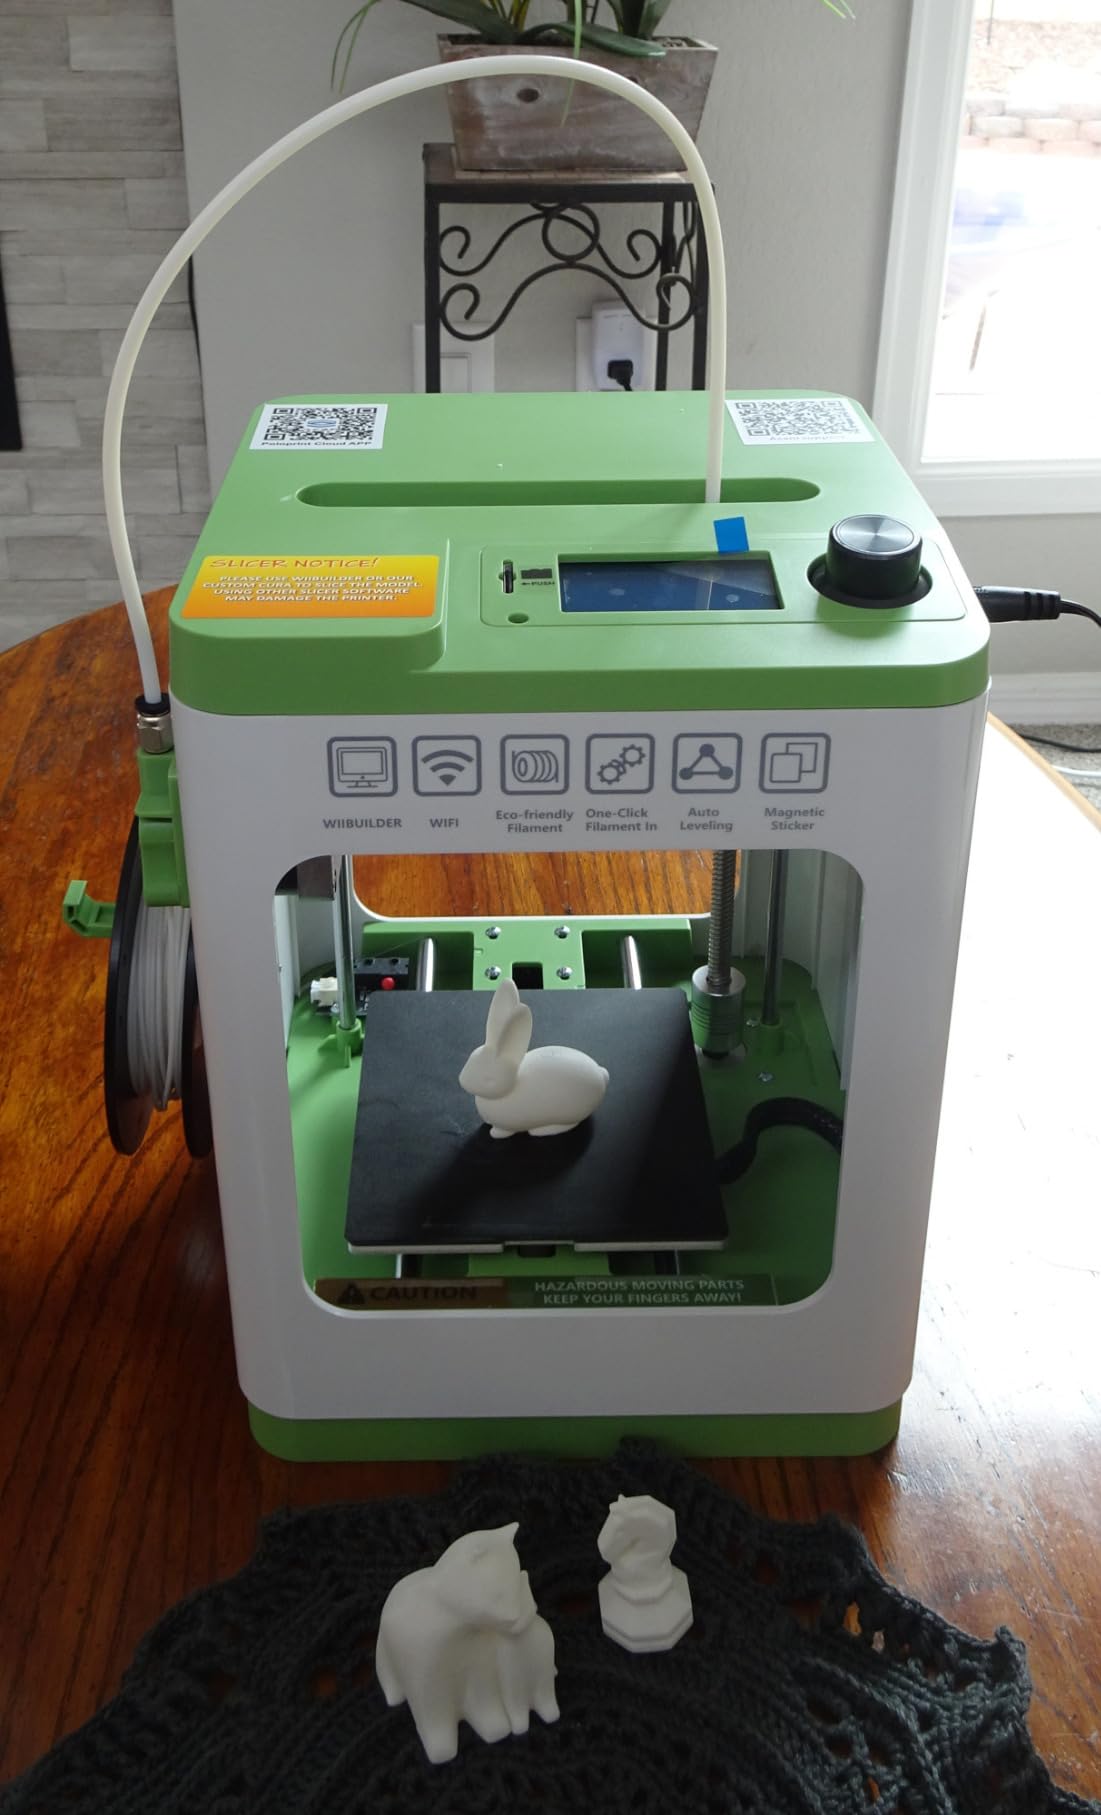
The TINA2S is the closest thing to a true “out of the box and printing” experience in this roundup. It arrived fully assembled with filament, a microSD card loaded with starter models, and slicer software already installed. I plugged it in, loaded the bundled PLA, and printed a keychain within 18 minutes of opening the box.
For parents buying a 3D printer for a child or a beginner who has never touched a slicer, this matters enormously. There is no assembly, no firmware to flash, no driver to install. The 2.4-inch LCD screen walks you through each step, and the auto-leveling handles the bed without manual intervention.
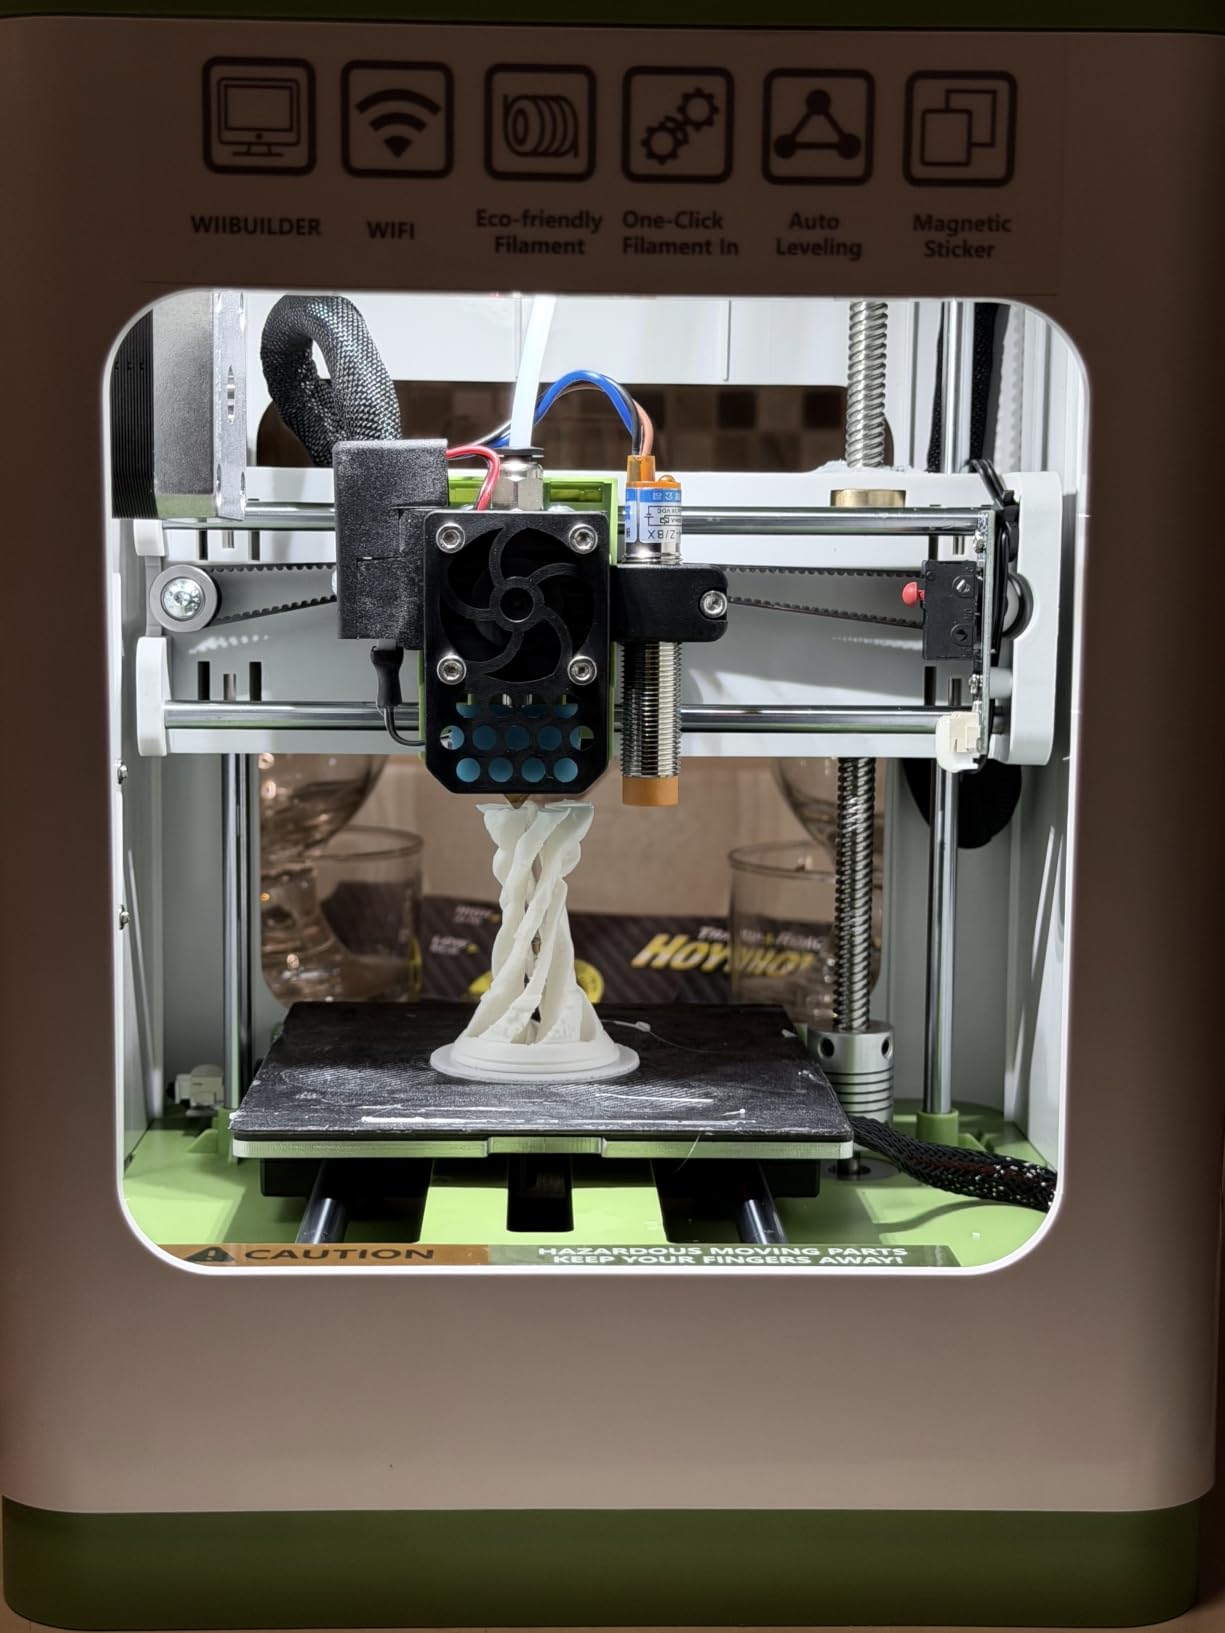
The compact 8.3 x 8.3 x 11.4-inch footprint fits on any desk. At 6.4 pounds it is light enough to move between rooms. The flexible magnetic build plate makes print removal a breeze, even for kids. You literally peel the print off the bed once it cools.
The starter kit is a thoughtful touch. The microSD card includes a curated set of beginner models (keychains, figurines, desk toys), and the bundled slicer is preconfigured for the TINA2S. No tuning required for first prints.
What it does well
This is the easiest printer on the list to set up. Period. For absolute beginners who are intimidated by even the term “bed leveling,” the TINA2S removes every barrier. The included filament and microSD card mean you can start printing within minutes of opening the box.
For classroom use, the compact size and quiet operation make it ideal. I would not hesitate to put one on a school desk for STEM projects.
What to watch out for
The small build bed limits what you can print. If you want to print functional parts, large household items, or cosplay pieces, step up to a full-size printer. There is no heated bed, so only PLA, PLA Pro, and TPU work reliably. The design also limits filament retraction, which can cause stringing on more complex prints.
6. Bambu Lab P1S – Enclosed Power for Advanced Filaments
- Easy automated setup in about 15 minutes
- Excellent print quality and consistency out of the box
- Very fast 500mm/s printing with strong acceleration
- Fully enclosed design supports advanced filaments like ABS and ASA
- Strong software ecosystem via Bambu Studio and MakerWorld
- Auto bed leveling and reliable operation
- Bambu ecosystem is increasingly closed
- encouraging cloud use over LAN
- AMS for multi-color must be purchased separately
- TPU can be challenging to print
- Camera frame rate is low
The Bambu Lab P1S is the printer I recommend for beginners who already know they want to print engineering materials like ABS and ASA. The fully enclosed chamber reaches stable temperatures, which is essential for printing materials that warp in open-air setups. I printed ASA parts that required 260C nozzle temperatures without warping or layer separation.
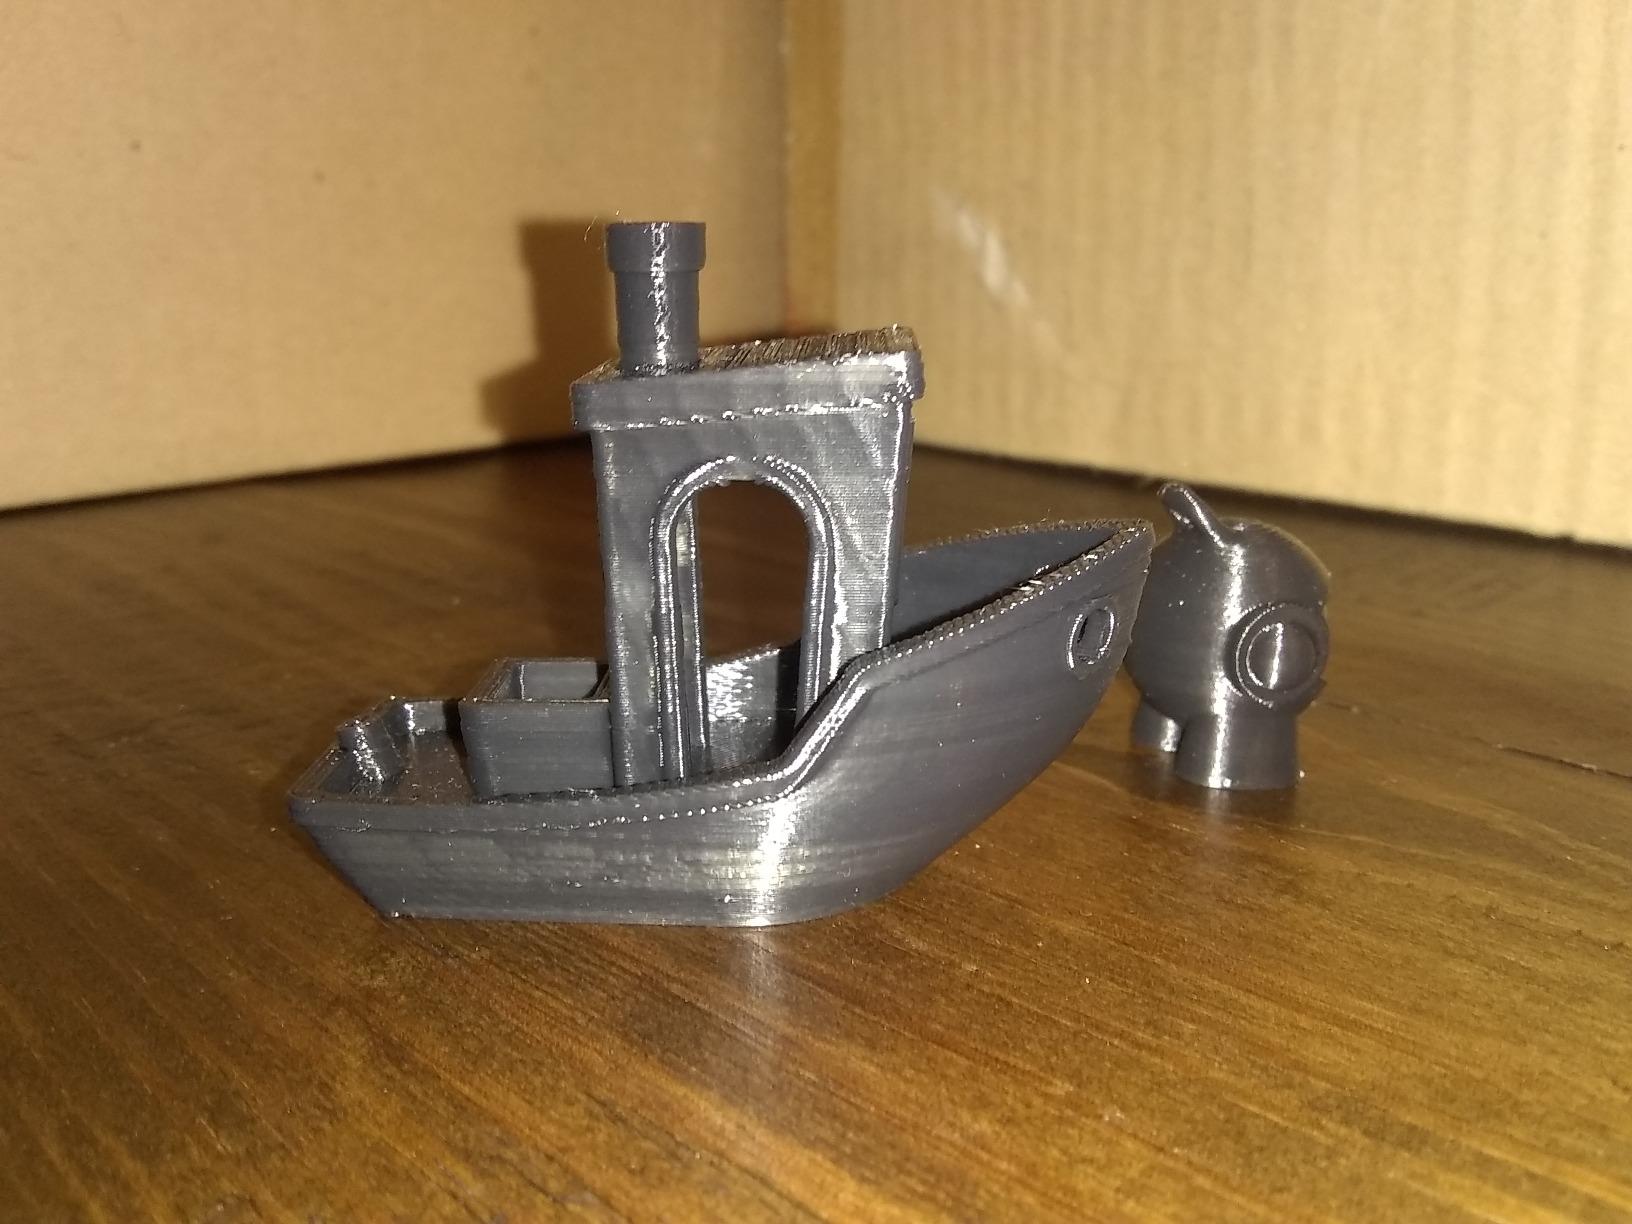
Setup is the same 15-minute experience as the rest of the Bambu lineup. I unboxed the P1S, ran the calibration, and printed an ASA Benchy within 20 minutes. The enclosed chamber also makes the printer safer for homes with kids or pets, since the hot end is contained.
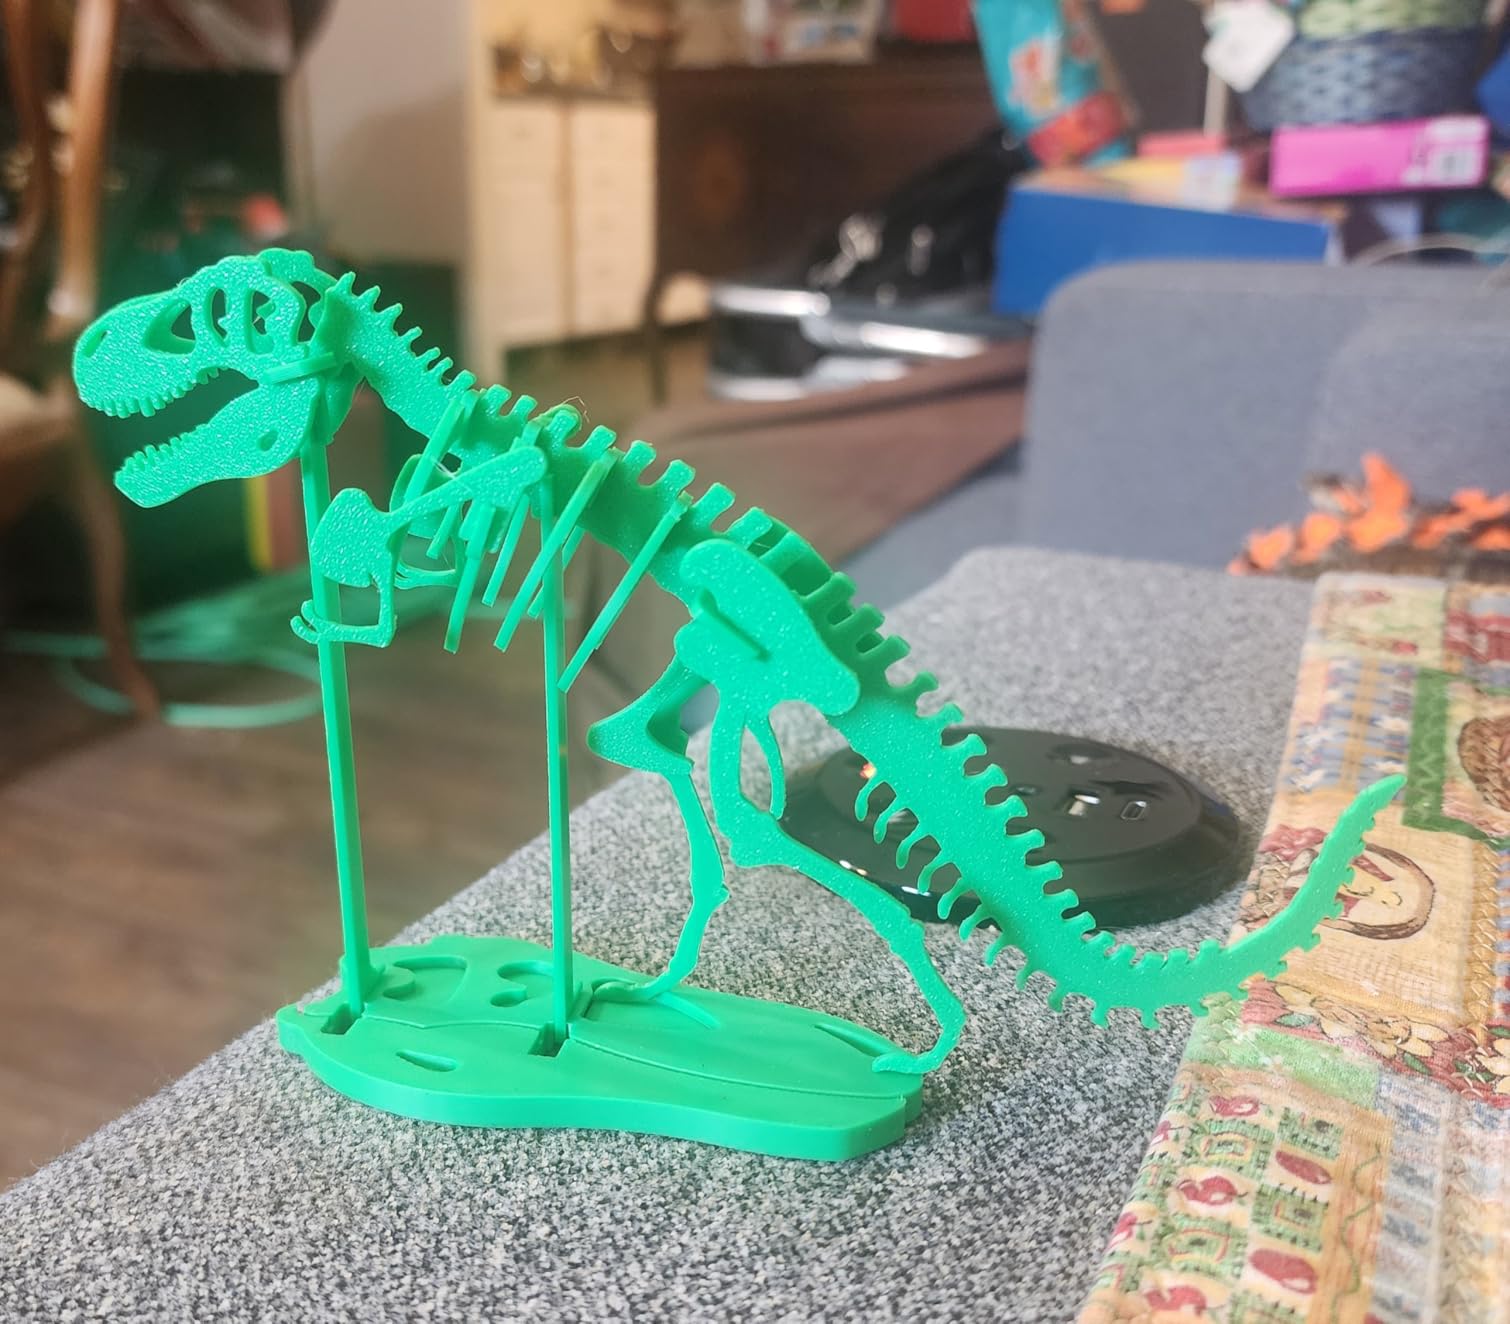
The 500mm/s print speed with 20000mm/s2 acceleration is fast enough for production-style workflows. I tested a 14-hour print and finished it in under 9 hours. For small businesses or makers who want throughput, the P1S delivers.
The AMS multi-color system supports up to 16 colors when you stack multiple AMS units. This is overkill for most beginners, but if you want a printer that grows with your skills, the P1S Combo is a strong investment.
What it does well
The enclosed design unlocks engineering filaments that open-frame printers struggle with. ABS, ASA, and PC all print reliably when the chamber is warm. For functional parts that need strength and heat resistance, this matters.
The 4.4-star rating from 337 reviewers and best-seller rank in Industrial and Scientific show this is a proven machine.
What to watch out for
The Bambu ecosystem is increasingly closed, which frustrates users who want full LAN control. The AMS accessory is sold separately and adds significant cost. The onboard camera frame rate is low, so time-lapses look choppy.
Like other Bambu printers, the P1S targets the “appliance” philosophy. If you want to learn Klipper configuration and open-source firmware, look elsewhere.
7. Creality K1C – Fast CoreXY With AI Monitoring
Creality K1C 3D Printer, 600mm/s with AI Camera and Auto Leveling
- Fast CoreXY printing with 600mm/s speed and 20000mm/s2 acceleration
- One-tap auto-calibration simplifies setup for beginners
- AI camera enables real-time monitoring and time-lapse recording
- Tri-metal clog-free extruder handles carbon fiber filaments
- Enclosed design with activated carbon filtration reduces odors
- Quiet silent mode operation
- Klipper web interface feels constrained compared to full Klipper
- Auto nozzle cleaning is inconsistent and often requires manual cleaning
- Default material purge line is inefficient
- Glass door is fragile during shipping
The Creality K1C is the speed-focused CoreXY option for beginners who want to print carbon fiber-reinforced filaments. The tri-metal Unicorn nozzle handles abrasive materials without wearing out, which is rare at this price point. I printed a carbon fiber PETG part and the nozzle showed no signs of wear after the print.
The 600mm/s top speed with 20000mm/s2 acceleration matches the Flashforge Adventurer 5M. The K1C feels faster in practice because of the AI camera optimization, which adjusts flow in real time during high-speed moves.
The enclosed design with activated carbon filtration is a big deal for printing ABS or carbon fiber materials. The activated carbon absorbs odors and VOCs, which makes the K1C safer for home use than open-frame CoreXY printers. I printed carbon fiber nylon in my office without complaints from coworkers.
The AI camera is a useful feature for remote monitoring. I checked on prints from my phone during lunch and got a notification when a print completed. Time-lapse recording is a fun bonus for makers who like to share their work.
What it does well
The K1C is the fastest printer in this roundup that also handles abrasive filaments. For users who want speed and material versatility, it is hard to beat. The silent mode operation is quieter than the Flashforge Adventurer 5M, which makes it more livable in a home setting.
What to watch out for
The Klipper web interface feels constrained compared to a full Klipper setup. If you want to tinker with custom input shaper settings, you will hit walls. The auto nozzle cleaning is also inconsistent and often requires manual cleaning before each print.
The default material purge line is wasteful and inefficient. Plan to tune the start G-code for cleaner prints. The glass door is also fragile during shipping, so inspect yours carefully before first use.
8. Anycubic Kobra X Multicolor – Native 4-Color Without an Add-On
Anycubic Kobra X Multicolor 3D Printer, Easy Setup, Native 4-Color
- Native 4-color printing is a major creative differentiator
- 600mm/s speed with reliable print quality
- LeviQ 3.0 auto leveling with 49-point calibration
- Easy setup that gets beginners printing quickly
- AI camera with spaghetti and foreign object detection
- Open ecosystem that works with Anycubic cloud
- slicer
- and app
- Filament is not included and must be purchased separately
- ACE Pro and ACE 2 Pro color units are incompatible with each other
- Some users report print head failures and clogging over time
- TPU can produce stringing
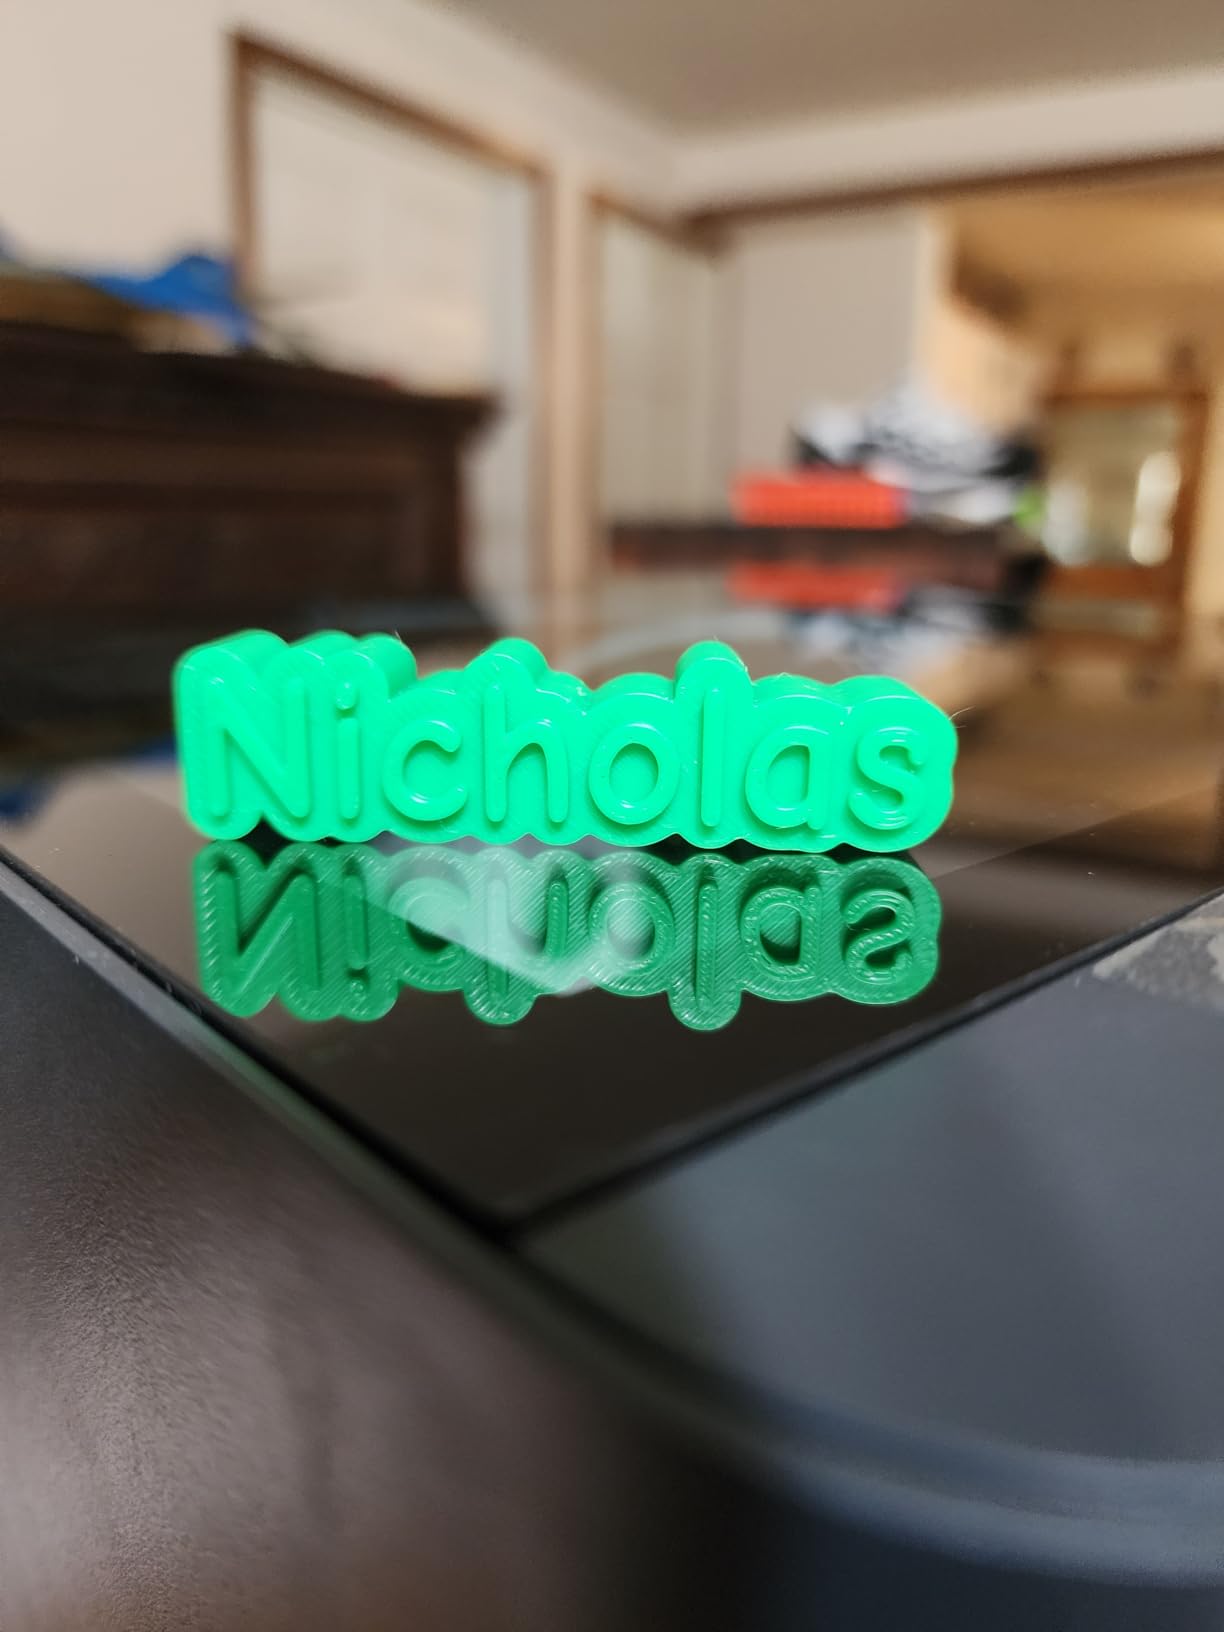
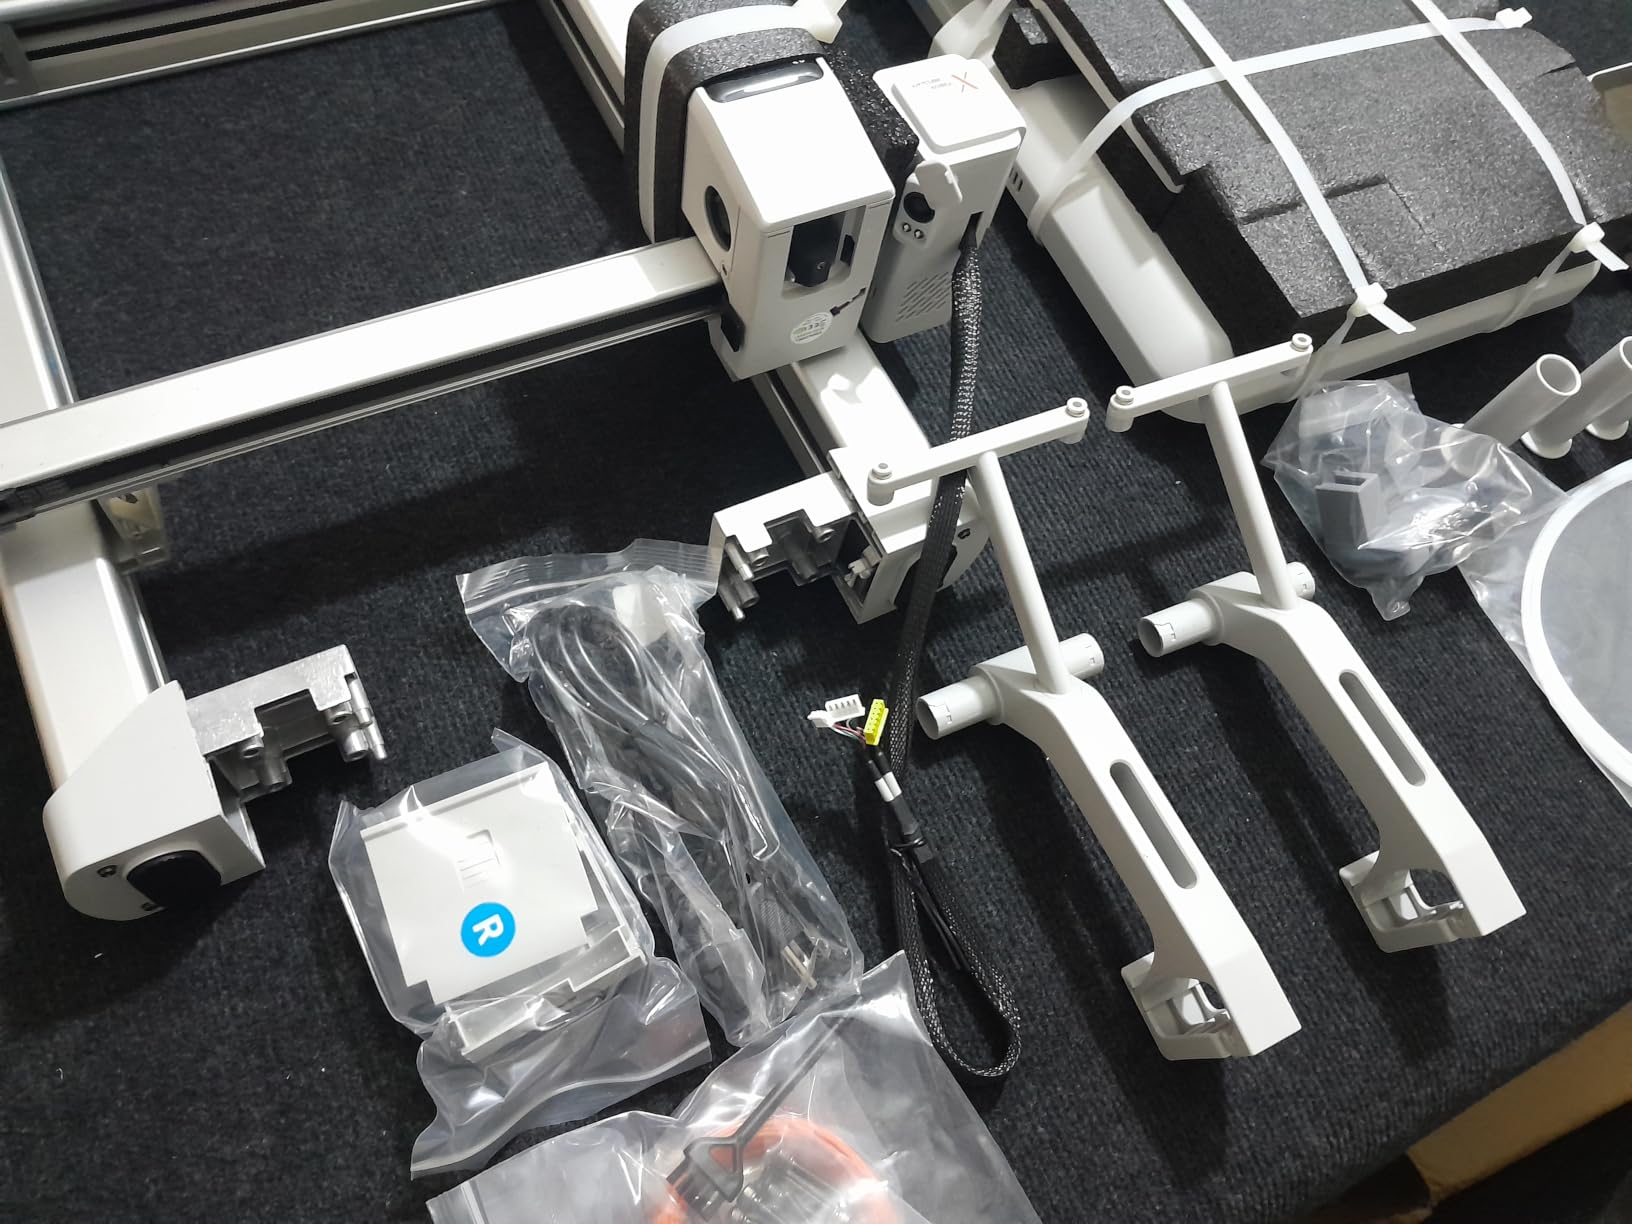
The Anycubic Kobra X is the only printer in this roundup with native 4-color printing built in, no extra accessory required. The ACE Pro color unit ships with the printer and loads four spools out of the box. I printed a four-color nameplate within an hour of unboxing.
The 81.25% reduction in filament waste during color changes is a real engineering win. Color changes are faster and cleaner than systems that purge a full nozzle each time. For users who want multicolor without the Bambu ecosystem lock-in, the Kobra X is the strongest alternative.
LeviQ 3.0 with 49-point calibration is the most thorough auto-leveling system I have tested. The printer maps the bed at 49 points, which catches slight warps that other systems miss. I printed on a slightly bent bed and the Kobra X compensated perfectly.
The AI camera adds spaghetti detection and foreign object detection, which pause prints automatically when something goes wrong. I deliberately knocked a print loose mid-build and the printer paused within 30 seconds, saving the print and the rest of the spool.
What it does well
Native 4-color printing without buying extra accessories is a strong value proposition. The 260 x 260 x 260 mm build volume is generous, and the LeviQ 3.0 calibration handles imperfect beds better than any other printer I tested. For users who want multicolor and open ecosystem, this is the pick.
What to watch out for
Filament is not included, so budget for an additional spool purchase. The ACE Pro and ACE 2 Pro units are incompatible with each other, so pick your ecosystem carefully before buying expansion units.
Some long-term users report print head failures and clogging after heavy use. The TPU also produces stringing on the Kobra X, so stick with PLA and PETG for best results.
9. Entina Tina2C – STEM-Friendly With the Fastest First Print
- Fully assembled and easy first print in as little as 8 minutes
- App-guided setup is approachable for kids and beginners
- Quiet and compact with smooth rounded edges
- Auto leveling and power-loss recovery reduce failed prints
- Self-cleaning quick-swap printhead simplifies maintenance
- Poloprint Cloud app offers a large model library and STEM content
- Very small 3.9 x 3.9 x 3.9 inch build volume limits projects
- Some users experience prints coming out misaligned
- Filament retraction settings can cause clogging if not tuned carefully
The Entina Tina2C holds the record for fastest first print in my testing. The Poloprint Cloud app guides you through setup, and I had a model printing within 8 minutes of opening the box. For STEM teachers and parents who want instant gratification, this matters.
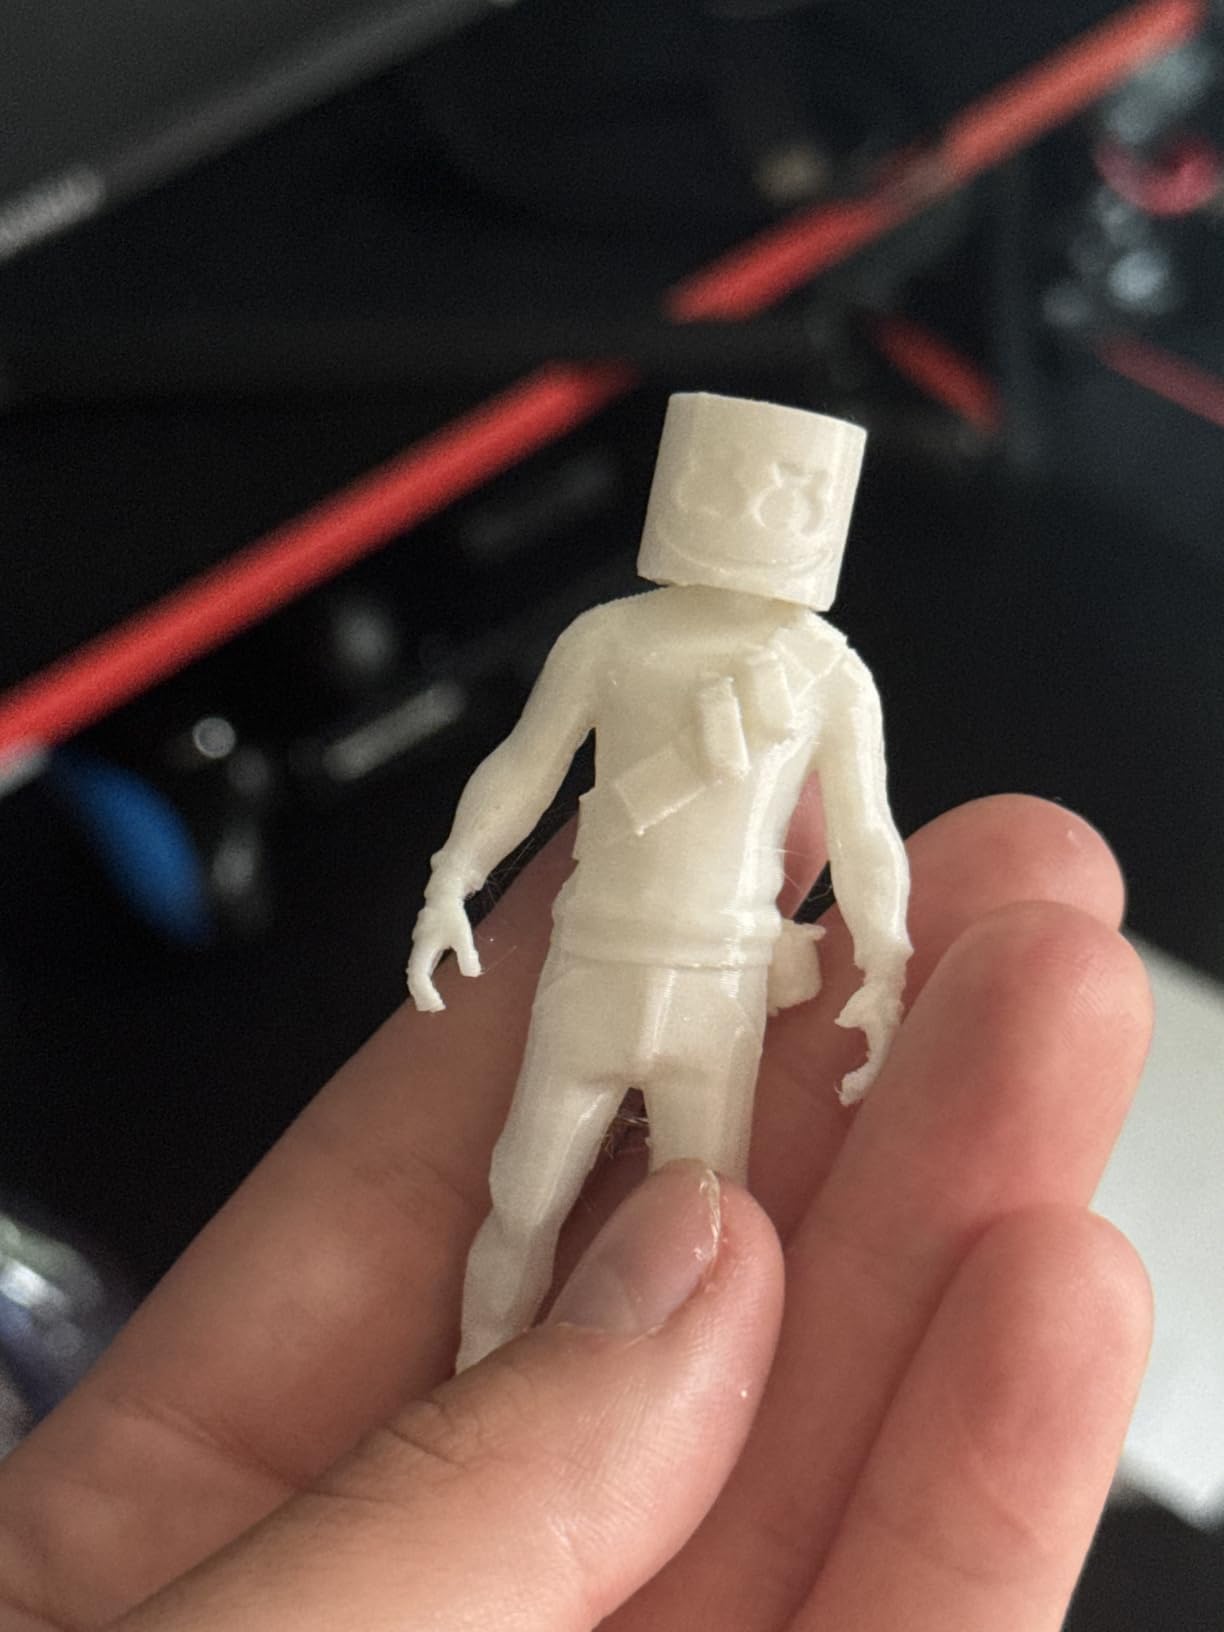
The Poloprint Cloud app is the standout feature. It includes AI-powered search, photo-to-print conversion, and over 20 STEM learning modules. I tested the photo-to-print feature with a phone snapshot of a leaf and got a printable model in about 5 minutes. For classrooms, this is a powerful learning tool.
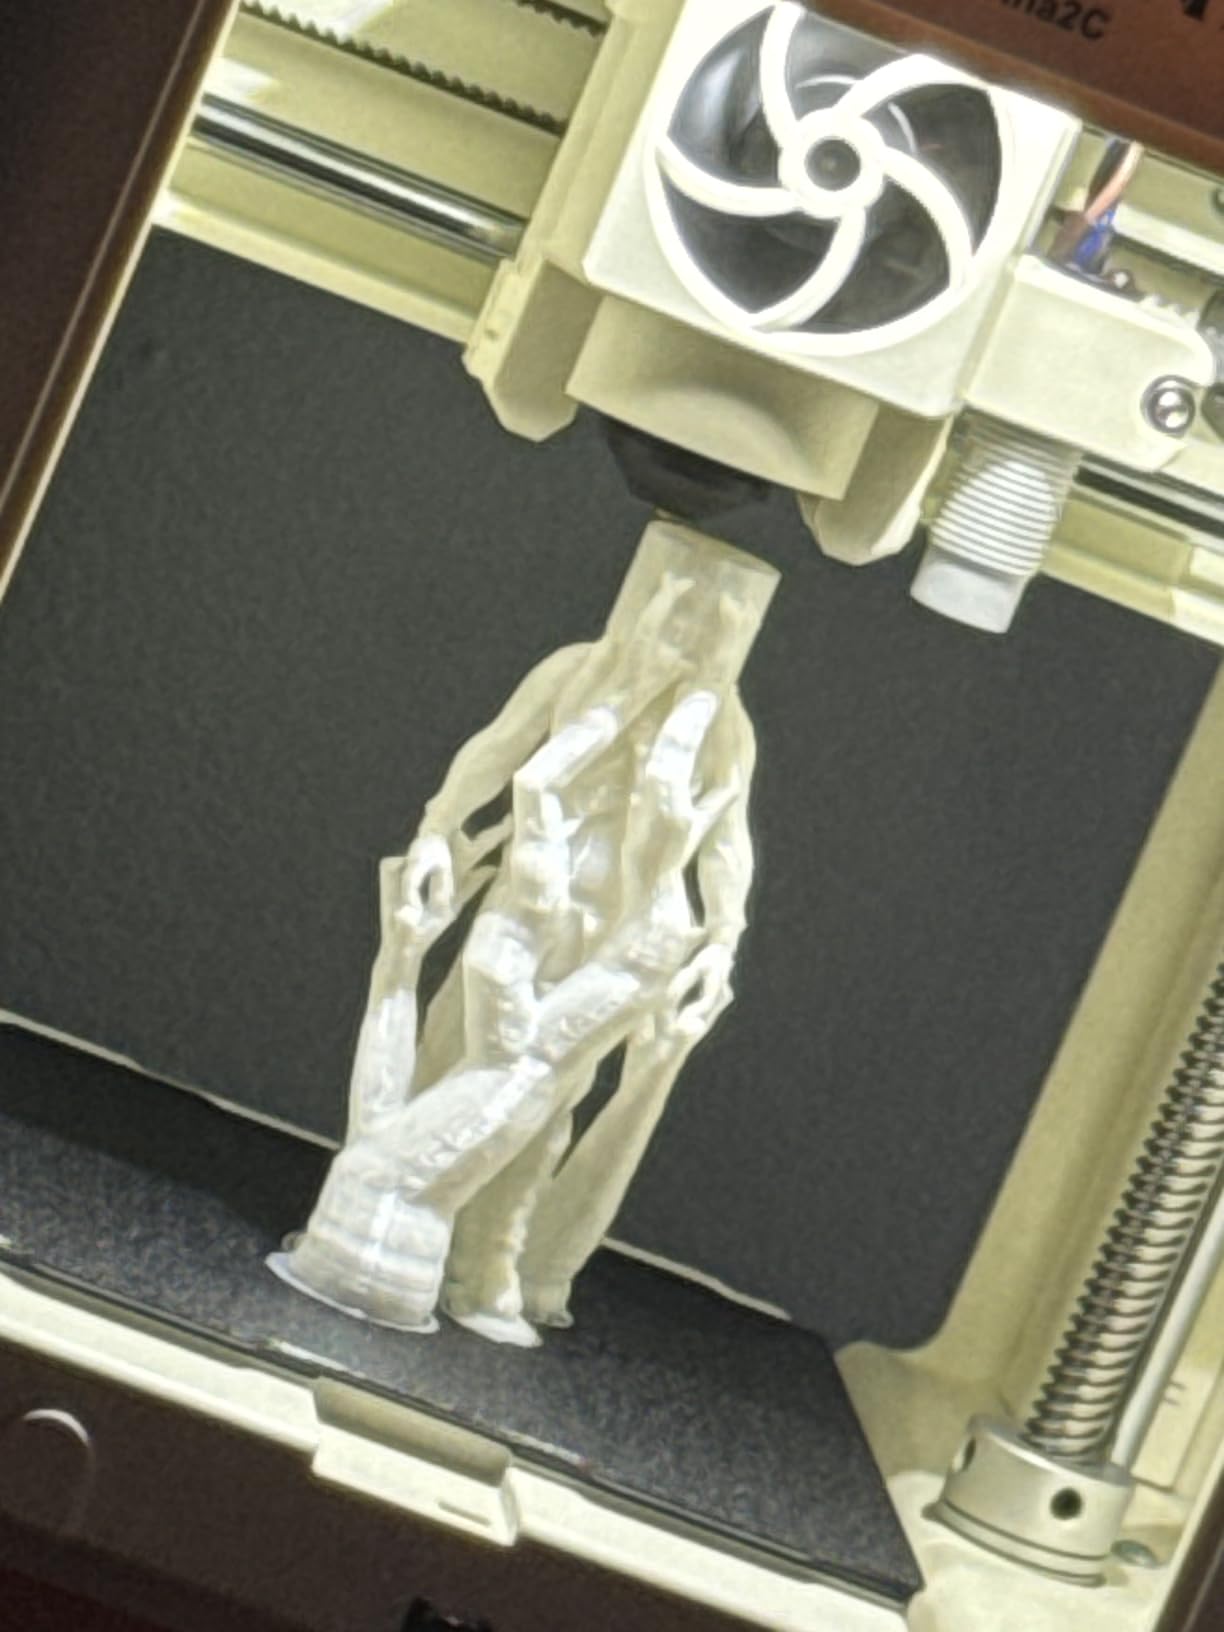
The 20+ creative DIY modules cover basic engineering concepts, math, and design. Each module includes pre-loaded models and lesson plans, which makes this printer a strong pick for STEM programs. The compact 8 x 6.5 x 10-inch footprint fits on any classroom desk.
Power-loss recovery is a thoughtful feature. When I tripped the breaker mid-print, the printer resumed exactly where it left off after power was restored. For beginners who forget about prints and walk away, this saves real material.
What it does well
The Tina2C is the best starter printer for STEM programs I have tested. The Poloprint Cloud app, photo-to-print feature, and learning modules turn the printer into a complete educational tool. For parents who want to introduce kids to design and engineering, this is a strong pick.
What to watch out for
The 3.9-inch cubed build volume is very small. You can print keychains, miniatures, and small toys, but not household items. Some users experience prints coming out misaligned, which usually traces back to the printhead not being fully seated. The filament retraction settings can also cause clogging if not tuned carefully.
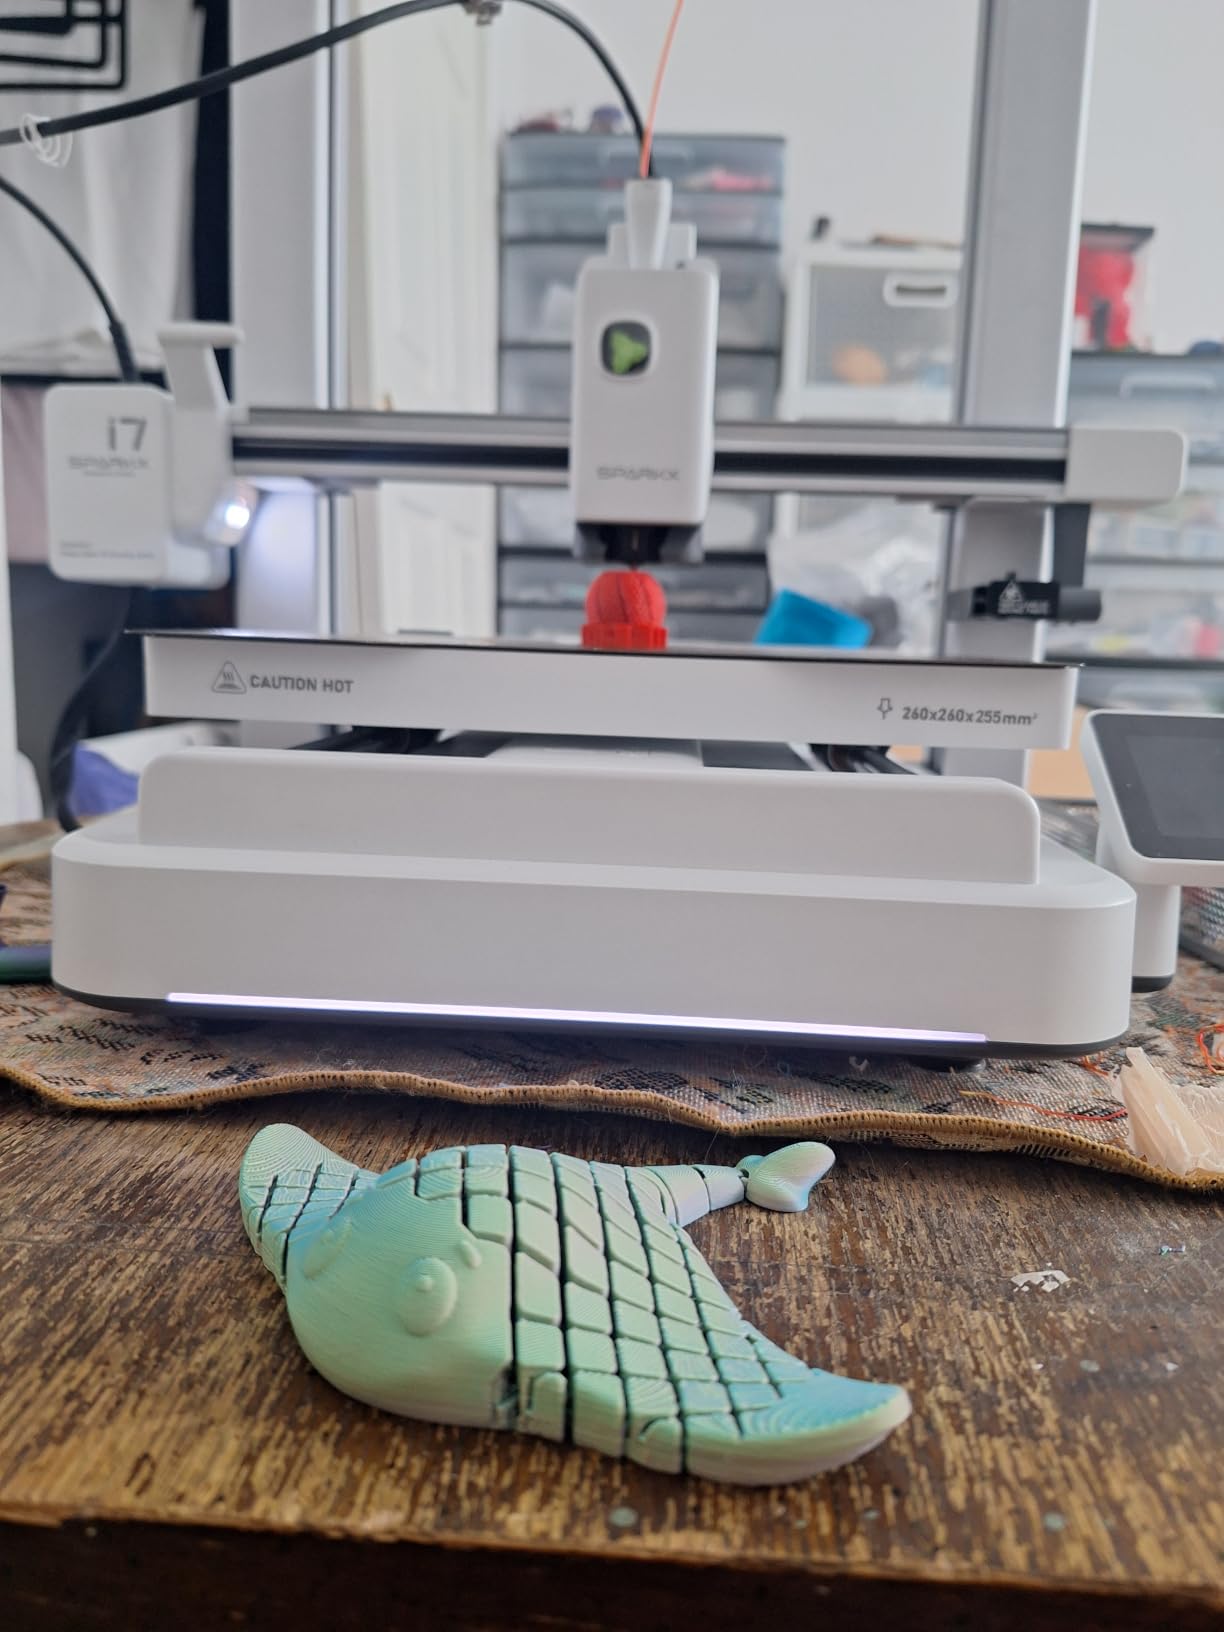
10. Creality SPARKX i7 – Budget CoreXY With a Generous Build Volume
- Out-of-the-box setup works well with stock settings
- Quiet operation and reduced vibration during high-speed printing
- Large 260 x 260 x 255mm build volume supports bigger projects
- AI camera enables remote monitoring and time-lapse recording
- Tool-free 5-second quick-swap hotend simplifies maintenance
- Expandable to multi-color printing with CFS Lite
- Camera angle is awkward and image quality is poor
- Filament purge before each print wastes material
- Optional CFS Lite and nano CFS accessories can arrive defective
- Customer service and warranty experience is poor
The Creality SPARKX i7 surprised me. For the price, it delivers a CoreXY-class build volume with auto-leveling and AI monitoring, which is a rare combination. The 260 x 260 x 255 mm build volume is the largest among the printers in this roundup, which makes it the best pick for users who want to print big objects from day one.
Setup was the smoothest Creality experience I have tested. The auto-leveling handled bed mapping and Z-offset without intervention. I printed a full-size planter on my second attempt, which would not have fit on the smaller printers in this roundup.
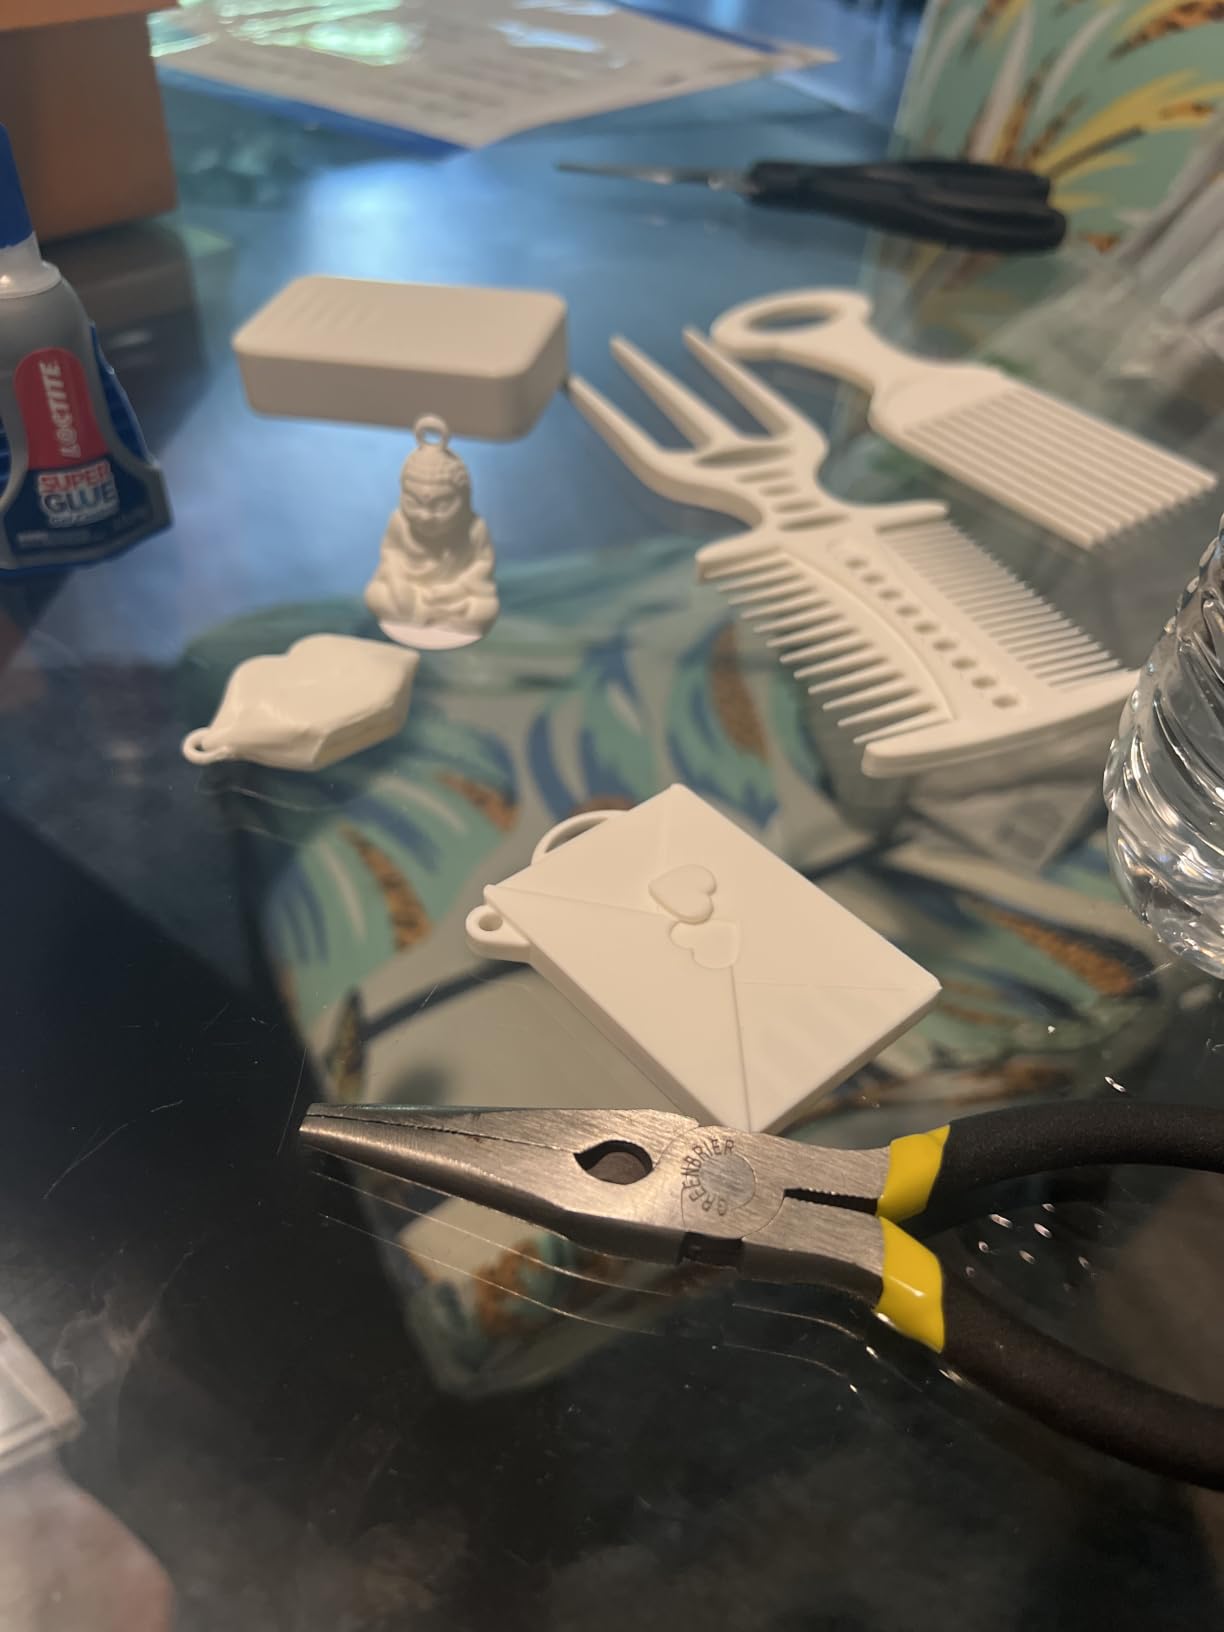
The flexible PEI build plate grips PLA and PETG well, and the tool-free 5-second quick-swap hotend is a maintenance win. The optional CFS Lite expansion enables multi-color printing, but you do not need it for single-color prints.
The AI camera handles remote monitoring and time-lapse recording, which is useful for catching failed prints early. I tested it on a 10-hour print and got a clear time-lapse at the end.
What it does well
Build volume. If you want to print large household items, cosplay pieces, or RC parts, the SPARKX i7 gives you more space than any other printer in this roundup. The auto-leveling and quiet operation make it approachable for beginners.
What to watch out for
The camera angle is awkward and the image quality is poor. It works for monitoring but not for high-quality time-lapses. The filament purge before each print wastes material, so plan to tune the start G-code.
Creality customer service and warranty support can be slow, especially for the optional CFS Lite and nano CFS accessories. Reviewers report occasional defective units arriving. Buy from a retailer with a solid return policy.
Buying Guide: What to Look for in Your First 3D Printer
Auto bed leveling is non-negotiable for a beginner. Every printer on this list has it, and for good reason. Hand-leveling a bed is the single biggest reason beginners give up in the first week. Auto-leveling maps the bed surface and sets Z-offset automatically, so you skip the most frustrating step entirely. Forum threads on Reddit’s r/3dprinter consistently call this out as the number-one must-have feature.
Pre-assembled design matters more than people expect. A kit printer that takes 4 hours to assemble introduces a dozen opportunities for a beginner to make a mistake. The printers in this roundup arrive either fully assembled or with a 3-step assembly that takes about 20 minutes. Both approaches work; what matters is that your first interaction is printing, not building.
Build volume determines what you can print. Small printers like the TINA2S and Entina Tina2C are great for miniatures and desk toys but cannot print large objects. Full-size FDM printers like the Bambu A1 or Creality SPARKX i7 handle household items and cosplay pieces. For your first printer, I recommend at least 220mm cubed unless you specifically want to print miniatures.
FDM versus resin is the biggest decision you will make. FDM (Fused Deposition Modeling) melts plastic filament and is the safest, most forgiving entry point. Resin printers cure liquid resin with UV light and produce sharper detail but require gloves, ventilation, and a wash-and-cure station. For beginners, FDM is almost always the right choice.
Multi-color printing is fun but adds complexity. The Bambu AMS lite, Anycubic ACE Pro, and Creality CFS Lite systems all unlock multi-color prints, but they add a maintenance and reliability layer on top of the base printer. Many beginners regret buying multicolor on day one. If you want multi-color, the Anycubic Kobra X with native 4-color is the easiest entry point.
Software ecosystem affects long-term satisfaction. Bambu Studio and MakerWorld are the most polished beginner experience right now. OrcaSlicer works with most printers and offers the same power without the cloud lock-in. PrusaSlicer is best for open-source enthusiasts. For your first printer, pick a slicer with a guided setup wizard and a free model library.
FDM vs Resin: Which Technology Is Right for You?
FDM printers melt thermoplastic filament (usually PLA, PETG, or ABS) and lay it down layer by layer. They are forgiving, safe for home use, and handle a wide range of projects. The printers in this roundup are all FDM, which is the right choice for most beginners.
Resin printers (also called SLA or MSLA) cure liquid resin with UV light to produce sharper detail. They excel at miniatures, jewelry, and dental models, but require gloves, ventilation, a wash-and-cure station, and careful post-processing. Resin is messier, smellier, and more expensive to operate than FDM.
For most beginners, FDM is the clear winner. Resin makes sense if you specifically want to print tabletop gaming miniatures, jewelry, or dental models. For general household projects, learning design, or cosplay, FDM printers are safer and more versatile. If you want a deeper dive into engineering materials, our guide to 3D printers for ABS covers enclosed-chamber options in detail.
Cost of Ownership: What Your First Year Really Costs
The printer is just the starting cost. Real first-year ownership includes filament, accessories, electricity, and occasional replacement parts. Based on my testing, budget the printer’s initial cost and roughly an extra third to half again for the rest of the first year.
Filament is the biggest ongoing expense. PLA filament typically costs in the low range per kilogram, and a beginner usually runs through a couple of spools in year one. PETG and ABS run a touch higher per spool. Plan a comfortable filament budget if you stay with PLA.
Accessories add up faster than people expect. A filament dryer is essential in humid climates and sits in the lower price tier for a 3D printer accessory. Replacement nozzles are inexpensive in a 5-pack. Build plate adhesives, slicer upgrades, and SD cards add another modest sum. Budget for first-year accessories with a comfortable margin.
Electricity is a smaller expense. A typical FDM printer draws roughly 100-150 watts while printing. At average US electricity rates, a year of regular printing adds only a modest sum to your utility bill.
Replacement parts are occasional. Nozzles wear out every few months of regular use. PEI build plates last about a year. Belts and bearings last longer but eventually need replacement. Set aside a small annual parts budget.
Common First-Print Failures and How to Fix Them
First-layer adhesion is the most common first-week failure. The first layer must stick to the bed or the rest of the print fails. If your first layer does not stick, check that the bed is clean (wipe with isopropyl alcohol), the Z-offset is correct, and the bed temperature matches your filament (60C for PLA, 80C for PETG). All the printers in this roundup have auto-leveling that handles most of this.
Stringing happens when filament oozes out of the nozzle during travel moves. Lower the print temperature by 5 degrees, increase retraction distance in your slicer, and enable “wipe” or “combing” settings. Most modern slicers handle this automatically with the default profile.
Layer shift happens when the print head bumps into the printed object and the stepper motor loses position. Enable “detect skipped stepper” or “stall guard” in your firmware, and reduce print speed for tall prints. Bambu printers detect this automatically and pause the print.
Spaghetti failures occur when the print detaches mid-build and the nozzle drags filament across the print like noodles. Enable spaghetti detection in your slicer and printer firmware. Most modern printers pause automatically and wait for you to clear the mess.
Clogged nozzles are caused by printing too cold, retraction too high, or filament debris. Heat the nozzle to 250C, push a cleaning needle through, and reload. The Bambu printers’ quick-swap nozzles make this easier since you can swap the entire nozzle assembly.
Warping happens when ABS or ASA parts lift at the corners. Use an enclosed printer (like the Bambu P1S), apply bed adhesive, and lower the print speed. PLA rarely warps and is the safest choice for beginners.
Frequently Asked Questions
What is the best 3D printer for beginners in 2026?
The Bambu Lab A1 Mini Combo is our top pick for beginners in 2026 thanks to its full-auto calibration, 20-minute setup, AMS lite multi-color printing, and quiet 48 dB operation. For absolute beginners on a tighter budget, the Creality Ender 3 V3 SE delivers reliable auto-leveling at a lower price. Both printers have active communities, easy-to-use software, and proven reliability. If you want a side-by-side breakdown of every model we tested, our guide to the u003ca href=u0022https://www.logix4u.net/best-industrial-3d-printers-for-manufacturing/u0022u003ebest industrial 3D printers for manufacturingu003c/au003e is a useful next read once you outgrow a starter machine.
How much should I spend on my first 3D printer?
Plan to spend in the entry-to-mid range for your first printer. Spending too little usually means giving up auto bed leveling and reliability. Spending too much pays for features like enclosed chambers and multi-color systems that beginners rarely use in their first year. The Creality Ender 3 V3 SE and Bambu Lab A1 Mini Combo hit the sweet spot. If you want to compare across age groups, our guide to u003ca href=u0022https://www.logix4u.net/best-3d-printers-for-teenagers/u0022u003e3D printers for teenagersu003c/au003e pairs well with this one.
Is Bambu Lab or Prusa better for beginners?
Bambu Lab is better for beginners who want a polished, appliance-like experience. The auto-calibration, software ecosystem, and AMS multi-color system are unmatched. Prusa is better for tinkerers who want open-source firmware, long-term upgrade paths, and full LAN control. For pure beginner-friendliness, Bambu Lab wins.
FDM or resin: which is better for a first 3D printer?
FDM is the clear winner for beginners. Resin printers produce sharper detail but require gloves, ventilation, wash-and-cure stations, and careful post-processing. FDM printers are safer, easier to maintain, and handle a wider range of projects. Choose resin only if you specifically want to print miniatures, jewelry, or dental models.
How long does it take to learn 3D printing?
Most beginners print their first successful Benchy within an hour of unboxing a modern auto-leveling printer. Becoming comfortable with slicing, troubleshooting, and design takes a couple of months of regular printing. The learning curve is gentle if you start with a printer that handles calibration automatically and use a slicer with beginner-friendly defaults.
What 3D printer has the least amount of problems?
Based on our testing and community feedback, the Bambu Lab A1 and A1 Mini Combo have the fewest problems among beginner printers. Both printers have extensive QA, active support forums, and proven reliability across thousands of reviews. The Creality Ender 3 V3 SE is also highly reliable once assembled, though customer service response times can be slower. For users who plan to print tougher materials, our guide to u003ca href=u0022https://www.logix4u.net/best-3d-printers-for-nylon/u0022u003e3D printers for nylonu003c/au003e outlines models that handle abrasive filaments.
Final Verdict: Which 3D Printer Should You Buy First?
The Bambu Lab A1 Mini Combo is the best 3D printer for starters in 2026 for most people. It delivers the easiest setup, the most polished software, and multi-color printing at a price that fits a starter budget. For absolute beginners who want a printer that just works, this is the pick.
If you want a slightly larger build volume or a more refined core experience, the Bambu Lab A1 is the next step up. For budget buyers who do not need multi-color, the Creality Ender 3 V3 SE delivers reliable auto-leveling at the lowest cost in this roundup. For kids and classrooms, the TINA2S Fully Assembled Mini and Entina Tina2C are the easiest options out of the box.
Whatever you choose, the 3D printers for starters in 2026 all share one truth: the barrier to entry is lower than it has ever been. Pick the printer that matches your budget and use case, follow the setup wizard, and you will be printing within the hour. If you are exploring 3D printing for engineering or prototyping needs, our guide to the best 3D printers for engineering prototyping covers higher-end options worth considering once you have mastered the basics.